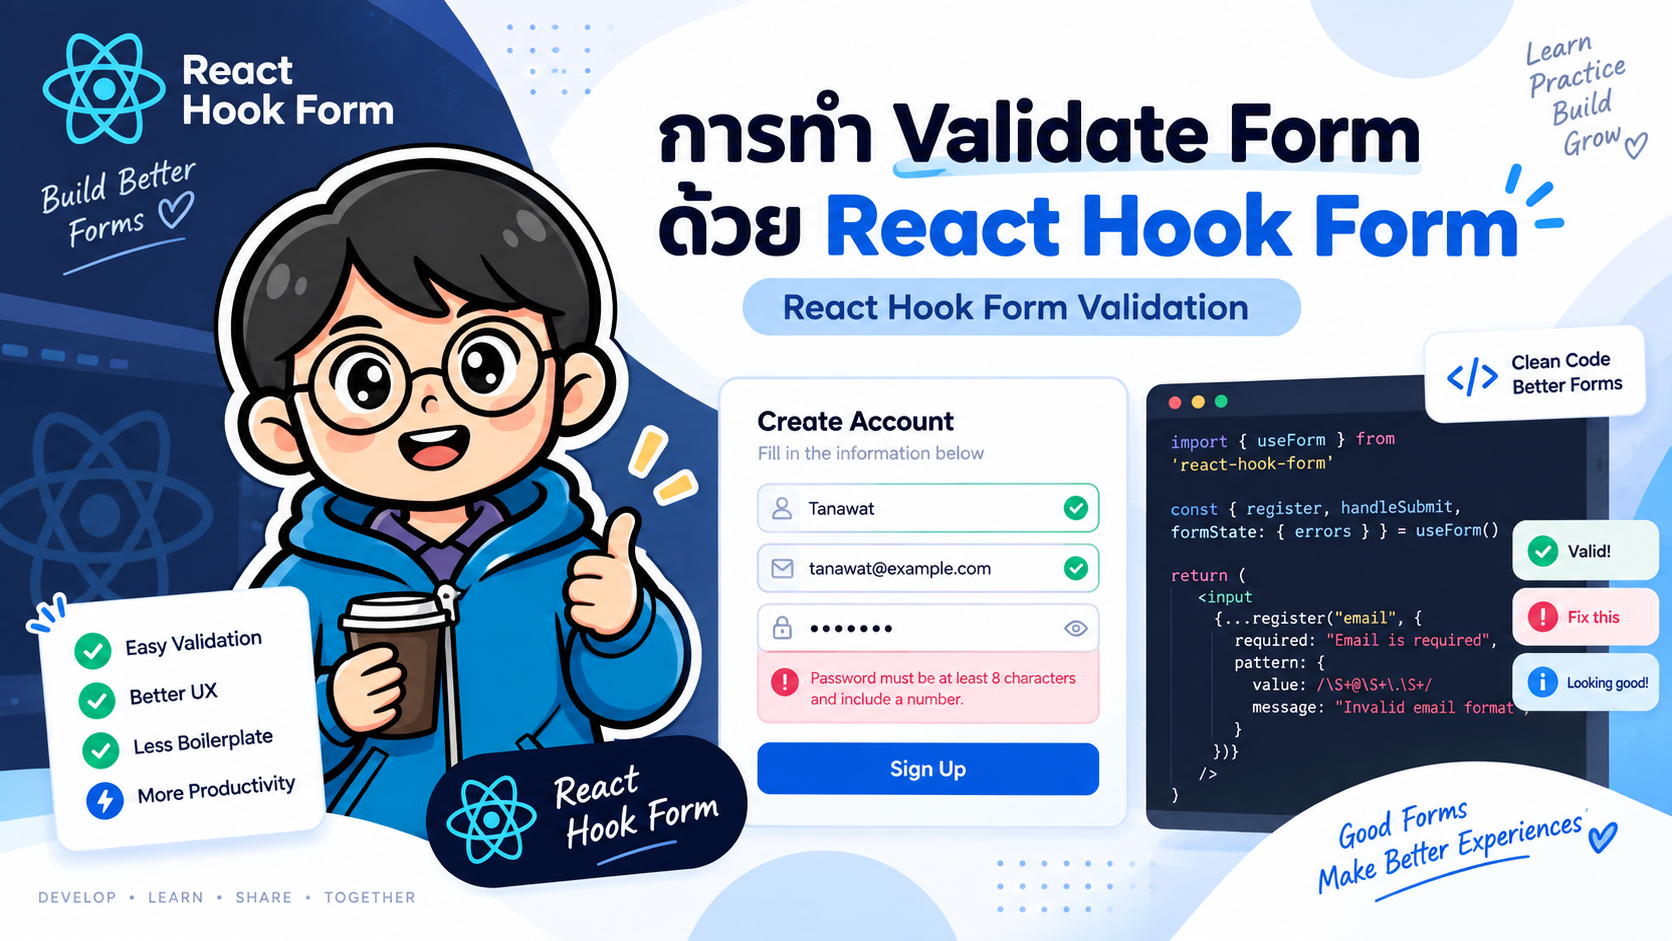
- การทำ Form Validation ด้วย React Hook Form
- 1. ติดตั้ง React Hook Form
- 2. โครงสร้างพื้นฐานของ React Hook Form
- 3. Validate ด้วย required
- 4. Validate ความยาวด้วย minLength และ maxLength
- 5. Validate Email ด้วย pattern
- 6. Validate ตัวเลขด้วย min และ max
- 7. Custom Validation ด้วย validate
- 8. Validate Password
- 9. Validate Confirm Password
- 10. Validation Mode
- 11. ตัวอย่าง Registration Form แบบสมบูรณ์
- 12. formState ที่ควรรู้
- 13. Manual Validation ด้วย trigger
- 14. Error จาก Backend ด้วย setError
- 15. Clear Error ด้วย clearErrors
- 16. Reset Form
- 17. Validation Flow
- 18. Built-in Validation หรือ Schema Validation?
- 19. Best Practices
- 20. สรุป
- แหล่งอ้างอิง
#การทำ Form Validation ด้วย React Hook Form
การตรวจสอบข้อมูลในฟอร์ม หรือ Form Validation เป็นส่วนสำคัญของ Web Application เช่น การตรวจสอบว่าอีเมลถูกต้องหรือไม่ รหัสผ่านมีความยาวเพียงพอหรือไม่ หรือผู้ใช้กรอกข้อมูลที่จำเป็นครบถ้วนหรือไม่
ใน React เราสามารถเขียน validation เองด้วย useState ได้ แต่เมื่อฟอร์มมีหลายช่อง การจัดการ state, error และ validation logic จะเริ่มซับซ้อนขึ้น
หนึ่งในไลบรารียอดนิยมสำหรับจัดการฟอร์มใน React คือ React Hook Form ซึ่งออกแบบมาให้ใช้งานร่วมกับ React Hooks และรองรับ validation ทั้งแบบ built-in rules และ schema validation เช่น Zod, Yup, Joi และ Valibot
บทความนี้อ้างอิง React Hook Form 7.x โดย ณ วันที่ 14 กันยายน 2026 npm แสดงเวอร์ชัน stable ล่าสุดเป็น
7.88.0
#1. ติดตั้ง React Hook Form
ติดตั้งผ่าน npm
npm install react-hook-form
หรือใช้ pnpm
pnpm add react-hook-form
หรือ Yarn
yarn add react-hook-form
#2. โครงสร้างพื้นฐานของ React Hook Form
เริ่มจาก import useForm
import { useForm } from "react-hook-form";

function App() {
  const {
    register,
    handleSubmit,
    formState: { errors },
  } = useForm();

  const onSubmit = (data: any) => {
    console.log(data);
  };

  return (
    <form onSubmit={handleSubmit(onSubmit)}>
      <input {...register("name")} />

      <button type="submit">Submit</button>
    </form>
  );
}

export default App;
ส่วนสำคัญมี 3 ตัว
registerใช้ลงทะเบียน input ให้ React Hook FormhandleSubmitใช้จัดการการ submit และเรียก validationformState.errorsเก็บ error ของแต่ละ field
#3. Validate ด้วย required
ตัวอย่างตรวจสอบว่าผู้ใช้ต้องกรอกชื่อ
<input
  {...register("name", {
    required: "กรุณากรอกชื่อ",
  })}
/>

{errors.name && (
  <p>{errors.name.message as string}</p>
)}
เมื่อผู้ใช้ไม่กรอกข้อมูล React Hook Form จะสร้าง error ใน
errors.name
และ message จะอยู่ที่
errors.name.message
#4. Validate ความยาวด้วย minLength และ maxLength
ตัวอย่างตรวจสอบ username
<input
  {...register("username", {
    required: "กรุณากรอก Username",
    minLength: {
      value: 4,
      message: "Username ต้องมีอย่างน้อย 4 ตัวอักษร",
    },
    maxLength: {
      value: 20,
      message: "Username ต้องไม่เกิน 20 ตัวอักษร",
    },
  })}
/>

{errors.username && (
  <p>{errors.username.message as string}</p>
)}
รูปแบบ validation rule จะมีลักษณะดังนี้
rule: {
  value: เงื่อนไข,
  message: "ข้อความแจ้งเตือน"
}
#5. Validate Email ด้วย pattern
สามารถใช้ Regular Expression ตรวจสอบรูปแบบอีเมล
<input
  type="email"
  {...register("email", {
    required: "กรุณากรอก Email",
    pattern: {
      value: /^[^\s@]+@[^\s@]+\.[^\s@]+$/,
      message: "รูปแบบ Email ไม่ถูกต้อง",
    },
  })}
/>

{errors.email && (
  <p>{errors.email.message as string}</p>
)}
ตัวอย่างข้อมูล
user@example.com
ผ่าน validation
แต่
user@
ไม่ผ่าน validation
#6. Validate ตัวเลขด้วย min และ max
ตัวอย่างตรวจสอบอายุ
<input
  type="number"
  {...register("age", {
    required: "กรุณากรอกอายุ",
    valueAsNumber: true,
    min: {
      value: 18,
      message: "อายุต้องไม่น้อยกว่า 18 ปี",
    },
    max: {
      value: 100,
      message: "อายุต้องไม่เกิน 100 ปี",
    },
  })}
/>

{errors.age && (
  <p>{errors.age.message as string}</p>
)}
การกำหนด
valueAsNumber: true
จะช่วยให้ค่าจาก input ถูกแปลงเป็น number
#7. Custom Validation ด้วย validate
หากเงื่อนไขซับซ้อนกว่ากฎมาตรฐาน สามารถใช้ validate
ตัวอย่างกำหนด username ห้ามมีคำว่า admin
<input
  {...register("username", {
    required: "กรุณากรอก Username",
    validate: (value) =>
      !value.toLowerCase().includes("admin") ||
      "Username ห้ามมีคำว่า admin",
  })}
/>
หลักการคือ
validate: (value) => true
หมายถึงผ่าน
ส่วน
validate: (value) => "Error message"
หมายถึงไม่ผ่าน validation
#8. Validate Password
ตัวอย่างเงื่อนไข
- ต้องกรอก Password
- อย่างน้อย 8 ตัวอักษร
- ต้องมีตัวพิมพ์ใหญ่
- ต้องมีตัวเลข
<input
  type="password"
  {...register("password", {
    required: "กรุณากรอก Password",
    minLength: {
      value: 8,
      message: "Password ต้องมีอย่างน้อย 8 ตัวอักษร",
    },
    validate: {
      uppercase: (value) =>
        /[A-Z]/.test(value) ||
        "Password ต้องมีตัวพิมพ์ใหญ่อย่างน้อย 1 ตัว",
      number: (value) =>
        /[0-9]/.test(value) ||
        "Password ต้องมีตัวเลขอย่างน้อย 1 ตัว",
    },
  })}
/>
#9. Validate Confirm Password
กรณีต้องเปรียบเทียบค่าระหว่างหลาย field สามารถใช้ watch
const {
  register,
  handleSubmit,
  watch,
  formState: { errors },
} = useForm();

const password = watch("password");
จากนั้นตรวจสอบ confirm password
<input
  type="password"
  {...register("confirmPassword", {
    required: "กรุณายืนยัน Password",
    validate: (value) =>
      value === password ||
      "Password และ Confirm Password ไม่ตรงกัน",
  })}
/>
#10. Validation Mode
โดยค่าเริ่มต้น React Hook Form จะตรวจสอบ validation เมื่อ submit
เราสามารถเปลี่ยนพฤติกรรมด้วย mode
const {
  register,
  handleSubmit,
  formState: { errors },
} = useForm({
  mode: "onChange",
});
ค่าที่ใช้บ่อย ได้แก่
| Mode | การทำงาน |
|---|---|
onSubmit |
Validate เมื่อ Submit |
onBlur |
Validate เมื่อออกจาก Input |
onChange |
Validate ทุกครั้งที่ค่าเปลี่ยน |
onTouched |
Validate หลัง field ถูกแตะหรือ blur |
all |
ตรวจสอบทั้ง blur และ change |
ตัวอย่างที่เหมาะกับ Registration Form
useForm({
  mode: "onBlur",
});
เพราะผู้ใช้จะเห็น error หลังจากกรอก field แล้วออกจากช่องนั้น
#11. ตัวอย่าง Registration Form แบบสมบูรณ์
ตัวอย่างนี้ใช้ TypeScript
import { useForm } from "react-hook-form";

type RegisterForm = {
  name: string;
  email: string;
  age: number;
  password: string;
  confirmPassword: string;
};

export default function Register() {
  const {
    register,
    handleSubmit,
    watch,
    formState: {
      errors,
      isSubmitting,
      isValid,
    },
  } = useForm<RegisterForm>({
    mode: "onBlur",
    defaultValues: {
      name: "",
      email: "",
      password: "",
      confirmPassword: "",
    },
  });

  const password = watch("password");

  const onSubmit = async (data: RegisterForm) => {
    console.log(data);
  };

  return (
    <form onSubmit={handleSubmit(onSubmit)}>
      <div>
        <label>Name</label>

        <input
          {...register("name", {
            required: "กรุณากรอกชื่อ",
            minLength: {
              value: 2,
              message: "ชื่อต้องมีอย่างน้อย 2 ตัวอักษร",
            },
          })}
        />

        {errors.name && (
          <p>{errors.name.message}</p>
        )}
      </div>

      <div>
        <label>Email</label>

        <input
          type="email"
          {...register("email", {
            required: "กรุณากรอก Email",
            pattern: {
              value: /^[^\s@]+@[^\s@]+\.[^\s@]+$/,
              message: "รูปแบบ Email ไม่ถูกต้อง",
            },
          })}
        />

        {errors.email && (
          <p>{errors.email.message}</p>
        )}
      </div>

      <div>
        <label>Age</label>

        <input
          type="number"
          {...register("age", {
            required: "กรุณากรอกอายุ",
            valueAsNumber: true,
            min: {
              value: 18,
              message: "อายุต้องไม่น้อยกว่า 18 ปี",
            },
          })}
        />

        {errors.age && (
          <p>{errors.age.message}</p>
        )}
      </div>

      <div>
        <label>Password</label>

        <input
          type="password"
          {...register("password", {
            required: "กรุณากรอก Password",
            minLength: {
              value: 8,
              message: "Password ต้องมีอย่างน้อย 8 ตัวอักษร",
            },
            validate: {
              uppercase: (value) =>
                /[A-Z]/.test(value) ||
                "ต้องมีตัวพิมพ์ใหญ่อย่างน้อย 1 ตัว",
              number: (value) =>
                /\d/.test(value) ||
                "ต้องมีตัวเลขอย่างน้อย 1 ตัว",
            },
          })}
        />

        {errors.password && (
          <p>{errors.password.message}</p>
        )}
      </div>

      <div>
        <label>Confirm Password</label>

        <input
          type="password"
          {...register("confirmPassword", {
            required: "กรุณายืนยัน Password",
            validate: (value) =>
              value === password ||
              "Password ไม่ตรงกัน",
          })}
        />

        {errors.confirmPassword && (
          <p>{errors.confirmPassword.message}</p>
        )}
      </div>

      <button
        type="submit"
        disabled={isSubmitting || !isValid}
      >
        {isSubmitting ? "กำลังบันทึก..." : "Register"}
      </button>
    </form>
  );
}
#12. formState ที่ควรรู้
React Hook Form มี state ที่ช่วยควบคุม UX ของฟอร์ม
formState: {
  errors,
  isDirty,
  dirtyFields,
  touchedFields,
  isSubmitted,
  isSubmitting,
  isSubmitSuccessful,
  isValid,
}
ตัวอย่าง
const {
  formState: {
    errors,
    isDirty,
    isValid,
    isSubmitting,
  },
} = useForm({
  mode: "onChange",
});
#isDirty
บอกว่าผู้ใช้แก้ไขฟอร์มหรือยัง
if (isDirty) {
  console.log("Form has changed");
}
#isValid
บอกว่าฟอร์มผ่าน validation หรือไม่
<button disabled={!isValid}>
  Submit
</button>
#isSubmitting
เหมาะสำหรับป้องกันการกด Submit ซ้ำ
<button disabled={isSubmitting}>
  {isSubmitting ? "Saving..." : "Submit"}
</button>
#13. Manual Validation ด้วย trigger
สามารถสั่ง validate เองได้
const {
  register,
  trigger,
} = useForm();
Validate field เดียว
const valid = await trigger("email");
Validate หลาย field
const valid = await trigger([
  "email",
  "password",
]);
Validate ทั้ง form
const valid = await trigger();
เหมาะกับ
- Multi-step form
- Wizard form
- Validate ก่อนเปลี่ยนหน้า
- ตรวจสอบข้อมูลบางส่วนก่อนเรียก API
#14. Error จาก Backend ด้วย setError
บาง validation ต้องตรวจสอบจาก Server เช่น
Email already exists
สามารถใช้ setError
const {
  setError,
} = useForm();
ตัวอย่าง
const onSubmit = async (data: RegisterForm) => {
  try {
    await registerUser(data);
  } catch (error) {
    setError("email", {
      type: "server",
      message: "Email นี้ถูกใช้งานแล้ว",
    });
  }
};
แสดง error ตามปกติ
{errors.email && (
  <p>{errors.email.message}</p>
)}
#15. Clear Error ด้วย clearErrors
const {
  clearErrors,
} = useForm();
ลบ error ของ field เดียว
clearErrors("email");
หลาย field
clearErrors([
  "email",
  "password",
]);
ทั้งหมด
clearErrors();
#16. Reset Form
เมื่อบันทึกสำเร็จ สามารถ reset ฟอร์มได้
const {
  reset,
} = useForm();
เช่น
const onSubmit = async (data: RegisterForm) => {
  await saveData(data);

  reset();
};
หรือกำหนดค่าใหม่
reset({
  name: "",
  email: "",
  age: 18,
  password: "",
  confirmPassword: "",
});
#17. Validation Flow
ภาพรวมการทำงาน
User Input
    ↓
register()
    ↓
Validation Rules
    ↓
required / minLength / pattern / validate
    ↓
formState.errors
    ↓
แสดง Error Message
    ↓
handleSubmit()
    ↓
onSubmit(data)
#18. Built-in Validation หรือ Schema Validation?
React Hook Form รองรับ validation แบบ built-in เช่น
register("email", {
  required: true,
  pattern: /.../,
});
วิธีนี้เหมาะกับ
- Form ขนาดเล็ก
- Validation ไม่ซับซ้อน
- ต้องการเริ่มต้นอย่างรวดเร็ว
สำหรับ form ที่มี validation จำนวนมาก ควรพิจารณา schema validation เช่น
- Zod
- Yup
- Joi
- Valibot
- AJV
ตัวอย่าง architecture
React Component
      ↓
React Hook Form
      ↓
Resolver
      ↓
Zod / Yup
      ↓
Validation Result
      ↓
formState.errors
#19. Best Practices
#19.1 ใช้ TypeScript
กำหนด type ของข้อมูล
type FormData = {
  email: string;
  password: string;
};
แล้วใช้
useForm<FormData>();
จะช่วยลด typo และทำให้ autocomplete ทำงานดีขึ้น
#19.2 แสดง Error ใกล้ Input
ควรวาง message ใต้ field ที่เกิด error
<input {...register("email")} />

{errors.email && (
  <span>{errors.email.message}</span>
)}
#19.3 อย่าใช้ onChange ทุกกรณี
mode: "onChange" ให้ feedback เร็ว แต่ form ขนาดใหญ่อาจทำ validation บ่อยเกินความจำเป็น
ทั่วไปสามารถเริ่มด้วย
mode: "onBlur"
หรือใช้ค่า default
mode: "onSubmit"
#19.4 Validation ฝั่ง Frontend ไม่เพียงพอ
ถึงแม้ React Hook Form จะ validate แล้ว Backend ต้อง validate ซ้ำเสมอ
Browser Validation
      ↓
React Hook Form Validation
      ↓
API Request
      ↓
Backend Validation
      ↓
Database
เพราะ validation ฝั่ง client สามารถถูก bypass ได้
#19.5 แยก Reusable Input Component
เมื่อ form ใหญ่ขึ้น ควรสร้าง component เช่น
components/
├── FormInput.tsx
├── FormSelect.tsx
├── FormTextarea.tsx
└── FormError.tsx
ช่วยลด code ซ้ำและทำให้ UI สม่ำเสมอ
#20. สรุป
React Hook Form ช่วยจัดการ Form Validation ใน React ได้อย่างเป็นระบบ โดยแนวคิดหลักคือ
useForm()
   ↓
register()
   ↓
Validation Rules
   ↓
formState.errors
   ↓
handleSubmit()
Validation ที่ควรรู้ ได้แก่
required
min
max
minLength
maxLength
pattern
validate
สำหรับฟอร์มทั่วไป Built-in Validation ของ React Hook Form เพียงพอและเขียนได้กระชับ
แต่หากเป็นระบบขนาดใหญ่ มีหลายฟอร์ม หรือมี validation schema ที่ต้องใช้ซ้ำทั้งระบบ ควรใช้ React Hook Form ร่วมกับ Zod หรือ schema validator อื่นผ่าน resolver
#แหล่งอ้างอิง
- React Hook Form: https://react-hook-form.com/
- React Hook Form GitHub: https://github.com/react-hook-form/react-hook-form
- React Hook Form npm: https://www.npmjs.com/package/react-hook-form
- React Hook Form Resolvers: https://github.com/react-hook-form/resolvers