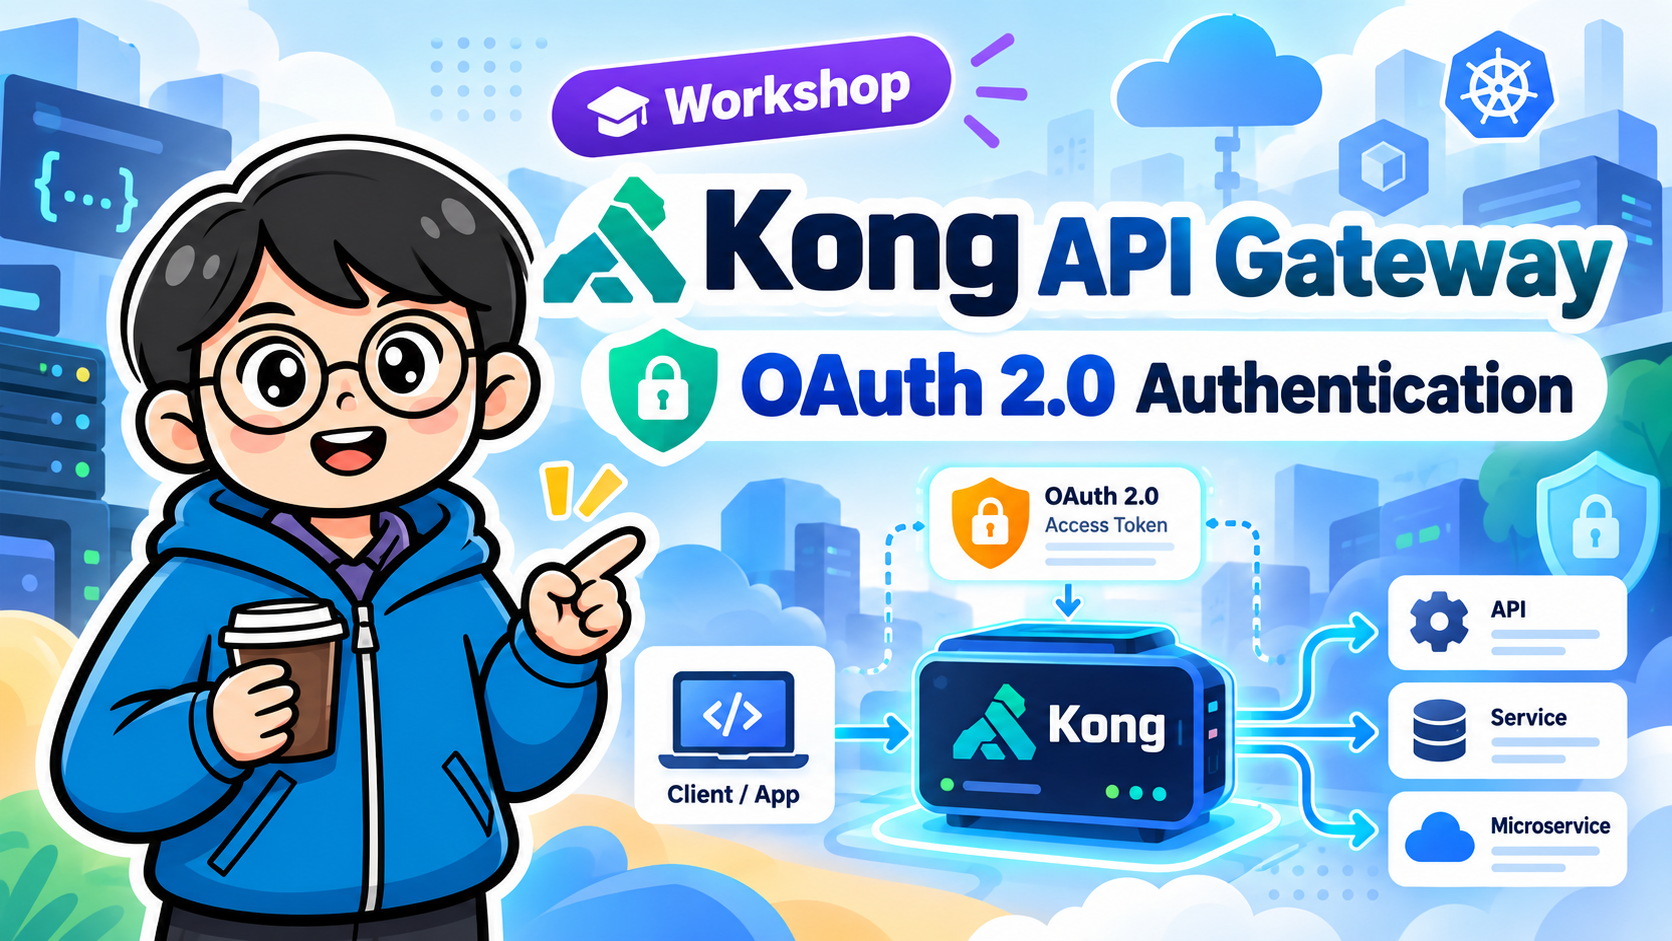
- สารบัญ
- บทนำ
- สิ่งที่ผู้เรียนจะทำได้หลังจบ Workshop
- สถาปัตยกรรมของระบบ
- OAuth 2.0 Flow ที่ใช้ใน Workshop
- หมายเหตุสำคัญเกี่ยวกับ Kong OAuth 2.0 Plugin
- ข้อกำหนดก่อนเริ่ม
- โครงสร้าง Workshop
- ติดตั้ง Kong Gateway ด้วย Docker Compose
- ตรวจสอบ Kong Admin API
- สร้าง Gateway Service และ Route
- ทดสอบ API ก่อนเปิด OAuth 2.0
- เปิดใช้งาน OAuth 2.0 Plugin
- ทดสอบ API หลังเปิด OAuth
- สร้าง Consumer
- สร้าง OAuth 2.0 Application
- ความสัมพันธ์ของ Object ใน Kong
- ขอ Access Token
- ใช้ Form URL Encoded
- เก็บ Token ใน Environment Variable
- เรียก Protected API ด้วย Bearer Token
- ตรวจสอบ Header ที่ Kong ส่งไปยัง Upstream
- ทดสอบกรณีผิดพลาด
- การทำงานของ Scope
- OAuth 2.0 Authentication กับ Authorization
- Authorization Code Flow
- Client Credentials vs Authorization Code
- Security Best Practices
- ตรวจสอบ Entity ผ่าน Admin API
- Troubleshooting
- Cleanup
- แบบฝึกหัดท้าย Workshop
- Workshop Challenge: OAuth + Rate Limiting
- Production Architecture
- OAuth Authentication Flow สรุป
- สรุป
- เอกสารอ้างอิง
เวิร์กช็อปภาษาไทยสำหรับเรียนรู้การป้องกัน REST API ด้วย Kong API Gateway และ OAuth 2.0 Authentication Plugin
เน้นการใช้งาน Client Credentials Grant สำหรับระบบแบบ Service-to-Service / Machine-to-Machine
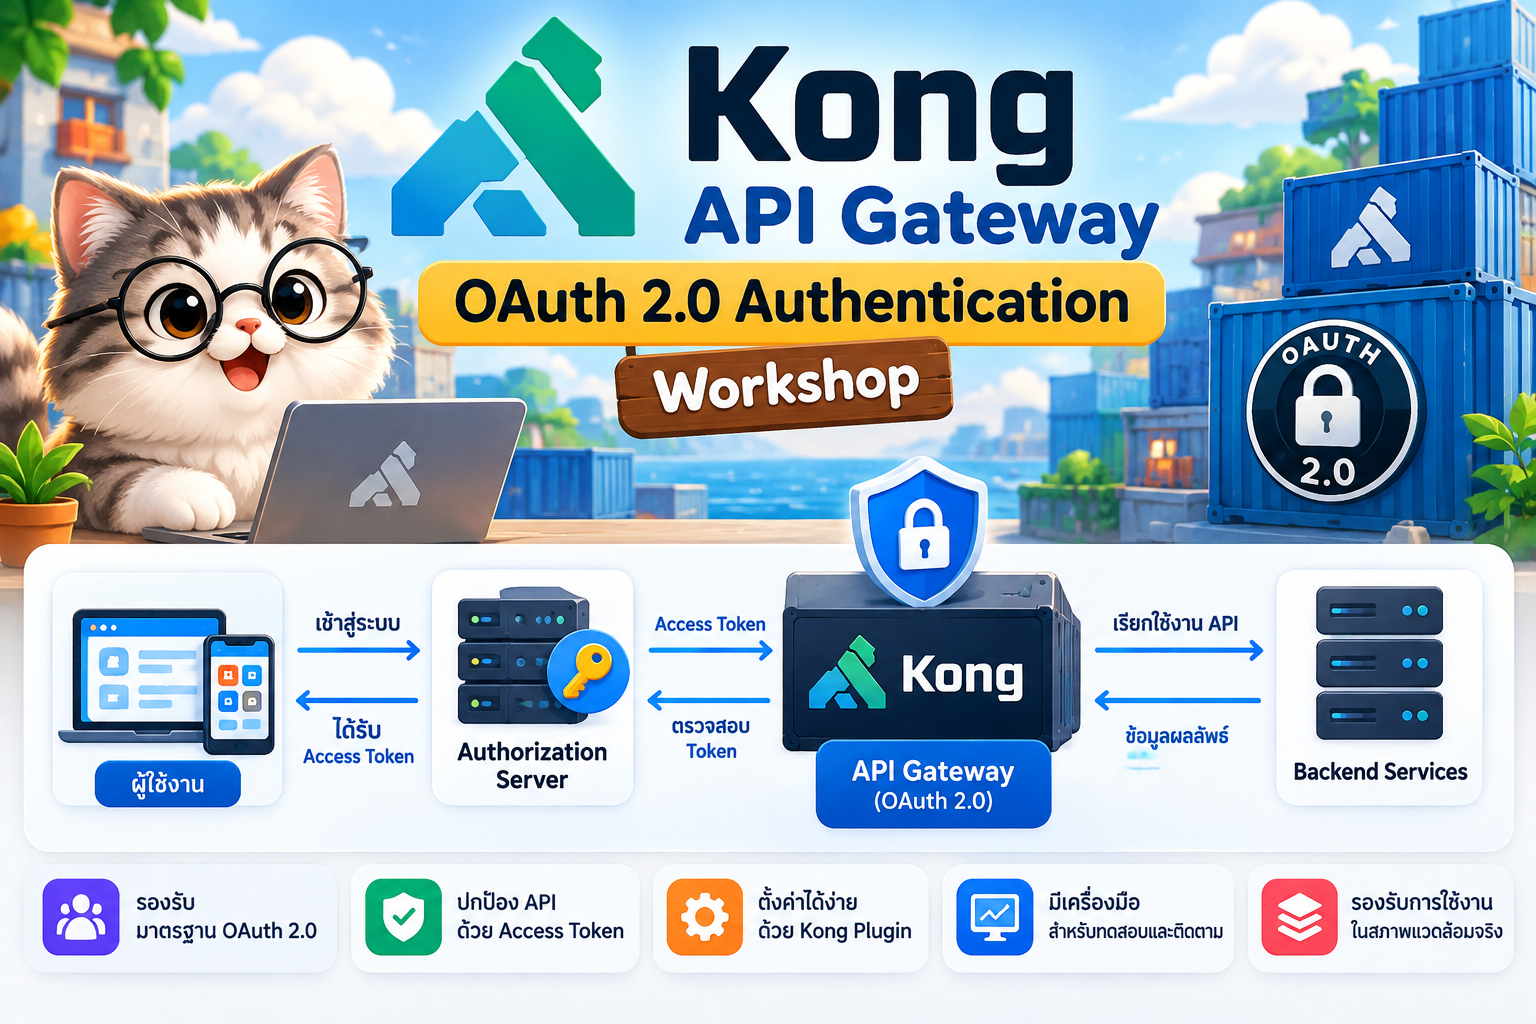
#สารบัญ
- บทนำ
- สถาปัตยกรรมของระบบ
- OAuth 20 Flow ที่ใช้ใน Workshop
- ข้อกำหนดก่อนเริ่ม
- ติดตั้ง Kong Gateway ด้วย Docker Compose
- สร้าง Gateway Service และ Route
- เปิดใช้งาน OAuth 20 Plugin
- สร้าง Consumer
- สร้าง OAuth 20 Application
- ขอ Access Token
- เรียก Protected API ด้วย Bearer Token
- ทดสอบกรณีผิดพลาด
- การทำงานของ Scope
- Authorization Code Flow
- Security Best Practices
- Troubleshooting
- แบบฝึกหัดท้าย Workshop
- สรุป
#บทนำ
Kong Gateway เป็น API Gateway ที่ทำหน้าที่เป็นจุดกลางระหว่าง Client และ Backend API โดยสามารถเพิ่มความสามารถด้าน Authentication, Authorization, Rate Limiting, Logging, Observability และ Traffic Management ได้ผ่าน Plugin
หนึ่งใน Plugin ที่ใช้สำหรับ Authentication คือ OAuth 2.0 Authentication Plugin ซึ่งช่วยให้ Kong สามารถออกและตรวจสอบ Access Token ก่อนอนุญาตให้ Request ผ่านไปยัง Upstream Service
Workshop นี้จะสร้างระบบตัวอย่างดังนี้
Client
   |
   | OAuth 2.0 Access Token
   v
Kong API Gateway
   |
   | OAuth2 Plugin
   v
Protected API
เป้าหมายคือทำให้ Client ที่ไม่มี Access Token ไม่สามารถเรียก API ได้
#สิ่งที่ผู้เรียนจะทำได้หลังจบ Workshop
ผู้เรียนจะสามารถ
- ติดตั้ง Kong Gateway แบบ Database-backed
- สร้าง Gateway Service
- สร้าง Route
- เปิด OAuth 2.0 Authentication Plugin
- สร้าง Consumer
- สร้าง OAuth Application
- ขอ Access Token ด้วย Client Credentials Grant
- ส่ง Access Token ผ่าน HTTP Bearer Authentication
- ทดสอบกรณีไม่มี Token
- ทดสอบ Invalid Token
- ใช้ OAuth Scope
- เข้าใจตำแหน่งของ Kong ในระบบ API Security
#สถาปัตยกรรมของระบบ
Workshop นี้ประกอบด้วย 4 ส่วนหลัก
flowchart LR

    C[Client Application]
    K[Kong API Gateway]
    O[OAuth 2.0 Plugin]
    A[Upstream API]
    DB[(PostgreSQL)]

    C -->|Request Token| K
    K --> O
    O --> DB
    K -->|Access Token| C

    C -->|Bearer Token| K
    K --> O
    O -->|Validate Token| DB
    O -->|Authorized| A
    A --> K
    K --> C
องค์ประกอบแต่ละส่วนมีหน้าที่ดังนี้
| Component | หน้าที่ |
|---|---|
| Client | แอปหรือ Service ที่ต้องการเรียก API |
| Kong Gateway | รับ Request และบังคับใช้นโยบาย |
| OAuth2 Plugin | ออกและตรวจสอบ Access Token |
| PostgreSQL | เก็บ Consumer, Credential และ Token |
| Upstream API | Backend API ที่ต้องการป้องกัน |
#OAuth 2.0 Flow ที่ใช้ใน Workshop
Workshop นี้เลือกใช้
Client Credentials Grant
เพราะเหมาะกับระบบแบบ
Service -> Service
Backend -> Backend
CI/CD -> API
Cron Job -> API
Microservice -> Microservice
ตัวอย่าง Flow
Client
   |
   | client_id
   | client_secret
   | grant_type=client_credentials
   v
Kong Gateway
   |
   v
OAuth2 Plugin
   |
   | Validate OAuth Application
   v
PostgreSQL
   |
   v
Access Token
   |
   v
Client
หลังจาก Client ได้ Token แล้ว
Client
   |
   | Authorization: Bearer <ACCESS_TOKEN>
   v
Kong Gateway
   |
   | Validate Token
   v
OAuth2 Plugin
   |
   v
Upstream API
#หมายเหตุสำคัญเกี่ยวกับ Kong OAuth 2.0 Plugin
เอกสาร Kong ปัจจุบันระบุว่า OAuth 2.0 Authentication Plugin รองรับ Traditional topology และต้องใช้ฐานข้อมูล เนื่องจาก Plugin ต้องสร้าง ลบ และจัดการ Token
ดังนั้น Workshop นี้จะไม่ใช้ DB-less mode
นอกจากนี้ OAuth 2.0 Authentication Plugin ปัจจุบันไม่รองรับ Kong Konnect โดยตรง
สำหรับระบบ Production ที่มี Identity Provider ภายนอก เช่น
- Keycloak
- Auth0
- Okta
- Microsoft Entra ID
อาจเลือกใช้ OpenID Connect หรือ OAuth 2.0 Token Introspection แทน
#ข้อกำหนดก่อนเริ่ม
เครื่องควรติดตั้ง
Docker
Docker Compose
curl
ตรวจสอบ Docker
docker --version
ตรวจสอบ Docker Compose
docker compose version
ตรวจสอบ curl
curl --version
#โครงสร้าง Workshop
สร้างโฟลเดอร์
mkdir kong-oauth2-workshop
cd kong-oauth2-workshop
โครงสร้างไฟล์
kong-oauth2-workshop/
└── docker-compose.yml
#ติดตั้ง Kong Gateway ด้วย Docker Compose
ตัวอย่างนี้ใช้ PostgreSQL เป็น Database ของ Kong
หมายเหตุ: เอกสาร Kong รุ่นปัจจุบันใช้ image ตระกูล
kong/kong-gateway:3.16.0.0สำหรับ Kong Gateway 3.16 และอาจต้องใช้ License ตาม Edition/Feature ที่ใช้งาน
สร้างไฟล์
docker-compose.yml
ตัวอย่าง
services:

  kong-database:
    image: postgres:16-alpine
    container_name: kong-database
    restart: unless-stopped
    environment:
      POSTGRES_USER: kong
      POSTGRES_PASSWORD: kong
      POSTGRES_DB: kong
    healthcheck:
      test: ["CMD-SHELL", "pg_isready -U kong -d kong"]
      interval: 5s
      timeout: 5s
      retries: 10
    volumes:
      - kong-db-data:/var/lib/postgresql/data
    networks:
      - kong-net

  kong-migrations:
    image: kong/kong-gateway:3.16.0.0
    container_name: kong-migrations
    command: kong migrations bootstrap
    environment:
      KONG_DATABASE: postgres
      KONG_PG_HOST: kong-database
      KONG_PG_DATABASE: kong
      KONG_PG_USER: kong
      KONG_PG_PASSWORD: kong
      KONG_LICENSE_DATA: ${KONG_LICENSE_DATA:-}
    depends_on:
      kong-database:
        condition: service_healthy
    networks:
      - kong-net
    restart: "no"

  kong:
    image: kong/kong-gateway:3.16.0.0
    container_name: kong
    restart: unless-stopped
    environment:
      KONG_DATABASE: postgres
      KONG_PG_HOST: kong-database
      KONG_PG_DATABASE: kong
      KONG_PG_USER: kong
      KONG_PG_PASSWORD: kong

      KONG_LICENSE_DATA: ${KONG_LICENSE_DATA:-}

      KONG_PROXY_ACCESS_LOG: /dev/stdout
      KONG_PROXY_ERROR_LOG: /dev/stderr
      KONG_ADMIN_ACCESS_LOG: /dev/stdout
      KONG_ADMIN_ERROR_LOG: /dev/stderr

      KONG_ADMIN_LISTEN: 0.0.0.0:8001
      KONG_PROXY_LISTEN: 0.0.0.0:8000, 0.0.0.0:8443 ssl

    depends_on:
      kong-migrations:
        condition: service_completed_successfully
    ports:
      - "8000:8000"
      - "8443:8443"
      - "8001:8001"
    networks:
      - kong-net

  httpbin:
    image: kennethreitz/httpbin
    container_name: httpbin
    restart: unless-stopped
    networks:
      - kong-net

volumes:
  kong-db-data:

networks:
  kong-net:
    driver: bridge
ถ้ามี Kong Enterprise License ให้กำหนดก่อนรัน
Linux/macOS
export KONG_LICENSE_DATA='<YOUR_LICENSE_JSON>'
PowerShell
$env:KONG_LICENSE_DATA='<YOUR_LICENSE_JSON>'
จากนั้น Start Container
docker compose up -d
ตรวจสอบ
docker compose ps
ดู Log
docker compose logs -f kong
#ตรวจสอบ Kong Admin API
เรียก
curl http://localhost:8001
ถ้าระบบทำงานปกติจะได้ข้อมูล Kong Gateway กลับมาในรูปแบบ JSON
Port สำคัญ
| Port | หน้าที่ |
|---|---|
| 8000 | Proxy HTTP |
| 8443 | Proxy HTTPS |
| 8001 | Admin API |
#สร้าง Gateway Service และ Route
ใน Workshop นี้ใช้ httpbin เป็น Backend API
#สร้าง Service
curl -i -X POST http://localhost:8001/services   -H "Content-Type: application/json"   -d '{
    "name": "demo-api",
    "url": "http://httpbin:80"
  }'
ตรวจสอบ Service
curl http://localhost:8001/services/demo-api
#สร้าง Route
curl -i -X POST   http://localhost:8001/services/demo-api/routes   -H "Content-Type: application/json"   -d '{
    "name": "demo-api-route",
    "paths": ["/api"],
    "strip_path": true,
    "protocols": ["http", "https"]
  }'
Route ที่ได้คือ
/api
ตัวอย่าง
https://localhost:8443/api/get
Kong จะ Proxy ไปยัง
http://httpbin/get
#ทดสอบ API ก่อนเปิด OAuth 2.0
curl -k https://localhost:8443/api/get
-k ใช้เพื่อให้ curl ยอมรับ Self-signed Certificate ใน Local Workshop
ไม่ควรใช้
-k
ในระบบ Production
#เปิดใช้งาน OAuth 2.0 Plugin
เราจะกำหนด Scope เป็น
read
write
เปิด Client Credentials Grant
curl -i -X POST   http://localhost:8001/services/demo-api/plugins   -H "Content-Type: application/json"   -d '{
    "name": "oauth2",
    "config": {
      "scopes": [
        "read",
        "write"
      ],
      "mandatory_scope": true,
      "enable_client_credentials": true,
      "token_expiration": 3600,
      "provision_key": "kong-oauth-workshop-2026"
    }
  }'
ความหมาย
| Parameter | ความหมาย |
|---|---|
scopes |
Scope ที่รองรับ |
mandatory_scope |
บังคับให้ Token มี Scope |
enable_client_credentials |
เปิด Client Credentials Grant |
token_expiration |
อายุ Token เป็นวินาที |
provision_key |
Key สำหรับขั้นตอน OAuth |
ตรวจสอบ Plugin
curl http://localhost:8001/services/demo-api/plugins
#ทดสอบ API หลังเปิด OAuth
เรียกโดยไม่มี Token
curl -k -i https://localhost:8443/api/get
ควรได้รับ
401 Unauthorized
Flow ตอนนี้คือ
Client
   |
   | No Token
   v
Kong Gateway
   |
   v
OAuth2 Plugin
   |
   X Reject
#สร้าง Consumer
Kong Consumer ใช้แทน Client หรือ Application ที่เรียก API
สร้าง Consumer ชื่อ
payment-service
คำสั่ง
curl -i -X POST   http://localhost:8001/consumers   -H "Content-Type: application/json"   -d '{
    "username": "payment-service",
    "custom_id": "svc-payment-001"
  }'
ตรวจสอบ
curl http://localhost:8001/consumers/payment-service
#สร้าง OAuth 2.0 Application
สร้าง OAuth Credential ให้ Consumer
curl -i -X POST   http://localhost:8001/consumers/payment-service/oauth2   -H "Content-Type: application/json"   -d '{
    "name": "payment-client",
    "redirect_uris": [
      "https://localhost/callback"
    ]
  }'
Kong จะสร้าง
client_id
client_secret
ตัวอย่าง Response
{
  "name": "payment-client",
  "client_id": "xxxxxxxxxxxxxxxxxxxx",
  "client_secret": "yyyyyyyyyyyyyyyyyyyy",
  "redirect_uris": [
    "https://localhost/callback"
  ]
}
ให้บันทึก
client_id
client_secret
#ความสัมพันธ์ของ Object ใน Kong
Consumer
   |
   +-- OAuth Application
           |
           +-- client_id
           |
           +-- client_secret
ตัวอย่าง
payment-service
       |
       v
payment-client
       |
       +-- client_id
       |
       +-- client_secret
#ขอ Access Token
Token Endpoint อยู่ใต้ Route ของ Service
ใน Workshop นี้ Route คือ
/api
ดังนั้น Token Endpoint คือ
https://localhost:8443/api/oauth2/token
#ขอ Token ด้วย Client Credentials
curl -k -i -X POST   https://localhost:8443/api/oauth2/token   -H "Content-Type: application/json"   -d '{
    "client_id": "YOUR_CLIENT_ID",
    "client_secret": "YOUR_CLIENT_SECRET",
    "grant_type": "client_credentials",
    "scope": "read"
  }'
ตัวอย่าง Response
{
  "token_type": "bearer",
  "access_token": "ACCESS_TOKEN_VALUE",
  "expires_in": 3600
}
คัดลอก
access_token
#ใช้ Form URL Encoded
OAuth Client จำนวนมากส่ง Request ด้วย
application/x-www-form-urlencoded
ตัวอย่าง
curl -k -X POST https://localhost:8443/api/oauth2/token -H "Content-Type: application/x-www-form-urlencoded" --data-urlencode "client_id=YOUR_CLIENT_ID" --data-urlencode "client_secret=YOUR_CLIENT_SECRET" --data-urlencode "grant_type=client_credentials" --data-urlencode "scope=read"
#เก็บ Token ใน Environment Variable
Linux/macOS
export TOKEN="YOUR_ACCESS_TOKEN"
เรียก API
curl -k https://localhost:8443/api/get -H "Authorization: Bearer $TOKEN"
PowerShell
$env:TOKEN="YOUR_ACCESS_TOKEN"
เรียก
curl.exe -k `
  https://localhost:8443/api/get `
  -H "Authorization: Bearer $env:TOKEN"
#เรียก Protected API ด้วย Bearer Token
รูปแบบมาตรฐาน
Authorization: Bearer ACCESS_TOKEN
ทดสอบ
curl -k -i https://localhost:8443/api/get -H "Authorization: Bearer YOUR_ACCESS_TOKEN"
ถ้า Token ถูกต้อง
Client
   |
   | Bearer Token
   v
Kong
   |
   | Validate
   v
OAuth2 Plugin
   |
   | Authorized
   v
Upstream API
#ตรวจสอบ Header ที่ Kong ส่งไปยัง Upstream
เรียก
curl -k https://localhost:8443/api/anything -H "Authorization: Bearer YOUR_ACCESS_TOKEN"
ให้สังเกต Header เช่น
X-Consumer-ID
X-Consumer-Custom-ID
X-Consumer-Username
X-Credential-Identifier
X-Authenticated-Scope
Upstream API สามารถนำข้อมูลเหล่านี้ไปใช้ระบุ Consumer ได้
ตัวอย่าง
X-Consumer-Username: payment-service
#ทดสอบกรณีผิดพลาด
#กรณีที่ 1: ไม่มี Token
curl -k -i https://localhost:8443/api/get
ผลที่คาดหวัง
401 Unauthorized
#กรณีที่ 2: Token ผิด
curl -k -i https://localhost:8443/api/get -H "Authorization: Bearer invalid-token"
ผลที่คาดหวัง
401 Unauthorized
#กรณีที่ 3: Client Secret ผิด
curl -k -i -X POST   https://localhost:8443/api/oauth2/token   -H "Content-Type: application/json"   -d '{
    "client_id": "YOUR_CLIENT_ID",
    "client_secret": "INVALID_SECRET",
    "grant_type": "client_credentials",
    "scope": "read"
  }'
ระบบไม่ควรออก Token
#กรณีที่ 4: Scope ไม่ถูกต้อง
Plugin กำหนด
read
write
ลองขอ
admin
curl -k -i -X POST   https://localhost:8443/api/oauth2/token   -H "Content-Type: application/json"   -d '{
    "client_id": "YOUR_CLIENT_ID",
    "client_secret": "YOUR_CLIENT_SECRET",
    "grant_type": "client_credentials",
    "scope": "admin"
  }'
Kong ควรปฏิเสธ Scope ที่ไม่ได้กำหนดไว้
#การทำงานของ Scope
Scope ใช้กำหนดขอบเขตสิทธิ์ของ Token
ตัวอย่าง
orders.read
orders.write
payments.read
payments.write
แนวทางออกแบบ
| Scope | ความหมาย |
|---|---|
orders.read |
อ่าน Order |
orders.write |
เพิ่มหรือแก้ไข Order |
payments.read |
อ่าน Payment |
payments.write |
ทำรายการ Payment |
ตัวอย่างขอ Token
curl -k -X POST   https://localhost:8443/api/oauth2/token   -H "Content-Type: application/json"   -d '{
    "client_id": "YOUR_CLIENT_ID",
    "client_secret": "YOUR_CLIENT_SECRET",
    "grant_type": "client_credentials",
    "scope": "orders.read"
  }'
#OAuth 2.0 Authentication กับ Authorization
OAuth 2.0 Token ช่วยตอบคำถามหลักว่า
Client นี้ได้รับอนุญาตให้เข้าถึง API หรือไม่
ส่วน Scope ช่วยระบุ
Client นี้ได้รับสิทธิ์ระดับใด
ตัวอย่าง
Token A
scope = orders.read
สามารถอ่าน Order
แต่ไม่ควรมีสิทธิ์
orders.write
สำหรับระบบที่ต้องการ Fine-grained Authorization อาจเพิ่ม
ACL
OPA
OpenID Connect Claims
External Authorization Service
RBAC
#Authorization Code Flow
Client Credentials เหมาะกับระบบ Machine-to-Machine
แต่ Web Application ที่มี End User มักใช้
Authorization Code
หรือ
Authorization Code + PKCE
ตัวอย่าง
User
 |
 v
Web App
 |
 | Redirect
 v
Authorization Endpoint
 |
 | Login + Consent
 v
Authorization Code
 |
 v
Web App
 |
 | Exchange Code
 v
Token Endpoint
 |
 v
Access Token
Kong OAuth 2.0 Plugin สามารถเปิด Authorization Code Flow ได้ด้วย
{
  "config": {
    "enable_authorization_code": true
  }
}
แต่ Application ต้องมีส่วน Login/Consent และ Redirect Handling เพิ่มเติม
#Client Credentials vs Authorization Code
| หัวข้อ | Client Credentials | Authorization Code |
|---|---|---|
| มี End User | ไม่จำเป็น | มี |
| เหมาะกับ Backend | ดีมาก | บางกรณี |
| เหมาะกับ Web Login | ไม่เหมาะ | เหมาะ |
| ใช้ client_secret | ใช่ | ใช่ใน Confidential Client |
| Redirect URI | ไม่ใช่แกนหลัก | สำคัญ |
| ความซับซ้อน | ต่ำ | สูงกว่า |
#Security Best Practices
#1. ใช้ HTTPS
Token Endpoint ควรใช้
https://
ไม่ควรส่ง
client_secret
ผ่าน HTTP แบบไม่มี TLS
#2. อย่าเปิด Admin API สู่ Internet
Port
8001
ควรเข้าถึงได้เฉพาะ Internal Network
แนวทาง
Firewall
Security Group
VPN
Private Network
Bastion Host
RBAC
#3. เก็บ Client Secret อย่างปลอดภัย
ไม่ควรเก็บใน
Git Repository
Frontend JavaScript
Mobile Application
Dockerfile
CI/CD Log
ควรใช้
Environment Variable
Docker Secret
Kubernetes Secret
HashiCorp Vault
AWS Secrets Manager
Google Secret Manager
Azure Key Vault
#4. กำหนด Token Expiration
Workshop ใช้
3600 seconds
หรือ
1 hour
ระบบจริงควรกำหนดตาม Risk และลักษณะการใช้งาน
#5. หลีกเลี่ยง Password Grant
Resource Owner Password Credentials Grant เป็น Flow แบบเก่าและไม่ควรเลือกเป็น Default สำหรับระบบใหม่
ระบบใหม่ควรพิจารณา
Authorization Code + PKCE
Client Credentials
ตามประเภท Client
#6. จำกัดการเข้าถึง Upstream API
ไม่ควรให้ Client สามารถเรียก Upstream โดยตรง
ไม่เช่นนั้น Client อาจข้าม Kong
สถาปัตยกรรมที่แนะนำ
Internet
   |
   v
Kong Gateway
   |
Private Network
   |
   v
Backend API
#ตรวจสอบ Entity ผ่าน Admin API
#Services
curl http://localhost:8001/services
#Routes
curl http://localhost:8001/routes
#Plugins
curl http://localhost:8001/plugins
#Consumers
curl http://localhost:8001/consumers
#OAuth Credentials
curl http://localhost:8001/consumers/payment-service/oauth2
#Troubleshooting
#ปัญหา: ได้ 401 Unauthorized
ตรวจสอบ
Authorization: Bearer <TOKEN>
ตรวจสอบว่า Token หมดอายุหรือไม่
#ปัญหา: ขอ Token ผ่าน HTTP ไม่ได้
ใน Local Workshop ควรใช้ HTTPS
https://localhost:8443
ตัวอย่าง
curl -k https://localhost:8443/api/oauth2/token
#ปัญหา: Token Endpoint 404
ถ้า Route คือ
/api
Token Endpoint คือ
/api/oauth2/token
ไม่ใช่
/oauth2/token
#ปัญหา: OAuth2 Plugin ใช้กับ DB-less ไม่ได้
Plugin นี้ต้องสร้างและลบ Token ใน Database
จึงต้องใช้ Database-backed / Traditional topology
ตัวอย่าง
KONG_DATABASE=postgres
#ปัญหา: Container ไม่ทำงาน
ดู Log
docker compose logs kong
ดู Database
docker compose logs kong-database
ตรวจสอบ Container
docker compose ps
#Cleanup
หยุดระบบ
docker compose down
ลบ Container และ Volume
docker compose down -v
#แบบฝึกหัดท้าย Workshop
ให้สร้าง API ใหม่ชื่อ
order-api
กำหนด Route
/orders
กำหนด Scope
orders.read
orders.write
จากนั้น
- สร้าง Service
order-api - สร้าง Route
/orders - เปิด OAuth2 Plugin
- สร้าง Consumer
inventory-service - สร้าง OAuth Application
- ขอ Token ด้วย Scope
orders.read - เรียก Protected API
- ตรวจสอบ
X-Authenticated-Scope - ทดสอบ Invalid Token
- เพิ่ม Rate Limiting Plugin
#Workshop Challenge: OAuth + Rate Limiting
Architecture
flowchart LR

    C[Client]
    O[OAuth2 Authentication]
    R[Rate Limiting]
    K[Kong Gateway]
    A[Order API]

    C --> K
    K --> O
    O --> R
    R --> A
แนวคิดคือ
Authentication
        +
Traffic Control
        =
Protected API Gateway
#Production Architecture
ตัวอย่างระบบจริงอาจมี Identity Provider แยกออกจาก Kong
flowchart LR

    U[User]
    APP[Web / Mobile App]
    IDP[Identity Provider]
    K[Kong Gateway]
    A1[Order API]
    A2[Payment API]
    A3[Customer API]

    U --> APP
    APP --> IDP
    IDP --> APP

    APP -->|Access Token| K

    K --> A1
    K --> A2
    K --> A3
Identity Provider อาจเป็น
Keycloak
Auth0
Okta
Microsoft Entra ID
Kong สามารถทำหน้าที่ Validate Token ก่อนส่ง Request เข้า Backend
#OAuth Authentication Flow สรุป
1. Create Service
        |
        v
2. Create Route
        |
        v
3. Enable OAuth2 Plugin
        |
        v
4. Create Consumer
        |
        v
5. Create OAuth Application
        |
        v
6. client_id + client_secret
        |
        v
7. POST /oauth2/token
        |
        v
8. Access Token
        |
        v
9. Authorization: Bearer <TOKEN>
        |
        v
10. Kong validates Token
        |
        v
11. Forward Request to Upstream API
#สรุป
Kong OAuth 2.0 Authentication Plugin ช่วยย้ายภาระ Authentication ออกจาก Backend API มาไว้ที่ Gateway Layer
แทนที่ Backend ทุกตัวต้องเขียน Token Validation เอง
Service A -> Validate Token
Service B -> Validate Token
Service C -> Validate Token
สามารถเปลี่ยนเป็น
Client
   |
   v
Kong Gateway
   |
   | OAuth2 Validation
   v
Service A
Service B
Service C
ข้อดีคือ
- ลด Code ซ้ำใน Microservices
- บริหาร Authentication จากศูนย์กลาง
- รองรับ Consumer และ Credential
- ใช้ Scope เพื่อแบ่งสิทธิ์
- เชื่อมต่อกับ Plugin อื่น เช่น Rate Limiting และ Logging ได้
- เหมาะสำหรับ API Gateway Architecture
สำหรับ Service-to-Service สามารถเริ่มจาก
Client Credentials Grant
ส่วนระบบที่มี User Login ควรพิจารณา
Authorization Code + PKCE
และใน Production ที่มี Identity Provider อยู่แล้ว ควรพิจารณา OpenID Connect หรือ Token Introspection ตามสถาปัตยกรรมขององค์กร
#เอกสารอ้างอิง
-
Kong Developer Documentation — OAuth 2.0 Authentication Plugin
https://developer.konghq.com/plugins/oauth2/ -
Kong Developer Documentation — OAuth 2.0 Configuration Reference
https://developer.konghq.com/plugins/oauth2/reference/ -
Kong Developer Documentation — Client Credentials Example
https://developer.konghq.com/plugins/oauth2/examples/client-credentials/ -
Kong Developer Documentation — Enable OAuth 2.0 Authentication with Kong Gateway
https://developer.konghq.com/how-to/enable-oauth2-authentication-with-kong-gateway/ -
Kong Developer Documentation — Install Kong Gateway using Docker Compose
https://developer.konghq.com/gateway/install/docker/
หัวข้อ: Kong API Gateway (OAuth 2.0 Authentication) Workshop
ประเภท: Workshop / Web Blog / Training Material
ภาษา: ไทย
อัปเดต: ตุลาคม 2026