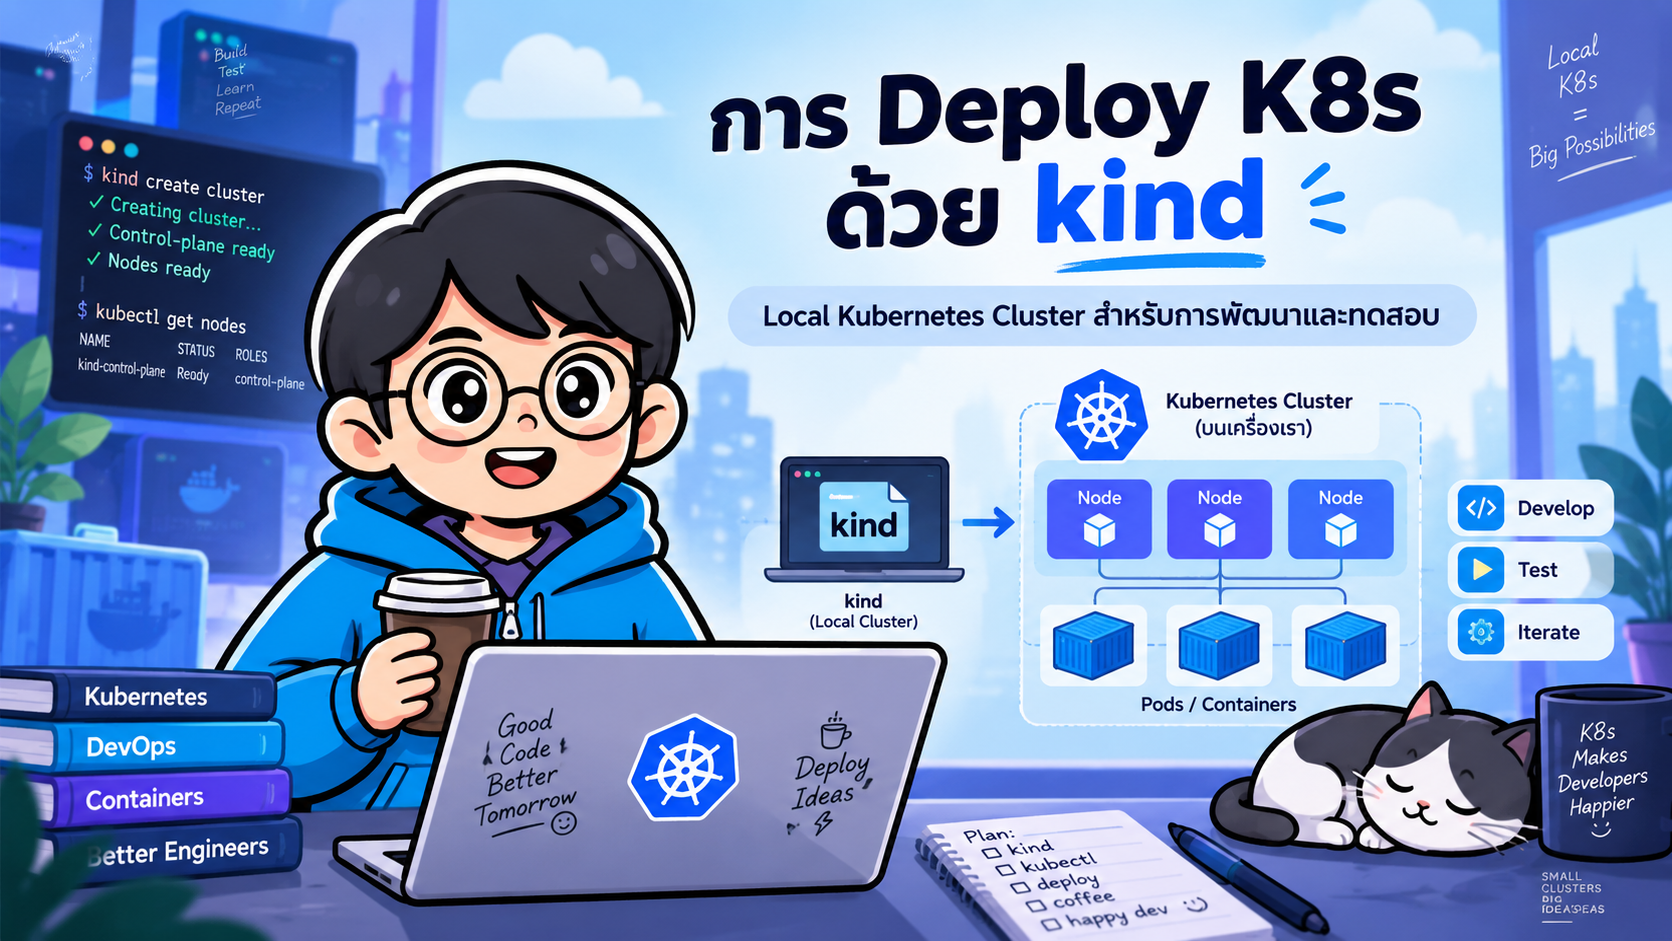
- การ Deploy Kubernetes ด้วย kind
- 1. สิ่งที่ต้องติดตั้ง
- 2. ติดตั้ง kind
- 3. สร้าง Kubernetes Cluster
- 4. สร้าง Cluster โดยกำหนดชื่อ
- 5. สร้าง Multi-node Cluster
- 6. Deploy Application แรกด้วย Nginx
- 7. สร้าง Kubernetes Service
- 8. เปิด Application ด้วย port-forward
- 9. เปิด Port จาก kind Cluster ไปยัง Host
- 10. Deploy Docker Image ที่ Build เอง
- 11. Workflow สำหรับ Local Development
- 12. Update Application
- 13. Scale Application
- 14. ดู Log
- 15. เข้าไปใน Container
- 16. Troubleshooting
- 17. ดู Resource ทั้งหมด
- 18. ใช้ Namespace แยก Environment
- 19. ใช้ ConfigMap
- 20. ใช้ Secret
- 21. Folder Structure ที่แนะนำ
- 22. ตัวอย่าง Full Deployment
- 23. ลบ Resource
- 24. ลบ kind Cluster
- 25. kind กับ Minikube ต่างกันอย่างไร
- 26. kind เหมาะกับ Production หรือไม่
- 27. Workflow ก่อนขึ้น Production
- คำสั่ง kind และ kubectl ที่ใช้บ่อย
- สรุป
#การ Deploy Kubernetes ด้วย kind
kind หรือ Kubernetes IN Docker เป็นเครื่องมือสำหรับสร้าง Kubernetes Cluster บนเครื่อง Local โดยใช้ Docker Container เป็น Kubernetes Node
เหมาะสำหรับงานด้าน
- เรียนรู้ Kubernetes
- พัฒนาและทดสอบ Application
- ทดสอบ Kubernetes Manifest
- ทดสอบ Helm Chart
- สร้าง Multi-node Cluster
- ใช้ใน CI/CD Pipeline
- ทดสอบ Container Image ก่อนขึ้น Production
จุดเด่นของ kind คือสร้าง Cluster ได้รวดเร็ว ใช้งานง่าย และลบ Cluster ได้โดยไม่กระทบ Environment หลักของเครื่อง
#Architecture ของ kind
แนวคิดของ kind สามารถอธิบายได้ดังนี้
Host Machine
     |
     v
Docker
     |
     +------------------------+
     |                        |
     v                        v
Control Plane              Worker Node
(Container)                (Container)
     |                        |
     +-----------+------------+
                 |
                 v
          Kubernetes Pods
กล่าวคือ Kubernetes Node แต่ละตัวจะทำงานอยู่ภายใน Docker Container
#1. สิ่งที่ต้องติดตั้ง
ก่อนเริ่มต้นควรติดตั้ง
Docker
kind
kubectl
ตรวจสอบ Docker
docker --version
ตรวจสอบ kind
kind version
ตรวจสอบ kubectl
kubectl version --client
#2. ติดตั้ง kind
#macOS
ติดตั้งด้วย Homebrew
brew install kind
#Windows
ติดตั้งด้วย Chocolatey
choco install kind
หรือ Winget
winget install Kubernetes.kind
#Linux
สามารถดาวน์โหลด Binary จากหน้า Release ของ kind แล้วนำไปไว้ใน PATH เช่น
chmod +x kind

sudo mv kind /usr/local/bin/kind
จากนั้นตรวจสอบ
kind version
#3. สร้าง Kubernetes Cluster
สร้าง Cluster แบบ Default
kind create cluster
ตรวจสอบ Cluster
kind get clusters
ผลลัพธ์ตัวอย่าง
kind
ตรวจสอบ Node
kubectl get nodes
ตัวอย่าง
NAME                 STATUS   ROLES           AGE   VERSION
kind-control-plane   Ready    control-plane   1m    v1.xx.x
ตรวจสอบข้อมูล Cluster
kubectl cluster-info
#4. สร้าง Cluster โดยกำหนดชื่อ
สามารถสร้างหลาย Cluster บนเครื่องเดียวกันได้
kind create cluster --name dev-cluster
ตรวจสอบ
kind get clusters
ตัวอย่าง
kind
dev-cluster
ดู Kubernetes Context
kubectl config get-contexts
เปลี่ยน Context
kubectl config use-context kind-dev-cluster
#5. สร้าง Multi-node Cluster
ในกรณีที่ต้องการจำลองระบบให้ใกล้เคียง Kubernetes จริงมากขึ้น สามารถสร้าง Worker Node หลายตัวได้
สร้างไฟล์
kind-config.yaml
kind: Cluster
apiVersion: kind.x-k8s.io/v1alpha4

nodes:
  - role: control-plane

  - role: worker

  - role: worker
สร้าง Cluster
kind create cluster --name dev-cluster --config kind-config.yaml
ตรวจสอบ Node
kubectl get nodes
ตัวอย่าง
NAME                        STATUS   ROLES
dev-cluster-control-plane   Ready    control-plane
dev-cluster-worker          Ready    <none>
dev-cluster-worker2         Ready    <none>
#6. Deploy Application แรกด้วย Nginx
สร้างไฟล์
deployment.yaml
apiVersion: apps/v1
kind: Deployment

metadata:
  name: nginx

spec:
  replicas: 2

  selector:
    matchLabels:
      app: nginx

  template:
    metadata:
      labels:
        app: nginx

    spec:
      containers:
        - name: nginx
          image: nginx:alpine

          ports:
            - containerPort: 80
Deploy
kubectl apply -f deployment.yaml
ตรวจสอบ Deployment
kubectl get deployments
ตรวจสอบ Pod
kubectl get pods
ดูรายละเอียด Deployment
kubectl describe deployment nginx
#7. สร้าง Kubernetes Service
Pod อาจถูกสร้างใหม่และ IP สามารถเปลี่ยนได้ ดังนั้นควรใช้ Service เป็นจุดเชื่อมต่อกับ Application
สร้างไฟล์
service.yaml
apiVersion: v1
kind: Service

metadata:
  name: nginx-service

spec:
  selector:
    app: nginx

  ports:
    - port: 80
      targetPort: 80

  type: ClusterIP
Deploy
kubectl apply -f service.yaml
ตรวจสอบ
kubectl get services
#8. เปิด Application ด้วย port-forward
วิธีที่ง่ายที่สุดสำหรับ Local Development คือ
kubectl port-forward service/nginx-service 8080:80
จากนั้นเปิด Browser
http://localhost:8080
Flow การทำงาน
Browser
   |
   v
localhost:8080
   |
   v
kubectl port-forward
   |
   v
Kubernetes Service
   |
   v
Pods
#9. เปิด Port จาก kind Cluster ไปยัง Host
kind รองรับ extraPortMappings
สร้างไฟล์
kind-config.yaml
kind: Cluster
apiVersion: kind.x-k8s.io/v1alpha4

nodes:
  - role: control-plane

    extraPortMappings:
      - containerPort: 30080
        hostPort: 8080
        protocol: TCP

  - role: worker

  - role: worker
สร้าง Cluster
kind create cluster --name web-cluster --config kind-config.yaml
จากนั้นสร้าง Service แบบ NodePort
apiVersion: v1
kind: Service

metadata:
  name: nginx-service

spec:
  type: NodePort

  selector:
    app: nginx

  ports:
    - port: 80
      targetPort: 80
      nodePort: 30080
Deploy
kubectl apply -f deployment.yaml

kubectl apply -f service.yaml
เปิด
http://localhost:8080
จุดสำคัญคือ
extraPortMappings.containerPort
ต้องตรงกับ
Service.nodePort
#10. Deploy Docker Image ที่ Build เอง
สมมติ Application มี Dockerfile
FROM nginx:alpine

COPY ./html /usr/share/nginx/html
Build Image
docker build -t my-web:v1 .
แต่ Image ที่ Build บน Host ยังไม่อยู่ใน kind Node
จึงต้อง Load Image เข้า Cluster
kind load docker-image my-web:v1
ถ้า Cluster มีชื่อ
kind load docker-image my-web:v1 --name dev-cluster
จากนั้นสร้าง Deployment
apiVersion: apps/v1
kind: Deployment

metadata:
  name: my-web

spec:
  replicas: 2

  selector:
    matchLabels:
      app: my-web

  template:
    metadata:
      labels:
        app: my-web

    spec:
      containers:
        - name: my-web
          image: my-web:v1
          imagePullPolicy: IfNotPresent

          ports:
            - containerPort: 80
Deploy
kubectl apply -f deployment.yaml
สำหรับ Local Image ควรใช้ Version Tag เช่น
v1,v2แทนlatestและกำหนดimagePullPolicy: IfNotPresentหรือNeverตามความเหมาะสม
#11. Workflow สำหรับ Local Development
Workflow ที่ใช้งานได้จริงคือ
Source Code
    |
    v
docker build
    |
    v
Docker Image
    |
    v
kind load docker-image
    |
    v
kubectl apply
    |
    v
Deployment
    |
    v
Pods
    |
    v
Service
    |
    v
Browser / Postman / API Client
ตัวอย่าง
docker build -t my-api:v1 .

kind load docker-image my-api:v1   --name dev-cluster

kubectl apply -f k8s/

kubectl get pods

kubectl port-forward service/my-api 8080:80
#12. Update Application
Build Image Version ใหม่
docker build -t my-web:v2 .
Load เข้า Cluster
kind load docker-image my-web:v2 --name dev-cluster
Update Deployment
kubectl set image deployment/my-web my-web=my-web:v2
ตรวจสอบ Rollout
kubectl rollout status deployment/my-web
ดูประวัติ
kubectl rollout history deployment/my-web
Rollback
kubectl rollout undo deployment/my-web
#13. Scale Application
เพิ่มจำนวน Pod
kubectl scale deployment nginx --replicas=5
ตรวจสอบ
kubectl get pods
ดูแบบ Real-time
kubectl get pods -w
#14. ดู Log
ดู Log ของ Pod
kubectl logs <pod-name>
ดูแบบ Real-time
kubectl logs -f <pod-name>
ดู Log ผ่าน Deployment
kubectl logs deployment/nginx
#15. เข้าไปใน Container
kubectl exec -it <pod-name> -- /bin/sh
ใช้สำหรับ Debug Application ภายใน Pod
#16. Troubleshooting
คำสั่งที่ใช้บ่อย
kubectl get pods
kubectl get pods -o wide
kubectl describe pod <pod-name>
kubectl logs <pod-name>
kubectl get events --sort-by=.metadata.creationTimestamp
ถ้า Pod เป็น
ImagePullBackOff
และกำลังใช้ Local Image ให้ตรวจสอบว่า Load Image เข้า Cluster แล้วหรือไม่
kind load docker-image my-app:v1 --name dev-cluster
#17. ดู Resource ทั้งหมด
kubectl get all
ดูทุก Namespace
kubectl get pods -A
#18. ใช้ Namespace แยก Environment
สร้าง Namespace
kubectl create namespace development
Deploy
kubectl apply -f deployment.yaml -n development
ตรวจสอบ
kubectl get pods -n development
แนวทางนี้สามารถใช้แยก
development
testing
staging
#19. ใช้ ConfigMap
สร้าง ConfigMap
kubectl create configmap app-config --from-literal=APP_ENV=development
ใช้ใน Deployment
env:
  - name: APP_ENV
    valueFrom:
      configMapKeyRef:
        name: app-config
        key: APP_ENV
#20. ใช้ Secret
สร้าง Secret
kubectl create secret generic app-secret --from-literal=DB_PASSWORD=my-password
ใช้ใน Deployment
env:
  - name: DB_PASSWORD
    valueFrom:
      secretKeyRef:
        name: app-secret
        key: DB_PASSWORD
ในระบบจริงไม่ควร Commit Secret แบบ Plain Text ลง Git Repository
#21. Folder Structure ที่แนะนำ
my-project/
│
├── src/
│
├── Dockerfile
│
├── kind-config.yaml
│
└── k8s/
    ├── namespace.yaml
    ├── configmap.yaml
    ├── secret.yaml
    ├── deployment.yaml
    └── service.yaml
Deploy ทั้ง Folder
kubectl apply -f k8s/
#22. ตัวอย่าง Full Deployment
#kind-config.yaml
kind: Cluster
apiVersion: kind.x-k8s.io/v1alpha4

nodes:
  - role: control-plane

  - role: worker

  - role: worker
สร้าง Cluster
kind create cluster --name demo --config kind-config.yaml
สร้างไฟล์
app.yaml
apiVersion: apps/v1
kind: Deployment

metadata:
  name: nginx

spec:
  replicas: 3

  selector:
    matchLabels:
      app: nginx

  template:
    metadata:
      labels:
        app: nginx

    spec:
      containers:
        - name: nginx
          image: nginx:alpine

          ports:
            - containerPort: 80

---

apiVersion: v1
kind: Service

metadata:
  name: nginx

spec:
  selector:
    app: nginx

  ports:
    - port: 80
      targetPort: 80
Deploy
kubectl apply -f app.yaml
ตรวจสอบ
kubectl get deployment

kubectl get pods

kubectl get service
เปิด Service
kubectl port-forward service/nginx 8080:80
เปิด Browser
http://localhost:8080
#23. ลบ Resource
ลบ Application
kubectl delete -f app.yaml
ลบ Deployment
kubectl delete deployment nginx
ลบ Service
kubectl delete service nginx
#24. ลบ kind Cluster
Cluster Default
kind delete cluster
Cluster ที่กำหนดชื่อ
kind delete cluster --name dev-cluster
ตรวจสอบ
kind get clusters
#25. kind กับ Minikube ต่างกันอย่างไร
| คุณสมบัติ | kind | Minikube |
|---|---|---|
| จุดประสงค์ | Dev / Test / CI | Local Kubernetes |
| Node | Container | VM หรือ Container |
| Multi-node | รองรับ | รองรับ |
| Startup | เร็ว | เร็วถึงปานกลาง |
| CI/CD | เหมาะมาก | ใช้ได้ |
| Local Image | kind load docker-image |
มี Workflow ของ Minikube |
| การสร้าง/ลบ Cluster | รวดเร็ว | รวดเร็ว |
| Kubernetes Lab | เหมาะมาก | เหมาะมาก |
ถ้า Workflow ใช้ Docker อยู่แล้ว และต้องสร้าง/ทำลาย Cluster บ่อย ๆ kind เป็นตัวเลือกที่เหมาะมาก
#26. kind เหมาะกับ Production หรือไม่
kind เหมาะกับ
Development
Testing
CI/CD
Training
Kubernetes Lab
Helm Testing
Manifest Validation
แต่โดยทั่วไปไม่ควรใช้เป็น Production Kubernetes Cluster
สำหรับ Production อาจเลือก
Amazon EKS
Google Kubernetes Engine
Azure Kubernetes Service
Kubernetes with kubeadm
RKE2
k3s
ตามลักษณะของระบบ
#27. Workflow ก่อนขึ้น Production
Developer
   |
   v
Source Code
   |
   v
Docker Build
   |
   v
kind Local Cluster
   |
   +--> Unit Test
   |
   +--> Integration Test
   |
   +--> Kubernetes Manifest Test
   |
   +--> Helm Test
   |
   v
Container Registry
   |
   v
Staging Kubernetes
   |
   v
Production Kubernetes
kind จึงมีบทบาทสำคัญในฐานะ Local Kubernetes Environment ก่อนนำ Application ขึ้น Kubernetes จริง
#คำสั่ง kind และ kubectl ที่ใช้บ่อย
# สร้าง Cluster
kind create cluster

# สร้าง Cluster พร้อมชื่อ
kind create cluster --name dev-cluster

# ดู Cluster
kind get clusters

# Load Local Image
kind load docker-image my-app:v1   --name dev-cluster

# ดู Node
kubectl get nodes

# Deploy Resource
kubectl apply -f k8s/

# ดู Pod
kubectl get pods

# ดู Service
kubectl get services

# ดู Log
kubectl logs deployment/my-app

# Forward Port
kubectl port-forward service/my-app 8080:80

# ลบ Cluster
kind delete cluster --name dev-cluster
#สรุป
ขั้นตอนหลักของการ Deploy Kubernetes ด้วย kind คือ
Install Docker
      |
      v
Install kind + kubectl
      |
      v
Create Cluster
      |
      v
Build Docker Image
      |
      v
Load Image to kind
      |
      v
kubectl apply
      |
      v
Deployment
      |
      v
Pods
      |
      v
Service
      |
      v
Test Application
kind เป็นเครื่องมือที่เหมาะมากสำหรับผู้ที่ต้องการเรียน Kubernetes และสำหรับทีมพัฒนาที่ต้องการ Local Kubernetes Cluster ที่สร้างได้รวดเร็ว ใช้ทรัพยากรไม่มาก และสามารถนำไปประยุกต์ใช้กับ CI/CD Pipeline ได้อย่างสะดวก