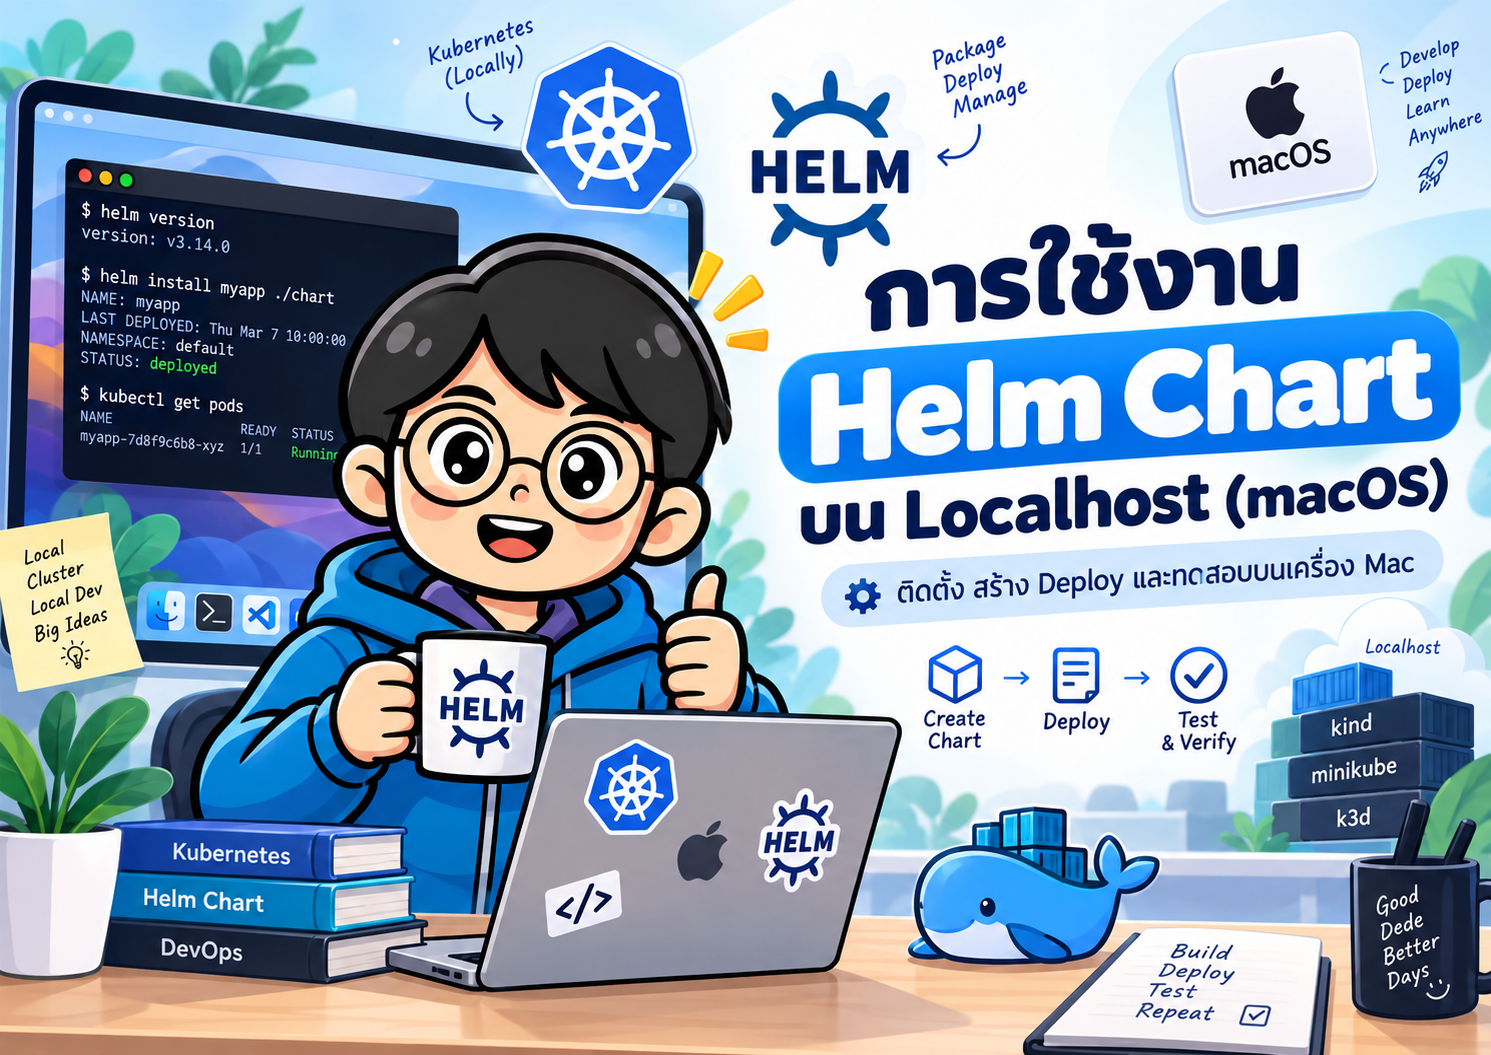
- การใช้งาน Helm Chart บน Localhost (macOS) ด้วย Kind
- 1. เตรียมเครื่องมือ
- 2. ติดตั้ง Docker Desktop
- 3. ติดตั้ง kubectl
- 4. ติดตั้ง Kind
- 5. สร้าง Local Kubernetes Cluster
- 6. ติดตั้ง Helm บน macOS
- 7. สร้าง Helm Chart แรก
- 8. ทำความเข้าใจ Chart.yaml
- 9. ปรับ values.yaml
- 10. ตรวจสอบ Chart ก่อน Deploy
- 11. Render Template โดยยังไม่ Deploy
- 12. ทดลองแบบ Dry Run
- 13. Deploy Helm Chart
- 14. ตรวจสอบ Helm Release
- 15. ตรวจสอบ Kubernetes Resources
- 16. เปิดเว็บผ่าน localhost
- 17. Override ค่าโดยไม่แก้ values.yaml
- 18. ใช้ Custom Values File
- 19. Upgrade Application
- 20. ดูประวัติ Release
- 21. Rollback
- 22. ใช้ Namespace แยก Environment
- 23. ติดตั้ง Chart จาก Helm Repository
- 24. Deploy Docker Image ที่ Build บน Mac เข้า Kind
- 25. Debug เมื่อ Pod ไม่ทำงาน
- 26. Debug ฝั่ง Helm
- 27. Package Helm Chart
- 28. Uninstall Release
- 29. ลบ Kind Cluster
- 30. Workflow ที่แนะนำสำหรับ Local Development
- 31. คำสั่ง Helm ที่ควรรู้
- 32. Helm vs kubectl
- 33. แนวทางจัด values ตาม Environment
- 34. ตัวอย่าง Makefile สำหรับ Local Development
- 35. สรุป
#การใช้งาน Helm Chart บน Localhost (macOS) ด้วย Kind
Helm คือ Package Manager สำหรับ Kubernetes ช่วยให้เราจัดชุด Kubernetes manifests เช่น Deployment, Service, ConfigMap, Ingress และ resource อื่น ๆ ให้อยู่ในรูปแบบที่ติดตั้งซ้ำ ปรับค่า และอัปเกรดได้ง่ายผ่านสิ่งที่เรียกว่า Helm Chart
บน macOS นั้น Helm ไม่ได้รันแอปโดยตรงบน localhost แต่ Helm จะส่ง Chart ไปติดตั้งบน Kubernetes Cluster ดังนั้นหากต้องการทดลองบนเครื่อง Mac เราต้องมี Local Kubernetes ก่อน เช่น
- Kind
- Docker Desktop Kubernetes
- Minikube
- k3d
บทความนี้เลือกใช้ Kind (Kubernetes IN Docker) เพราะติดตั้งง่าย เหมาะกับการทดลอง พัฒนา และงาน CI/CD
#ภาพรวม Architecture
macOS
  |
  +-- Docker Desktop
  |     |
  |     +-- Kind Kubernetes Cluster
  |             |
  |             +-- Deployment
  |             +-- Pod
  |             +-- Service
  |
  +-- kubectl
  |
  +-- Helm
        |
        +-- Helm Chart
              |
              +-- Chart.yaml
              +-- values.yaml
              +-- templates/
Workflow หลักคือ
Helm Chart
    |
    v
helm install / helm upgrade
    |
    v
Kubernetes API
    |
    v
Deployment -> Pod -> Service
    |
    v
kubectl port-forward
    |
    v
http://localhost:8080
#1. เตรียมเครื่องมือ
เครื่องมือที่ต้องใช้ประกอบด้วย
- Docker Desktop
- kubectl
- Kind
- Helm
ตรวจสอบ Homebrew ก่อน
brew --version
ถ้ายังไม่มี Homebrew สามารถติดตั้งจาก
https://brew.sh/
#2. ติดตั้ง Docker Desktop
ดาวน์โหลด Docker Desktop สำหรับ macOS จาก
https://www.docker.com/products/docker-desktop/
หลังติดตั้งให้เปิด Docker Desktop และตรวจสอบ
docker version
ทดลอง
docker run --rm hello-world
ถ้าทำงานสำเร็จแสดงว่า Docker พร้อมใช้งาน
#3. ติดตั้ง kubectl
ติดตั้งผ่าน Homebrew
brew install kubectl
ตรวจสอบ
kubectl version --client
#4. ติดตั้ง Kind
ติดตั้ง Kind
brew install kind
ตรวจสอบ
kind version
Kind ใช้ Container Runtime เช่น Docker เพื่อสร้าง Kubernetes nodes เป็น containers
#5. สร้าง Local Kubernetes Cluster
สร้าง cluster ชื่อ helm-local
kind create cluster --name helm-local
ตรวจสอบ cluster
kind get clusters
ควรเห็น
helm-local
ตรวจสอบ Kubernetes context
kubectl config current-context
ตัวอย่างผลลัพธ์
kind-helm-local
ตรวจสอบ node
kubectl get nodes
ตัวอย่าง
NAME                       STATUS   ROLES           AGE   VERSION
helm-local-control-plane   Ready    control-plane   1m    ...
#6. ติดตั้ง Helm บน macOS
ติดตั้ง Helm ผ่าน Homebrew
brew install helm
ตรวจสอบเวอร์ชัน
helm version
ตรวจสอบคำสั่ง
helm help
#7. สร้าง Helm Chart แรก
สร้าง Chart ชื่อ my-web
helm create my-web
Helm จะสร้างโครงสร้างประมาณนี้
my-web/
├── Chart.yaml
├── values.yaml
├── charts/
└── templates/
    ├── NOTES.txt
    ├── _helpers.tpl
    ├── deployment.yaml
    ├── hpa.yaml
    ├── httproute.yaml
    ├── ingress.yaml
    ├── service.yaml
    ├── serviceaccount.yaml
    └── tests/
โครงสร้างที่สร้างจริงอาจแตกต่างเล็กน้อยตาม Helm version
#8. ทำความเข้าใจ Chart.yaml
เปิดไฟล์
cat my-web/Chart.yaml
ตัวอย่างค่าหลัก
apiVersion: v2
name: my-web
description: A Helm chart for Kubernetes
type: application
version: 0.1.0
appVersion: "1.16.0"
ความหมาย
| Field | ความหมาย |
|---|---|
apiVersion |
Helm Chart API |
name |
ชื่อ Chart |
description |
คำอธิบาย |
type |
ประเภท Chart |
version |
เวอร์ชันของ Chart |
appVersion |
เวอร์ชันของ Application |
สิ่งสำคัญคือ version กับ appVersion เป็นคนละเรื่องกัน
version     = Helm Chart version
appVersion  = Application version
#9. ปรับ values.yaml
ไฟล์ values.yaml ใช้เก็บค่า default ของ Chart
เปิดไฟล์
nano my-web/values.yaml
สำหรับการทดลอง สามารถกำหนดค่าหลักดังนี้
replicaCount: 1

image:
  repository: nginx
  pullPolicy: IfNotPresent
  tag: "alpine"

service:
  type: ClusterIP
  port: 80
Helm Template สามารถนำค่าเหล่านี้ไปใช้ผ่าน syntax เช่น
{{ .Values.replicaCount }}
หรือ
{{ .Values.image.repository }}
ข้อดีคือเราไม่ต้องแก้ Kubernetes manifest โดยตรงทุกครั้ง
#10. ตรวจสอบ Chart ก่อน Deploy
ตรวจ syntax และปัญหาพื้นฐาน
helm lint ./my-web
ถ้าปกติจะได้ผลลัพธ์ประมาณ
1 chart(s) linted, 0 chart(s) failed
#11. Render Template โดยยังไม่ Deploy
ดู Kubernetes manifests ที่ Helm จะสร้าง
helm template my-web-release ./my-web
หรือบันทึกเป็นไฟล์
helm template my-web-release ./my-web > rendered.yaml
ตรวจดู
less rendered.yaml
คำสั่งนี้มีประโยชน์มากสำหรับ debug template
#12. ทดลองแบบ Dry Run
helm install my-web-release ./my-web --dry-run --debug
คำสั่งนี้จะ render Chart และแสดงรายละเอียดโดยไม่ติดตั้ง release จริง
#13. Deploy Helm Chart
ติดตั้ง Chart
helm install my-web-release ./my-web
รูปแบบคือ
helm install <release-name> <chart-path>
ในตัวอย่างนี้
release-name = my-web-release
chart-path   = ./my-web
#14. ตรวจสอบ Helm Release
helm list
หรือ
helm status my-web-release
ดู release ทั้งหมดทุก namespace
helm list -A
#15. ตรวจสอบ Kubernetes Resources
ดู Pods
kubectl get pods
ดู Deployment
kubectl get deployments
ดู Service
kubectl get services
ดูทั้งหมด
kubectl get all
ดูรายละเอียด Pod
kubectl describe pod <pod-name>
ดู log
kubectl logs <pod-name>
#16. เปิดเว็บผ่าน localhost
เพราะ ClusterIP เข้าถึงโดยตรงจาก host ไม่ได้ เราสามารถใช้ kubectl port-forward
ตรวจชื่อ Service
kubectl get svc
จากนั้น
kubectl port-forward svc/my-web-release 8080:80
หาก Service ที่ Chart สร้างมีชื่อแตกต่าง ให้ใช้ชื่อจาก kubectl get svc
เปิด Browser
http://localhost:8080
ถ้าทำงานสำเร็จจะเห็นหน้า Nginx
หยุด port-forward ด้วย
Ctrl + C
#17. Override ค่าโดยไม่แก้ values.yaml
สามารถใช้ --set
helm upgrade my-web-release ./my-web \
  --set replicaCount=3
ตรวจสอบ
kubectl get pods
ควรมี 3 Pods
#18. ใช้ Custom Values File
สร้างไฟล์
touch values-dev.yaml
กำหนดค่า
replicaCount: 2

image:
  repository: nginx
  tag: "1.27-alpine"

service:
  type: ClusterIP
  port: 80
Deploy ด้วย
helm upgrade --install my-web-release ./my-web \
  -f values-dev.yaml
helm upgrade --install เป็น pattern ที่นิยมมาก เพราะ
- ถ้า release ยังไม่มี -> install
- ถ้ามีอยู่แล้ว -> upgrade
เหมาะกับ script และ CI/CD
#19. Upgrade Application
แก้ค่าที่ต้องการใน values.yaml
เช่น
replicaCount: 2
จากนั้น
helm upgrade my-web-release ./my-web
ตรวจสอบ
helm status my-web-release
และ
kubectl get pods
#20. ดูประวัติ Release
helm history my-web-release
ตัวอย่าง
REVISION  STATUS      CHART         DESCRIPTION
1         superseded  my-web-0.1.0  Install complete
2         deployed    my-web-0.1.0  Upgrade complete
Helm จะเก็บ Revision ทำให้ rollback ได้
#21. Rollback
ย้อนกลับไป revision 1
helm rollback my-web-release 1
ตรวจสอบ
helm history my-web-release
#22. ใช้ Namespace แยก Environment
สร้าง namespace
kubectl create namespace dev
Deploy
helm upgrade --install my-web-dev ./my-web \
  --namespace dev \
  --create-namespace
ตรวจสอบ
helm list -n dev
และ
kubectl get all -n dev
แนวทางนี้เหมาะกับการแบ่ง
dev
staging
production
#23. ติดตั้ง Chart จาก Helm Repository
Helm สามารถติดตั้ง Chart จาก repository ภายนอกได้เช่นกัน
ตัวอย่างเพิ่ม Bitnami repository
helm repo add bitnami https://charts.bitnami.com/bitnami
อัปเดต repository index
helm repo update
ค้นหา
helm search repo nginx
ตัวอย่างติดตั้ง
helm install nginx-demo bitnami/nginx
ตรวจสอบ
helm list
kubectl get pods
kubectl get svc
#24. Deploy Docker Image ที่ Build บน Mac เข้า Kind
กรณีมี Application ของเราเอง เช่น
my-api/
├── Dockerfile
└── ...
Build image
docker build -t my-api:1.0.0 .
เนื่องจาก Kind cluster มี image store ของตัวเอง จึงควร load image เข้า cluster
kind load docker-image my-api:1.0.0 --name helm-local
ตรวจสอบว่า image อยู่ใน node
docker exec helm-local-control-plane crictl images
จากนั้นกำหนดใน values.yaml
image:
  repository: my-api
  tag: "1.0.0"
  pullPolicy: IfNotPresent
หลีกเลี่ยง tag
latestสำหรับ local Kind workflow เพราะ Kubernetes มักพยายาม pull image ใหม่ตาม image pull policy
จากนั้น deploy
helm upgrade --install my-api-release ./my-api-chart
#25. Debug เมื่อ Pod ไม่ทำงาน
ดูสถานะ
kubectl get pods
ดูรายละเอียด
kubectl describe pod <pod-name>
ดู log
kubectl logs <pod-name>
ถ้ามีหลาย container
kubectl logs <pod-name> -c <container-name>
ดู events ตามเวลา
kubectl get events --sort-by=.metadata.creationTimestamp
#26. Debug ฝั่ง Helm
ตรวจ syntax
helm lint ./my-web
Render manifests
helm template my-web-release ./my-web
Dry run
helm install my-web-release ./my-web \
  --dry-run \
  --debug
ดูค่าที่ Release ใช้งานอยู่
helm get values my-web-release
ดูทุกค่า รวม default
helm get values my-web-release --all
ดู manifest ที่ติดตั้ง
helm get manifest my-web-release
#27. Package Helm Chart
เปลี่ยน Chart ให้เป็น package .tgz
helm package ./my-web
ตัวอย่างไฟล์
my-web-0.1.0.tgz
ติดตั้งจาก package
helm install my-web-release ./my-web-0.1.0.tgz
#28. Uninstall Release
ลบ Helm Release
helm uninstall my-web-release
ถ้าอยู่ใน namespace
helm uninstall my-web-dev -n dev
ตรวจสอบ
helm list -A
#29. ลบ Kind Cluster
เมื่อทดลองเสร็จสามารถลบ cluster ได้
kind delete cluster --name helm-local
ตรวจสอบ
kind get clusters
#30. Workflow ที่แนะนำสำหรับ Local Development
1. Start Docker Desktop
       |
       v
2. kind create cluster
       |
       v
3. docker build
       |
       v
4. kind load docker-image
       |
       v
5. helm lint
       |
       v
6. helm template / --dry-run
       |
       v
7. helm upgrade --install
       |
       v
8. kubectl get pods
       |
       v
9. kubectl port-forward
       |
       v
10. Test on localhost
คำสั่งตัวอย่าง
docker build -t my-api:1.0.0 .

kind load docker-image my-api:1.0.0 \
  --name helm-local

helm lint ./my-api-chart

helm upgrade --install my-api ./my-api-chart \
  --namespace dev \
  --create-namespace

kubectl get pods -n dev

kubectl port-forward -n dev svc/my-api 8080:80
เปิด
http://localhost:8080
#31. คำสั่ง Helm ที่ควรรู้
| Command | ใช้งาน |
|---|---|
helm create |
สร้าง Chart |
helm lint |
ตรวจสอบ Chart |
helm template |
Render manifest |
helm install |
ติดตั้ง |
helm upgrade |
อัปเกรด |
helm upgrade --install |
ติดตั้งหรืออัปเกรด |
helm list |
ดู Releases |
helm status |
ดูสถานะ Release |
helm history |
ดูประวัติ |
helm rollback |
ย้อน Revision |
helm get values |
ดูค่าของ Release |
helm get manifest |
ดู Manifest |
helm package |
Package Chart |
helm uninstall |
ถอนการติดตั้ง |
helm repo add |
เพิ่ม Repository |
helm repo update |
Update Repository Index |
helm search repo |
ค้นหา Chart |
#32. Helm vs kubectl
หาก deploy ด้วย kubectl โดยตรง
kubectl apply -f deployment.yaml
kubectl apply -f service.yaml
เมื่อระบบใหญ่ขึ้นอาจมี manifests จำนวนมาก
deployment.yaml
service.yaml
configmap.yaml
secret.yaml
ingress.yaml
hpa.yaml
serviceaccount.yaml
Helm ช่วยรวม resource เหล่านี้เป็น package
my-app-chart/
├── Chart.yaml
├── values.yaml
└── templates/
และ deploy ด้วยคำสั่งเดียว
helm upgrade --install my-app ./my-app-chart
#33. แนวทางจัด values ตาม Environment
โครงสร้างตัวอย่าง
my-web/
├── Chart.yaml
├── values.yaml
├── values-dev.yaml
├── values-staging.yaml
├── values-prod.yaml
└── templates/
Development
helm upgrade --install my-web ./my-web \
  -f values-dev.yaml
Staging
helm upgrade --install my-web ./my-web \
  -f values-staging.yaml
Production
helm upgrade --install my-web ./my-web \
  -f values-prod.yaml
หลักการคือใช้ Chart เดียวกัน แต่เปลี่ยน configuration ตาม environment
#34. ตัวอย่าง Makefile สำหรับ Local Development
CLUSTER=helm-local
RELEASE=my-web
CHART=./my-web
NAMESPACE=dev

cluster:
	kind create cluster --name $(CLUSTER)

install:
	helm upgrade --install $(RELEASE) $(CHART) \
		--namespace $(NAMESPACE) \
		--create-namespace

status:
	helm status $(RELEASE) -n $(NAMESPACE)

pods:
	kubectl get pods -n $(NAMESPACE)

forward:
	kubectl port-forward -n $(NAMESPACE) svc/$(RELEASE) 8080:80

uninstall:
	helm uninstall $(RELEASE) -n $(NAMESPACE)

clean:
	kind delete cluster --name $(CLUSTER)
ใช้งาน
make cluster
make install
make pods
make forward
#35. สรุป
การใช้ Helm Chart บน macOS สำหรับ Local Development มีองค์ประกอบหลัก 4 ส่วน
Docker Desktop
      +
Kind Kubernetes
      +
kubectl
      +
Helm
Workflow ที่ควรจำคือ
kind create cluster --name helm-local

helm create my-web

helm lint ./my-web

helm upgrade --install my-web-release ./my-web

kubectl get pods

kubectl port-forward svc/my-web-release 8080:80
จากนั้นเข้าใช้งานผ่าน
http://localhost:8080
สำหรับงานจริง แนวทาง helm upgrade --install ร่วมกับ values-dev.yaml, values-staging.yaml และ values-prod.yaml จะช่วยให้ใช้ Chart ชุดเดียวกันได้หลาย environment และสามารถนำ workflow เดิมไปต่อยอดกับ CI/CD หรือ GitOps เช่น GitHub Actions, Jenkins, GitLab CI, Argo CD และ Flux ได้
#แหล่งอ้างอิง
- Helm Documentation: https://helm.sh/docs/
- Helm Installation: https://helm.sh/docs/intro/install/
- Helm Install Command: https://helm.sh/docs/helm/helm_install/
- Kind Documentation: https://kind.sigs.k8s.io/
- Kind Quick Start: https://kind.sigs.k8s.io/docs/user/quick-start/
- Kubernetes Documentation: https://kubernetes.io/docs/