- Lens คืออะไร
- เหมาะกับใคร
- 1. เตรียม Kubernetes Cluster
- 2. kubeconfig คืออะไร
- 3. เพิ่ม Cluster เข้า Lens
- 4. สำรวจ Kubernetes Nodes
- 5. ดู Workloads
- 6. Scale Deployment
- 7. ดู Logs ของ Pod
- 8. เข้า Shell ของ Container
- 9. Port Forward
- 10. ตรวจสอบ Services และ Ingress
- 11. ConfigMaps และ Secrets
- 12. แก้ไข Kubernetes YAML
- 13. ใช้งานร่วมกับ Helm
- 14. Lens กับ GitOps และ Argo CD
- 15. Lens กับ kubectl ใช้อะไรดี
- 16. Workshop สำหรับฝึกใช้งาน
- 17. แนวทางใช้งานใน Production
- สรุป
การทำงานกับ Kubernetes มักเริ่มจากคำสั่ง kubectl เช่น kubectl get pods,
kubectl logs และ kubectl describe ซึ่งมีประสิทธิภาพและเหมาะกับงาน
Automation แต่เมื่อระบบมีหลาย Namespace, Deployment, Service และ Pod
การตรวจสอบทรัพยากรทั้งหมดผ่าน Command Line อาจใช้เวลามาก
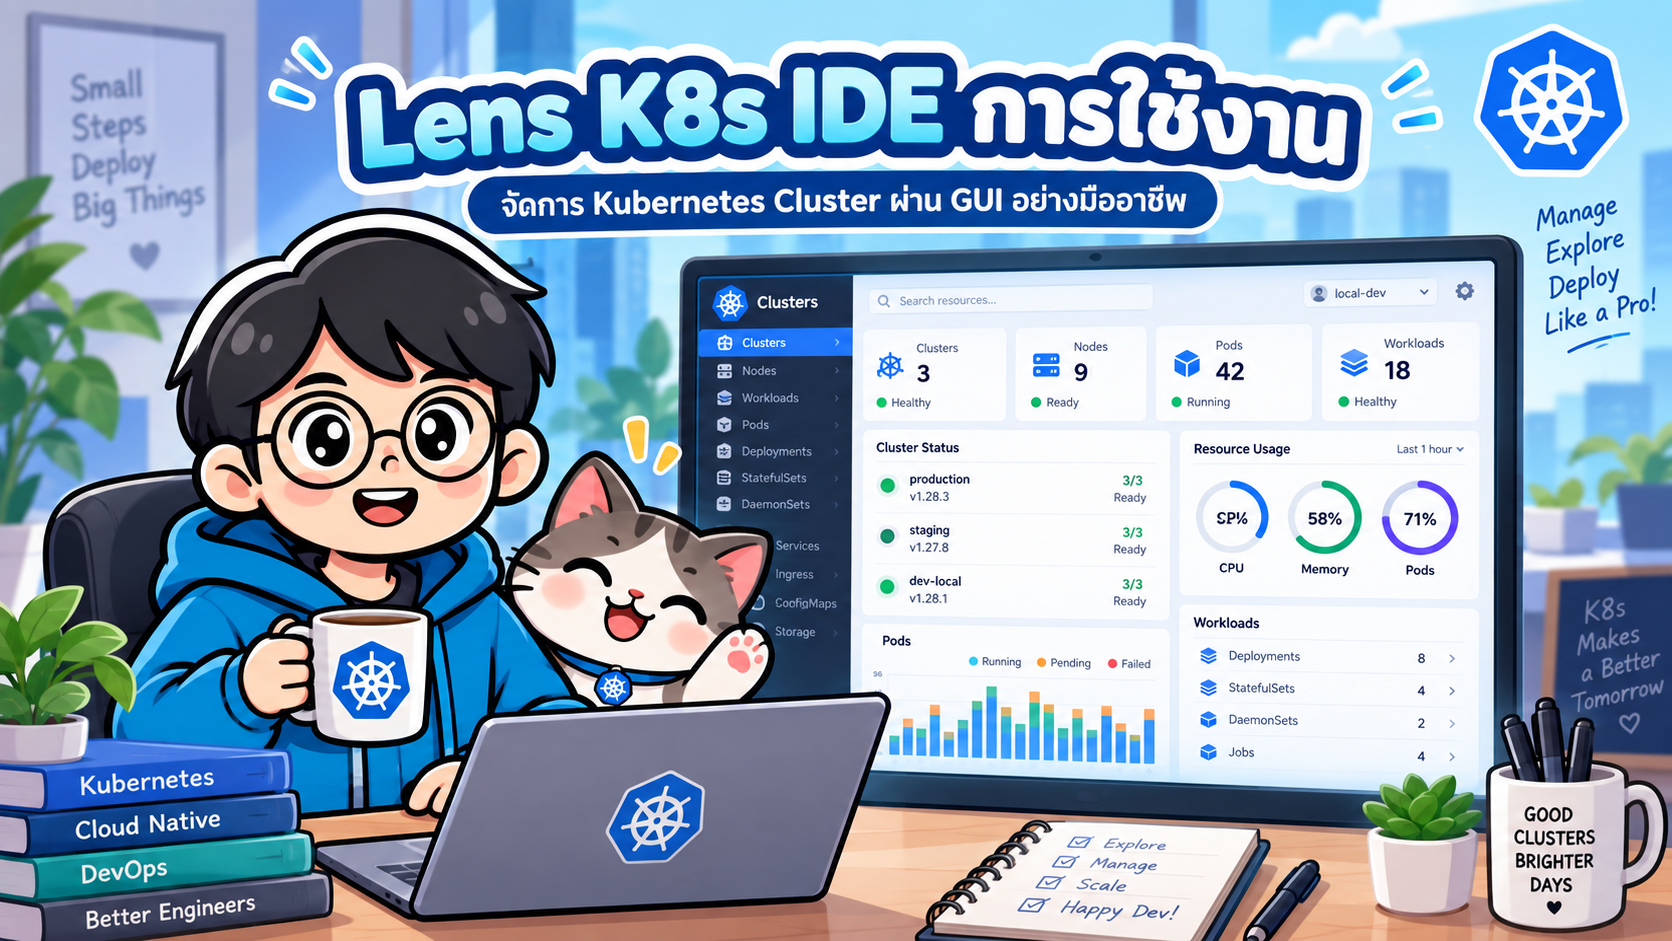
Lens เป็น Kubernetes IDE/Desktop GUI ที่ช่วยให้ Developer, DevOps
Engineer และ SRE มองเห็นและจัดการทรัพยากรภายใน Kubernetes Cluster ได้สะดวกขึ้น
โดยยังทำงานบนแนวคิดและ Kubernetes API เดียวกับ kubectl
แนวทางที่เหมาะสมคือใช้ Lens ควบคู่กับ
kubectlไม่ใช่ใช้ Lens เพื่อทดแทน CLI ทั้งหมด
#Lens คืออะไร
Lens เป็นเครื่องมือ Desktop สำหรับเชื่อมต่อและบริหาร Kubernetes Cluster ผ่าน Graphical User Interface โดยสามารถสำรวจทรัพยากรสำคัญ เช่น
- Nodes
- Pods
- Deployments
- StatefulSets
- DaemonSets
- Jobs และ CronJobs
- Services และ Ingress
- ConfigMaps และ Secrets
- Persistent Volumes และ Persistent Volume Claims
- RBAC
- Helm Releases
แนวคิดการทำงานโดยสรุป:
flowchart TD
    A[Developer / DevOps / SRE] --> B[Lens Desktop]
    B -->|kubeconfig| C[Kubernetes API Server]
    C --> D[Node 1]
    C --> E[Node 2]
    C --> F[Node 3]
    D --> G[Pods]
    E --> H[Pods]
    F --> I[Pods]
Lens ใช้ข้อมูลการเชื่อมต่อ Kubernetes จาก kubeconfig เช่นเดียวกับ kubectl
ดังนั้น Cluster ที่สามารถเข้าถึงผ่าน kubectl มักสามารถนำมาใช้งานกับ Lens ได้เช่นกัน
#เหมาะกับใคร
Lens เหมาะกับผู้ใช้งานหลายกลุ่ม ได้แก่
กลุ่มผู้ใช้ ตัวอย่างการใช้งาน
Developer ดู Pod, Logs และ Debug Application DevOps Engineer ตรวจสอบ Deployment, Service และ Config SRE Troubleshooting และตรวจสอบสถานะ Cluster Kubernetes Beginner เรียนรู้ความสัมพันธ์ของ Kubernetes Resources Instructor ใช้ประกอบการสอน Kubernetes และ Cloud Native
#1. เตรียม Kubernetes Cluster
ก่อนใช้งาน Lens ต้องมี Kubernetes Cluster ที่สามารถเข้าถึงได้ ตัวอย่างเช่น
- Minikube
- kind
- Docker Desktop Kubernetes
- Amazon EKS
- Azure Kubernetes Service
- Google Kubernetes Engine
- DigitalOcean Kubernetes
- Kubernetes Cluster ที่ติดตั้งเอง
ตัวอย่างเริ่มต้น Cluster ด้วย Minikube:
minikube start
ตรวจสอบ Node:
kubectl get nodes
ตัวอย่างผลลัพธ์:
NAME       STATUS   ROLES           AGE   VERSION
minikube   Ready    control-plane   2m    v1.xx.x
ตรวจสอบ Context:
kubectl config get-contexts
และดู Context ปัจจุบัน:
kubectl config current-context
หาก kubectl สามารถเชื่อมต่อ Cluster ได้ แสดงว่า kubeconfig
พร้อมสำหรับนำไปใช้กับ Lens
#2. kubeconfig คืออะไร
โดยทั่วไป kubeconfig อยู่ที่
~/.kube/config
ตัวอย่างโครงสร้าง:
apiVersion: v1

clusters:
  - cluster:
      server: https://kubernetes.example.com
    name: demo-cluster

contexts:
  - context:
      cluster: demo-cluster
      user: demo-user
    name: demo-context

current-context: demo-context
Lens ใช้ข้อมูลนี้เพื่อทราบว่า
- Kubernetes API Server อยู่ที่ไหน
- ต้องใช้ Credential ใด
- Cluster และ Context ใดที่ต้องเชื่อมต่อ
ควรปกป้อง kubeconfig เนื่องจากอาจมีข้อมูลหรือกลไก Authentication ที่ให้สิทธิ์เข้าถึง Cluster
#3. เพิ่ม Cluster เข้า Lens
หลังติดตั้ง Lens Desktop ให้เพิ่มหรือเลือก Kubernetes Cluster จาก kubeconfig
โครงสร้างการเชื่อมต่อคือ
Lens Desktop
     |
     | kubeconfig
     v
Kubernetes API Server
     |
     +---- Nodes
     +---- Namespaces
     +---- Workloads
     +---- Services
     +---- Storage
     +---- RBAC
จุดเด่นคือสามารถจัดการหลาย Cluster ได้ เช่น
Local
├── minikube
└── kind-dev

Cloud
├── development
├── staging
└── production
ควรตั้งชื่อ Context ให้ชัดเจนเพื่อลดความเสี่ยงในการแก้ไขผิด Cluster โดยเฉพาะ Production
#4. สำรวจ Kubernetes Nodes
ใน Lens สามารถเปิดส่วน Nodes เพื่อดูข้อมูลของ Worker/Control Plane Node เช่น
- Node Status
- Kubernetes Version
- CPU
- Memory
- Pod ที่ทำงานอยู่
- Labels
- Taints
- Conditions
CLI ที่มีความหมายใกล้เคียงคือ
kubectl get nodes
และ
kubectl describe node <node-name>
GUI ช่วยให้เห็นข้อมูลจำนวนมากได้รวดเร็ว ขณะที่ CLI เหมาะกับ Script และ Automation
#5. ดู Workloads
Workloads เป็นส่วนที่ใช้งานบ่อยที่สุด โดยทั่วไปประกอบด้วย
Workloads
├── Pods
├── Deployments
├── StatefulSets
├── DaemonSets
├── Jobs
└── CronJobs
ลองสร้าง Nginx Deployment:
kubectl create deployment nginx --image=nginx:latest
ตรวจสอบ:
kubectl get deployments
kubectl get pods
จากนั้นเปิด Lens และเข้า
Workloads
   ↓
Deployments
   ↓
nginx
เราจะสามารถสำรวจ Deployment และ Pods ที่สัมพันธ์กันได้จาก GUI
#6. Scale Deployment
ตัวอย่าง Deployment ที่ต้องการเพิ่ม Replica จาก 1 เป็น 3:
kubectl scale deployment nginx --replicas=3
ตรวจสอบ:
kubectl get pods
Lens ช่วยให้ตรวจสอบผลการ Scale ได้ทันที เช่นจำนวน Desired/Ready Replica และสถานะของ Pod แต่ใน Production ควรระวังการแก้ไขแบบ Manual หากระบบใช้ GitOps เพราะอาจเกิด Configuration Drift
#7. ดู Logs ของ Pod
การตรวจสอบ Logs ผ่าน CLI:
kubectl logs <pod-name>
ติดตาม Log แบบต่อเนื่อง:
kubectl logs -f <pod-name>
สำหรับ Pod ที่มีหลาย Container:
kubectl logs <pod-name> -c <container-name>
ใน Lens สามารถเลือก Pod และเปิด Logs ผ่าน GUI ได้ ทำให้เหมาะกับการ Troubleshoot เช่น
Application Error
       ↓
Deployment
       ↓
Pod
       ↓
Container
       ↓
Logs
#8. เข้า Shell ของ Container
การเข้า Container ผ่าน CLI:
kubectl exec -it <pod-name> -- /bin/bash
บาง Container ไม่มี Bash อาจต้องใช้
kubectl exec -it <pod-name> -- /bin/sh
Lens มี Terminal/Shell สำหรับ Container ทำให้สามารถตรวจสอบภายใน Container ได้ เช่น
ls
env
ps
cat /etc/nginx/nginx.conf
อย่างไรก็ตาม Production Container ควรหลีกเลี่ยงการแก้ไขไฟล์โดยตรง เพราะการเปลี่ยนแปลงจะไม่ถาวรและอาจทำให้ State แตกต่างจาก Deployment Specification
#9. Port Forward
สมมติ Service ชื่อ nginx เปิด Port 80 สามารถใช้ CLI:
kubectl port-forward service/nginx 8080:80
แล้วเข้าผ่าน
http://localhost:8080
แนวคิดคือ
flowchart LR
    A[Browser localhost:8080] --> B[kubectl / Lens Port Forward]
    B --> C[Kubernetes Service :80]
    C --> D[Pod]
Lens สามารถช่วยสร้างและจัดการ Port Forward จาก GUI เหมาะสำหรับทดสอบ Application ภายใน Cluster โดยไม่จำเป็นต้องเปิด Public Load Balancer
#10. ตรวจสอบ Services และ Ingress
Service ใช้สร้าง Network Endpoint สำหรับ Pods
kubectl get services
Ingress:
kubectl get ingress
Lens ช่วยให้ตรวจสอบ
Ingress
   ↓
Service
   ↓
Pods
ได้ง่ายขึ้น ซึ่งมีประโยชน์เมื่อ Troubleshoot ปัญหา เช่น Application ทำงานแต่เข้าจากภายนอกไม่ได้
#11. ConfigMaps และ Secrets
ตรวจสอบ ConfigMap:
kubectl get configmaps
Secrets:
kubectl get secrets
ตัวอย่าง ConfigMap:
apiVersion: v1
kind: ConfigMap
metadata:
  name: app-config
data:
  APP_ENV: production
  LOG_LEVEL: info
Lens ช่วยให้สำรวจ Config Resource ได้ง่าย แต่ต้องระวังข้อมูล Sensitive โดยเฉพาะ Secrets และควรใช้ RBAC/Least Privilege อย่างเหมาะสม
#12. แก้ไข Kubernetes YAML
ตัวอย่าง Deployment:
apiVersion: apps/v1
kind: Deployment

metadata:
  name: nginx

spec:
  replicas: 3

  selector:
    matchLabels:
      app: nginx

  template:
    metadata:
      labels:
        app: nginx

    spec:
      containers:
        - name: nginx
          image: nginx:latest
          ports:
            - containerPort: 80
Lens สามารถใช้ดูและแก้ไข Resource Definition ได้สะดวก
อย่างไรก็ตาม หากระบบใช้ GitOps:
Git Repository
      ↓
Argo CD
      ↓
Kubernetes
ไม่ควรแก้ Production Resource ใน Lens เป็นวิธีหลัก เพราะ Git Repository ควรเป็น Source of Truth
แนวทางที่ดีกว่า:
แก้ YAML / Helm values ใน Git
          ↓
Commit + Push
          ↓
Argo CD Sync
          ↓
Kubernetes
          ↓
Lens ตรวจสอบผล
#13. ใช้งานร่วมกับ Helm
Helm เป็น Package Manager สำหรับ Kubernetes
ตัวอย่างเพิ่ม Repository:
helm repo add bitnami https://charts.bitnami.com/bitnami
helm repo update
ติดตั้ง Nginx:
helm install my-nginx bitnami/nginx
ตรวจสอบ:
helm list
Lens ช่วยให้สำรวจ Helm Release และ Resources ที่ถูกสร้างจาก Chart ได้สะดวก
Helm Chart
    ↓
Helm Release
    ↓
Deployment
    ↓
ReplicaSet
    ↓
Pods
#14. Lens กับ GitOps และ Argo CD
Lens เหมาะกับการใช้เป็นเครื่องมือ Observe และ Troubleshoot ใน GitOps Workflow
flowchart LR
    A[Developer] --> B[GitHub / GitLab]
    B --> C[Git Repository]
    C --> D[Argo CD]
    D --> E[Kubernetes Cluster]
    E --> F[Lens]
    F --> G[Observe / Logs / Troubleshoot]
หน้าที่โดยสรุป:
Tool หน้าที่
Git Source of Truth Helm Kubernetes Packaging / Templating Argo CD GitOps Continuous Delivery Kubernetes Container Orchestration Lens Cluster Management / Observation / Troubleshooting
#15. Lens กับ kubectl ใช้อะไรดี
ไม่จำเป็นต้องเลือกเพียงอย่างเดียว
งาน Lens kubectl
ดูภาพรวม Cluster ✅ ✅ สำรวจ Pods ✅ ✅ ดู Logs ✅ ✅ Shell เข้า Container ✅ ✅ Port Forward ✅ ✅ Automation ⚠️ ✅ Shell Script ❌ ✅ CI/CD ❌ ✅ เรียนรู้ Resource Relationships ✅ ⚠️ Troubleshooting แบบ Interactive ✅ ✅
แนวทางที่แนะนำคือ
kubectl
   +
Lens
   +
Helm
   +
Git
   +
Argo CD
#16. Workshop สำหรับฝึกใช้งาน
สามารถจัด Lab ตามลำดับต่อไปนี้:
1. Install Docker
        ↓
2. Install kubectl
        ↓
3. Create Minikube / kind Cluster
        ↓
4. Connect Lens
        ↓
5. Deploy Nginx
        ↓
6. Inspect Pods
        ↓
7. View Logs
        ↓
8. Open Container Shell
        ↓
9. Create Service
        ↓
10. Port Forward
        ↓
11. Scale Deployment
        ↓
12. Deploy with Helm
        ↓
13. Observe with Lens
        ↓
14. Extend to Argo CD / GitOps
ตัวอย่างสร้าง Service:
kubectl expose deployment nginx \
  --type=ClusterIP \
  --port=80
ตรวจสอบ:
kubectl get deployment
kubectl get pods
kubectl get services
จากนั้นใช้ Lens ตรวจสอบความสัมพันธ์ระหว่าง Deployment, Pods และ Service
#17. แนวทางใช้งานใน Production
Lens มีประโยชน์มากในการ Observe และ Troubleshoot แต่ควรมี Governance ที่เหมาะสม
#ใช้ RBAC
ผู้ใช้ไม่ควรได้รับ cluster-admin โดยไม่จำเป็น ควรให้สิทธิ์ตามหลัก Least Privilege
#แยก Context ชัดเจน
เช่น
dev-cluster
staging-cluster
prod-cluster
เพื่อลดโอกาสแก้ไข Cluster ผิดตัว
#ใช้ GitOps เป็น Source of Truth
Production Configuration ควรเก็บใน Git
Git
 ↓
Pull Request
 ↓
Code Review
 ↓
Merge
 ↓
Argo CD
 ↓
Kubernetes
Lens ควรเน้นใช้สำหรับ
Observe
Inspect
Debug
Troubleshoot
มากกว่าการแก้ Production Configuration แบบ Ad-hoc
#สรุป
Lens Kubernetes IDE ช่วยลดความซับซ้อนในการสำรวจ Kubernetes Cluster ผ่าน GUI โดยเฉพาะการดู Nodes, Pods, Deployments, Services, Logs, Container Shell, Port Forward, YAML และ Helm
อย่างไรก็ตาม การเรียน Kubernetes ที่ดีควรเข้าใจคำสั่ง kubectl และ Kubernetes
Resource Model ควบคู่กันไป เพราะ CLI ยังคงมีบทบาทสำคัญสำหรับ Automation และ
CI/CD
แนวทาง Toolchain ที่เหมาะกับงาน Cloud Native คือ
Docker
   ↓
Kubernetes
   ↓
kubectl + Lens
   ↓
Helm
   ↓
Git
   ↓
Argo CD
   ↓
GitOps
Lens จึงเหมาะทั้งสำหรับผู้เริ่มต้นที่ต้องการเห็นภาพ Kubernetes ชัดขึ้น และผู้ดูแลระบบที่ต้องการเครื่องมือแบบ Visual สำหรับการตรวจสอบและ Troubleshooting Cluster
#แหล่งศึกษาเพิ่มเติม
- Lens: https://k8slens.dev/
- Kubernetes Documentation: https://kubernetes.io/docs/
- Helm Documentation: https://helm.sh/docs/
- Argo CD Documentation: https://argo-cd.readthedocs.io/