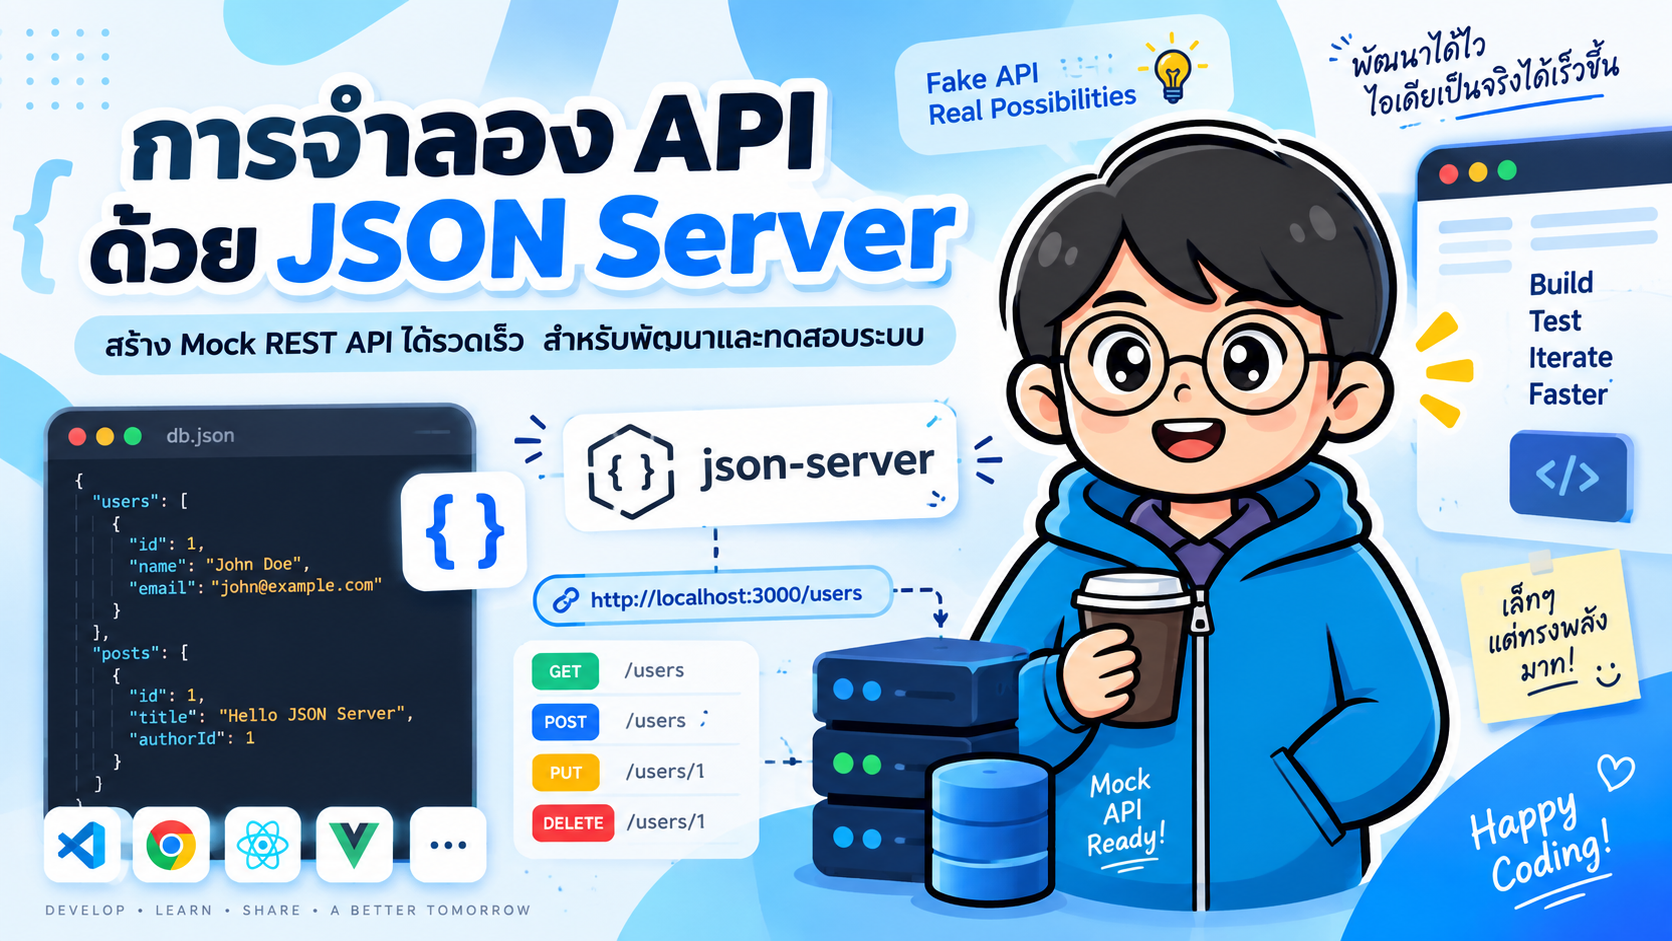
- 1. JSON Server คืออะไร
- 2. JSON Server เหมาะกับงานแบบใด
- 3. สิ่งที่ต้องติดตั้ง
- 4. สร้าง Project
- 5. สร้างไฟล์ db.json
- 6. รัน JSON Server
- 7. กำหนด Port
- 8. ทดลอง CRUD
- 9. การ Filter ข้อมูล
- 10. การ Sort
- 11. Pagination
- 12. ความสัมพันธ์ระหว่างข้อมูล
- 13. สร้าง npm script
- 14. ใช้กับ JavaScript Fetch API
- 15. ใช้กับ React
- 16. ใช้ร่วมกับ Axios
- 17. ทดลอง API ด้วย Postman
- 18. โครงสร้าง Project ที่แนะนำ
- 19. ตัวอย่างระบบ Student API
- 20. ตัวอย่าง workflow สำหรับ Frontend Development
- 21. ข้อดีของ JSON Server
- 22. ข้อจำกัด
- 23. ข้อควรระวังสำหรับผู้ใช้ JSON Server รุ่นเก่า
- 24. สรุป
JSON Server เป็นเครื่องมือสำหรับสร้าง Mock REST API จากไฟล์ JSON ได้อย่างรวดเร็ว เหมาะสำหรับงาน Frontend, การสอน REST API, การทำ Prototype และการทดสอบระบบในช่วงที่ Backend จริงยังไม่พร้อม
บทความนี้อ้างอิง JSON Server รุ่นปัจจุบันในสาย v1 beta โดย ณ วันที่ 21 กันยายน 2026 แพ็กเกจ
json-serverบน npm แสดงรุ่น1.0.0-beta.15และเอกสารระบุว่ายังอาจมี breaking changes
#1. JSON Server คืออะไร
ปกติเมื่อต้องพัฒนา Frontend เช่น React, Vue, Angular หรือ Mobile Application เรามักต้องเรียกข้อมูลจาก Backend ผ่าน REST API
ตัวอย่างเช่น
GET    /products
GET    /products/1
POST   /products
PATCH  /products/1
DELETE /products/1
ถ้า Backend ยังพัฒนาไม่เสร็จ เราสามารถใช้ JSON Server จำลอง API เหล่านี้ได้ โดยกำหนดข้อมูลไว้ในไฟล์ db.json
ตัวอย่าง
{
  "products": [
    {
      "id": "1",
      "name": "Mechanical Keyboard",
      "price": 2490,
      "stock": 10
    },
    {
      "id": "2",
      "name": "Wireless Mouse",
      "price": 1290,
      "stock": 25
    }
  ]
}
จากข้อมูลเพียงเท่านี้ JSON Server จะสร้าง REST API ให้โดยอัตโนมัติ
GET    /products
GET    /products/:id
POST   /products
PUT    /products/:id
PATCH  /products/:id
DELETE /products/:id
#2. JSON Server เหมาะกับงานแบบใด
JSON Server เหมาะกับ
- พัฒนา Frontend โดย Backend ยังไม่พร้อม
- สร้าง Mock API สำหรับ Workshop
- ทดลอง
fetch()หรือ Axios - ฝึก REST API และ HTTP Methods
- Prototype ระบบอย่างรวดเร็ว
- สร้างข้อมูลจำลองสำหรับ Automated Testing
- ใช้ร่วมกับ Postman, Playwright, Cypress หรือเครื่องมือทดสอบอื่น
JSON Server ไม่ควรใช้แทน Production Backend เพราะไม่ได้ถูกออกแบบมาเพื่อ Authentication, Authorization, Business Logic, Transaction, Security และ Scalability แบบระบบจริง
#3. สิ่งที่ต้องติดตั้ง
ควรมี Node.js และ npm ก่อน
ตรวจสอบเวอร์ชัน
node --version
npm --version
หากยังไม่มี Node.js ให้ติดตั้งรุ่น LTS จาก
https://nodejs.org/
#4. สร้าง Project
สร้างโฟลเดอร์ใหม่
mkdir json-server-demo
cd json-server-demo
สร้าง Node.js project
npm init -y
ติดตั้ง JSON Server
npm install json-server
ตรวจสอบคำสั่ง
npx json-server --help
#5. สร้างไฟล์ db.json
สร้างไฟล์
db.json
แล้วเพิ่มข้อมูลตัวอย่าง
{
  "$schema": "./node_modules/json-server/schema.json",
  "products": [
    {
      "id": "1",
      "name": "Mechanical Keyboard",
      "price": 2490,
      "stock": 10,
      "categoryId": "1"
    },
    {
      "id": "2",
      "name": "Wireless Mouse",
      "price": 1290,
      "stock": 25,
      "categoryId": "1"
    },
    {
      "id": "3",
      "name": "27-inch Monitor",
      "price": 7990,
      "stock": 5,
      "categoryId": "2"
    }
  ],
  "categories": [
    {
      "id": "1",
      "name": "Accessories"
    },
    {
      "id": "2",
      "name": "Monitor"
    }
  ],
  "profile": {
    "name": "Demo Store",
    "version": "1.0"
  }
}
ใน JSON Server v1 ค่า id จะถูกใช้งานเป็น string และระบบสามารถสร้าง id ให้เองเมื่อ POST object ใหม่โดยไม่กำหนด id
#6. รัน JSON Server
ใช้คำสั่ง
npx json-server db.json
ค่าเริ่มต้นจะรันที่
http://localhost:3000
เปิด Browser
http://localhost:3000/products
จะได้ข้อมูลประมาณนี้
[
  {
    "id": "1",
    "name": "Mechanical Keyboard",
    "price": 2490,
    "stock": 10,
    "categoryId": "1"
  },
  {
    "id": "2",
    "name": "Wireless Mouse",
    "price": 1290,
    "stock": 25,
    "categoryId": "1"
  }
]
#7. กำหนด Port
หากต้องการเปลี่ยน port เช่น 4000
npx json-server db.json --port 4000
API จะอยู่ที่
http://localhost:4000
#8. ทดลอง CRUD
#8.1 GET — อ่านข้อมูลทั้งหมด
GET http://localhost:3000/products
หรือใช้ curl
curl http://localhost:3000/products
#8.2 GET — อ่านข้อมูลตาม ID
GET http://localhost:3000/products/1
curl http://localhost:3000/products/1
ตัวอย่าง Response
{
  "id": "1",
  "name": "Mechanical Keyboard",
  "price": 2490,
  "stock": 10,
  "categoryId": "1"
}
#8.3 POST — เพิ่มข้อมูล
POST http://localhost:3000/products
Content-Type: application/json
Body
{
  "name": "USB-C Hub",
  "price": 1590,
  "stock": 15,
  "categoryId": "1"
}
ด้วย curl
curl -X POST http://localhost:3000/products \
  -H "Content-Type: application/json" \
  -d '{
    "name": "USB-C Hub",
    "price": 1590,
    "stock": 15,
    "categoryId": "1"
  }'
ข้อมูลที่เพิ่มจะถูกบันทึกกลับลงใน db.json
#8.4 PUT — แทนที่ Resource
PUT http://localhost:3000/products/1
Content-Type: application/json
Body
{
  "name": "Mechanical Keyboard Pro",
  "price": 2990,
  "stock": 8,
  "categoryId": "1"
}
PUT เหมาะกับการแทนค่าข้อมูล resource โดยรวม
#8.5 PATCH — แก้ไขบาง Field
ต้องการแก้เฉพาะราคา
PATCH http://localhost:3000/products/1
Content-Type: application/json
{
  "price": 2790
}
curl
curl -X PATCH http://localhost:3000/products/1 \
  -H "Content-Type: application/json" \
  -d '{"price":2790}'
#8.6 DELETE — ลบข้อมูล
DELETE http://localhost:3000/products/1
curl -X DELETE http://localhost:3000/products/1
#9. การ Filter ข้อมูล
สมมติข้อมูลมี categoryId
GET /products?categoryId=1
ตัวอย่าง
http://localhost:3000/products?categoryId=1
JSON Server v1 รองรับ condition operators ในรูปแบบ
field:operator=value
ตัวอย่างสินค้าที่ราคามากกว่า 2,000
http://localhost:3000/products?price:gt=2000
สินค้าที่ราคาน้อยกว่าหรือเท่ากับ 3,000
http://localhost:3000/products?price:lte=3000
Operator ที่สำคัญ ได้แก่
lt
lte
gt
gte
eq
ne
in
contains
startsWith
endsWith
ตัวอย่างค้นหาชื่อที่มีคำว่า mouse
http://localhost:3000/products?name:contains=mouse
#10. การ Sort
เรียงราคาจากน้อยไปมาก
http://localhost:3000/products?_sort=price
เรียงราคาจากมากไปน้อย
http://localhost:3000/products?_sort=-price
เรียงหลาย field
http://localhost:3000/products?_sort=categoryId,-price
#11. Pagination
ใน JSON Server v1 ใช้ _page ร่วมกับ _per_page
http://localhost:3000/products?_page=1&_per_page=10
Response ของ pagination จะอยู่ในรูป object ที่มี metadata และ data
ตัวอย่างโครงสร้าง
{
  "first": 1,
  "prev": null,
  "next": 2,
  "last": 4,
  "pages": 4,
  "items": 40,
  "data": []
}
หากเคยใช้ JSON Server v0.x จะพบตัวอย่างเก่าที่ใช้
_limitจำนวนมาก แต่เอกสาร v1 เปลี่ยนมาใช้_per_page
#12. ความสัมพันธ์ระหว่างข้อมูล
ตัวอย่าง
{
  "posts": [
    {
      "id": "1",
      "title": "Introduction to REST API"
    }
  ],
  "comments": [
    {
      "id": "1",
      "postId": "1",
      "text": "Great article"
    },
    {
      "id": "2",
      "postId": "1",
      "text": "Very useful"
    }
  ]
}
สามารถดึง Post พร้อม Comment ด้วย _embed
GET /posts/1?_embed=comments
เช่น
http://localhost:3000/posts/1?_embed=comments
#13. สร้าง npm script
แก้ไข package.json
{
  "scripts": {
    "api": "json-server db.json",
    "api:4000": "json-server db.json --port 4000"
  },
  "dependencies": {
    "json-server": "^1.0.0-beta.15"
  }
}
จากนั้นรัน
npm run api
หรือ
npm run api:4000
หมายเหตุ: เลขเวอร์ชันใน
package.jsonของ project จริงควรยึดตามเวอร์ชันที่ติดตั้งจากnpm installณ เวลานั้น
#14. ใช้กับ JavaScript Fetch API
ตัวอย่างดึงสินค้า
async function loadProducts() {
  const response = await fetch("http://localhost:3000/products");

  if (!response.ok) {
    throw new Error("Cannot load products");
  }

  const products = await response.json();
  console.log(products);
}

loadProducts();
เพิ่มสินค้า
async function createProduct() {
  const response = await fetch("http://localhost:3000/products", {
    method: "POST",
    headers: {
      "Content-Type": "application/json"
    },
    body: JSON.stringify({
      name: "Webcam",
      price: 1890,
      stock: 12,
      categoryId: "1"
    })
  });

  const product = await response.json();
  console.log(product);
}

createProduct();
แก้ไขข้อมูล
async function updateProduct(id) {
  const response = await fetch(`http://localhost:3000/products/${id}`, {
    method: "PATCH",
    headers: {
      "Content-Type": "application/json"
    },
    body: JSON.stringify({
      stock: 20
    })
  });

  return response.json();
}
ลบข้อมูล
async function deleteProduct(id) {
  await fetch(`http://localhost:3000/products/${id}`, {
    method: "DELETE"
  });
}
#15. ใช้กับ React
ตัวอย่าง Component
import { useEffect, useState } from "react";

function ProductList() {
  const [products, setProducts] = useState([]);

  useEffect(() => {
    async function loadProducts() {
      const response = await fetch("http://localhost:3000/products");
      const data = await response.json();
      setProducts(data);
    }

    loadProducts();
  }, []);

  return (
    <div>
      <h1>Products</h1>

      {products.map((product) => (
        <div key={product.id}>
          <strong>{product.name}</strong>
          <span> {product.price} บาท</span>
        </div>
      ))}
    </div>
  );
}

export default ProductList;
Architecture ระหว่างพัฒนาอาจเป็น
React / Vue / Angular
        |
        | HTTP
        v
 JSON Server
        |
        v
     db.json
เมื่อ Backend จริงพร้อมแล้ว สามารถเปลี่ยน Base URL จาก
http://localhost:3000
เป็น
https://api.example.com
โดยไม่จำเป็นต้องเปลี่ยนโครงสร้าง Frontend ครั้งใหญ่ หาก API Contract ถูกออกแบบเหมือนกัน
#16. ใช้ร่วมกับ Axios
ติดตั้ง
npm install axios
ตัวอย่าง
import axios from "axios";

const api = axios.create({
  baseURL: "http://localhost:3000"
});

async function getProducts() {
  const response = await api.get("/products");
  return response.data;
}

async function addProduct(product) {
  const response = await api.post("/products", product);
  return response.data;
}
#17. ทดลอง API ด้วย Postman
สามารถสร้าง Request เช่น
GET    http://localhost:3000/products
GET    http://localhost:3000/products/1
POST   http://localhost:3000/products
PATCH  http://localhost:3000/products/1
DELETE http://localhost:3000/products/1
สำหรับ POST, PUT และ PATCH ให้กำหนด Header
Content-Type: application/json
และเลือก Body → raw → JSON
#18. โครงสร้าง Project ที่แนะนำ
json-server-demo/
├── db.json
├── package.json
├── package-lock.json
└── node_modules/
หากใช้ร่วมกับ Frontend
my-app/
├── frontend/
│   ├── src/
│   └── package.json
│
└── mock-api/
    ├── db.json
    └── package.json
การแยก mock-api ชัดเจนช่วยลดความสับสนระหว่าง Mock Backend กับ Application Code
#19. ตัวอย่างระบบ Student API
ไฟล์ db.json
{
  "students": [
    {
      "id": "1",
      "studentId": "66000001",
      "name": "Somchai",
      "major": "Software Engineering",
      "gpa": 3.45
    },
    {
      "id": "2",
      "studentId": "66000002",
      "name": "Somsri",
      "major": "Computer Science",
      "gpa": 3.72
    }
  ]
}
API ที่ได้
GET    /students
GET    /students/1
POST   /students
PUT    /students/1
PATCH  /students/1
DELETE /students/1
ค้นหานักศึกษาสาขา Software Engineering
GET /students?major=Software%20Engineering
ค้นหา GPA ตั้งแต่ 3.50 ขึ้นไป
GET /students?gpa:gte=3.5
เรียง GPA จากมากไปน้อย
GET /students?_sort=-gpa
#20. ตัวอย่าง workflow สำหรับ Frontend Development
1. ออกแบบ API Contract
        ↓
2. สร้าง db.json
        ↓
3. รัน JSON Server
        ↓
4. Frontend เรียก Mock API
        ↓
5. พัฒนา UI / State / Validation
        ↓
6. ทดสอบ CRUD
        ↓
7. Backend จริงพัฒนาเสร็จ
        ↓
8. เปลี่ยน Base URL ไปยัง Production API
แนวคิดสำคัญคือ Frontend ไม่จำเป็นต้องรอ Backend เสร็จก่อนจึงเริ่มพัฒนา
#21. ข้อดีของ JSON Server
| ข้อดี | รายละเอียด |
|---|---|
| เริ่มเร็ว | ใช้ JSON เพียงไฟล์เดียวก็สร้าง REST API ได้ |
| CRUD พร้อมใช้ | รองรับ GET, POST, PUT, PATCH, DELETE |
| เหมาะกับ Frontend | ใช้ Mock API ระหว่างรอ Backend |
| Query ได้ | Filter, Sort, Pagination และ Relation |
| ข้อมูลแก้ไขได้ | การเปลี่ยนแปลงถูกบันทึกลงไฟล์ |
| เรียนรู้ง่าย | เหมาะกับผู้เริ่มต้น REST API |
| ใช้ทดสอบได้ | ใช้กับ Postman และ Automated Testing ได้ |
#22. ข้อจำกัด
JSON Server ไม่ใช่ Backend Framework เต็มรูปแบบ
สิ่งที่ระบบจริงมักต้องมีเพิ่มเติม ได้แก่
- Authentication
- Authorization
- Role / Permission
- Validation เชิงธุรกิจ
- Database Transaction
- Complex Business Logic
- Logging
- Audit Trail
- Rate Limiting
- Production Security
- High Availability
- Horizontal Scaling
ดังนั้น JSON Server ควรถูกใช้ในฐานะ
Mock API
Prototype API
Development API
Training API
Testing Fixture
มากกว่า Production API
#23. ข้อควรระวังสำหรับผู้ใช้ JSON Server รุ่นเก่า
เอกสารหรือ Tutorial เก่าบนอินเทอร์เน็ตจำนวนมากอ้างอิง JSON Server 0.17.x เช่น
json-server --watch db.json
หรือ pagination แบบ
?_page=1&_limit=10
แต่ JSON Server v1 มีการเปลี่ยนแปลงหลายส่วน เช่น
idถูกจัดการเป็น string- pagination ใช้
_per_page - relation ใช้
_embedแทนรูปแบบบางส่วนของ_expand - ตัวเลือก
--delayถูกนำออกจาก CLI - เอกสารหลักแนะนำ
npx json-server db.json
ดังนั้นเมื่อนำ Tutorial เก่ามาใช้ ควรตรวจสอบกับเอกสารของเวอร์ชันปัจจุบันก่อนเสมอ
#24. สรุป
JSON Server ช่วยสร้าง Mock REST API ได้รวดเร็วมาก โดย workflow หลักมีเพียง
ติดตั้ง json-server
       ↓
สร้าง db.json
       ↓
npx json-server db.json
       ↓
REST API พร้อมใช้งาน
       ↓
Frontend / Postman / Automated Test เรียกใช้งาน
เหมาะอย่างยิ่งสำหรับการเรียนการสอน การสร้าง Prototype และการทำ Frontend Development แบบแยกจาก Backend
คำสั่งหลักที่ควรจำ
npm install json-server
npx json-server db.json
จากนั้นใช้งาน
GET    /resource
GET    /resource/:id
POST   /resource
PUT    /resource/:id
PATCH  /resource/:id
DELETE /resource/:id
JSON Server จึงเป็นเครื่องมือที่ช่วยลด dependency ระหว่าง Frontend และ Backend และทำให้ทีมเริ่มพัฒนาและทดสอบ API Contract ได้ตั้งแต่ช่วงต้นของโครงการ
#เอกสารอ้างอิง
- JSON Server GitHub: https://github.com/typicode/json-server
- JSON Server npm: https://www.npmjs.com/package/json-server
- Node.js: https://nodejs.org/