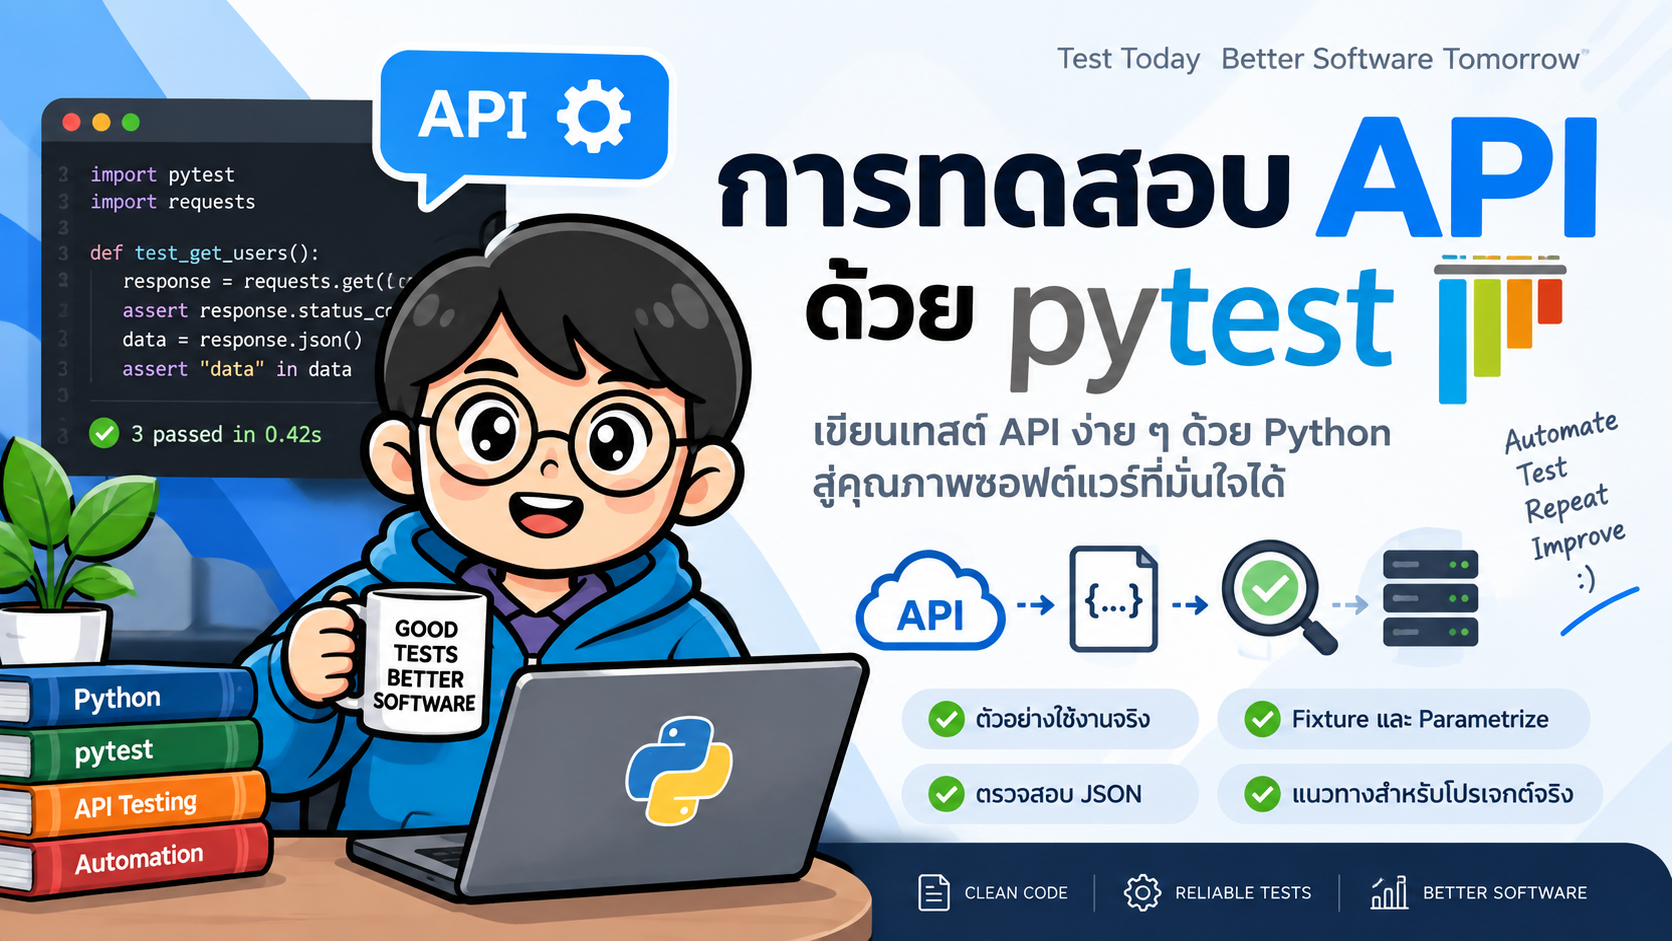
- การทดสอบ API ด้วย pytest
- 1. API Testing คืออะไร
- 2. ทำไมจึงเหมาะกับ pytest
- 3. ติดตั้งเครื่องมือ
- 4. โครงสร้างโปรเจกต์
- 5. API ที่ใช้ทดลอง
- 6. ทดสอบ GET Request
- 7. ตรวจสอบ Response Header
- 8. ทดสอบรายการข้อมูล
- 9. ทดสอบ POST Request
- 10. ใช้ Fixture ลด Code ซ้ำ
- 11. Parameterized Testing
- 12. ทดสอบ Query Parameter
- 13. Negative Testing
- 14. ทดสอบ Authentication
- 15. ใช้ Marker แบ่ง Test Suite
- 16. ตรวจสอบ Response Time
- 17. ตรวจสอบ JSON Schema
- 18. ตัวอย่าง Test Suite แบบรวม
- 19. คำสั่ง pytest ที่ควรรู้
- 20. แนวทางออกแบบ API Test ที่ดี
- 21. แนวทางสำหรับโปรเจกต์จริง
- 22. Workflow ของ API Testing ด้วย pytest
- 23. สรุป
- แหล่งอ้างอิง
#การทดสอบ API ด้วย pytest
pytest เป็น Testing Framework ยอดนิยมของภาษา Python ที่สามารถนำมาใช้ทดสอบได้ทั้ง Unit Test, Integration Test และ API Test โดยมีจุดเด่นคือ syntax กระชับ ใช้ assert แบบ Python ปกติ รองรับ Fixture และ Parameterized Test และสามารถต่อยอดเข้าสู่ CI/CD ได้ง่าย
สำหรับการทดสอบ REST API เราสามารถใช้ pytest ทำหน้าที่เป็น Test Runner และใช้ไลบรารี requests สำหรับส่ง HTTP Request ไปยัง API
ตัวอย่างในบทความนี้ใช้ JSONPlaceholder ซึ่งเป็น Fake REST API สำหรับการทดลองและการทำ Prototype
#1. API Testing คืออะไร
API Testing คือการตรวจสอบพฤติกรรมของ Application Programming Interface ว่าทำงานตรงตามข้อกำหนดหรือไม่ เช่น
- HTTP Status Code ถูกต้องหรือไม่
- Response Body มีข้อมูลตามที่กำหนดหรือไม่
- JSON Structure ถูกต้องหรือไม่
- Header ถูกต้องหรือไม่
- Authentication และ Authorization ทำงานถูกต้องหรือไม่
- API จัดการข้อมูลผิดรูปแบบได้อย่างเหมาะสมหรือไม่
- Response Time อยู่ในระดับที่ยอมรับได้หรือไม่
ตัวอย่างเช่น เมื่อเรียก
GET /posts/1
เราอาจคาดหวังว่า API จะตอบกลับด้วย HTTP Status 200 และ JSON ที่มี field เช่น id, title, body และ userId
#2. ทำไมจึงเหมาะกับ pytest
จุดเด่นของ pytest สำหรับงาน API Testing ได้แก่
- เขียน Test Case ได้กระชับ
- ใช้
assertของ Python ได้โดยตรง - มี Fixture สำหรับจัดการข้อมูลหรือ Client ที่ใช้ร่วมกัน
- รองรับ Parameterized Test
- แยก Test Suite ด้วย Marker ได้
- ใช้ร่วมกับ Requests, HTTPX และไลบรารี Python อื่นได้ง่าย
- ทำงานร่วมกับ GitHub Actions, GitLab CI, Jenkins และระบบ CI/CD อื่นได้ดี
#3. ติดตั้งเครื่องมือ
ตรวจสอบ Python
python --version
สร้าง Virtual Environment
python -m venv .venv
เปิดใช้งานบน macOS/Linux
source .venv/bin/activate
บน Windows PowerShell
.venv\Scripts\Activate.ps1
ติดตั้งแพ็กเกจ
pip install pytest requests
ตรวจสอบ pytest
pytest --version
#4. โครงสร้างโปรเจกต์
ตัวอย่างโครงสร้างที่เหมาะกับ API Test ขนาดเล็กถึงกลาง
api-testing/
├── tests/
│   ├── conftest.py
│   ├── test_posts.py
│   └── test_users.py
├── pytest.ini
└── requirements.txt
ไฟล์ requirements.txt
pytest
requests
ติดตั้ง dependency
pip install -r requirements.txt
#5. API ที่ใช้ทดลอง
กำหนด Base URL เป็น
https://jsonplaceholder.typicode.com
ตัวอย่าง Endpoint
GET    /posts
GET    /posts/1
POST   /posts
PUT    /posts/1
PATCH  /posts/1
DELETE /posts/1
JSONPlaceholder จำลองการสร้าง แก้ไข และลบข้อมูล แต่ไม่ได้บันทึกการเปลี่ยนแปลงจริงลงฐานข้อมูล
#6. ทดสอบ GET Request
สร้างไฟล์
tests/test_posts.py
แล้วเขียน
import requests

BASE_URL = "https://jsonplaceholder.typicode.com"


def test_get_post():
    response = requests.get(
        f"{BASE_URL}/posts/1",
        timeout=10
    )

    assert response.status_code == 200

    data = response.json()

    assert data["id"] == 1
    assert "title" in data
    assert "body" in data
    assert "userId" in data
รัน
pytest
หรือแสดงรายละเอียดเพิ่มเติม
pytest -v
สิ่งที่ Test Case ตรวจสอบคือ
Request
   ↓
GET /posts/1
   ↓
Response
   ↓
Status Code == 200
   ↓
ตรวจสอบ JSON
#7. ตรวจสอบ Response Header
สามารถตรวจสอบ HTTP Header ได้เช่นกัน
def test_response_content_type():
    response = requests.get(
        f"{BASE_URL}/posts/1",
        timeout=10
    )

    assert response.status_code == 200
    assert "application/json" in response.headers["Content-Type"]
#8. ทดสอบรายการข้อมูล
def test_get_posts():
    response = requests.get(
        f"{BASE_URL}/posts",
        timeout=10
    )

    assert response.status_code == 200

    data = response.json()

    assert isinstance(data, list)
    assert len(data) > 0
นอกจากตรวจสอบ Status Code ควรตรวจสอบชนิดและเนื้อหาของข้อมูลด้วย เพราะ HTTP 200 เพียงอย่างเดียวไม่ได้หมายความว่า Response ถูกต้องตาม Business Requirement
#9. ทดสอบ POST Request
ตัวอย่างสร้าง Post ใหม่
def test_create_post():
    payload = {
        "title": "API Testing with pytest",
        "body": "Testing REST API using Python",
        "userId": 1
    }

    response = requests.post(
        f"{BASE_URL}/posts",
        json=payload,
        timeout=10
    )

    assert response.status_code == 201

    data = response.json()

    assert data["title"] == payload["title"]
    assert data["body"] == payload["body"]
    assert data["userId"] == payload["userId"]
    assert "id" in data
เมื่อใช้
json=payload
ไลบรารี Requests จะ serialize dictionary เป็น JSON สำหรับ Request ให้อัตโนมัติ
#10. ใช้ Fixture ลด Code ซ้ำ
ถ้ามีหลาย Test Case ที่ใช้ Base URL หรือ HTTP Session เดียวกัน สามารถใช้ Fixture
สร้าง
tests/conftest.py
import pytest
import requests


@pytest.fixture(scope="session")
def base_url():
    return "https://jsonplaceholder.typicode.com"


@pytest.fixture(scope="session")
def api_client():
    with requests.Session() as session:
        yield session
จากนั้น Test Case สามารถรับ Fixture ผ่าน Parameter
def test_get_post(api_client, base_url):
    response = api_client.get(
        f"{base_url}/posts/1",
        timeout=10
    )

    assert response.status_code == 200
    assert response.json()["id"] == 1
ข้อดีคือ Configuration และ Resource ที่ใช้ร่วมกันถูกรวมไว้ในจุดเดียว
#11. Parameterized Testing
ถ้าต้องทดสอบ Endpoint เดียวกันกับหลายค่า ไม่ควรเขียน Test Function ซ้ำ
ใช้ pytest.mark.parametrize
import pytest


@pytest.mark.parametrize("post_id", [1, 2, 3, 4, 5])
def test_get_multiple_posts(api_client, base_url, post_id):
    response = api_client.get(
        f"{base_url}/posts/{post_id}",
        timeout=10
    )

    assert response.status_code == 200
    assert response.json()["id"] == post_id
pytest จะสร้าง Test Case จากข้อมูลแต่ละชุดให้อัตโนมัติ
test_get_multiple_posts[1]
test_get_multiple_posts[2]
test_get_multiple_posts[3]
test_get_multiple_posts[4]
test_get_multiple_posts[5]
#12. ทดสอบ Query Parameter
ตัวอย่างค้นหา Post ของ User หมายเลข 1
def test_filter_posts_by_user(api_client, base_url):
    params = {
        "userId": 1
    }

    response = api_client.get(
        f"{base_url}/posts",
        params=params,
        timeout=10
    )

    assert response.status_code == 200

    posts = response.json()

    assert len(posts) > 0
    assert all(post["userId"] == 1 for post in posts)
รูปแบบ Request ที่เกิดขึ้นคือ
GET /posts?userId=1
#13. Negative Testing
API Testing ไม่ควรทดสอบเฉพาะ Happy Path
ควรตรวจสอบ Invalid Input, Resource ที่ไม่มีอยู่ หรือกรณี Error ต่าง ๆ ด้วย
ตัวอย่างเรียก Resource ที่ไม่มีอยู่
def test_post_not_found(api_client, base_url):
    response = api_client.get(
        f"{base_url}/posts/999999",
        timeout=10
    )

    assert response.status_code == 404
Negative Test ของระบบจริงอาจประกอบด้วย
- Missing required field
- Invalid data type
- Invalid token
- Expired token
- Unauthorized user
- Forbidden operation
- Resource not found
- Duplicate data
- Invalid query parameter
#14. ทดสอบ Authentication
API จริงมักใช้ Bearer Token
ตัวอย่าง
def test_profile():
    token = "YOUR_ACCESS_TOKEN"

    headers = {
        "Authorization": f"Bearer {token}"
    }

    response = requests.get(
        "https://api.example.com/profile",
        headers=headers,
        timeout=10
    )

    assert response.status_code == 200
ไม่ควรเขียน Token จริงลง Source Code
ควรอ่านจาก Environment Variable เช่น
import os

token = os.getenv("API_TOKEN")
แล้วกำหนดค่า
macOS/Linux:
export API_TOKEN="your-secret-token"
Windows PowerShell:
$env:API_TOKEN="your-secret-token"
#15. ใช้ Marker แบ่ง Test Suite
สร้าง pytest.ini
[pytest]
markers =
    smoke: critical API smoke tests
    regression: regression API tests
กำหนด Marker
import pytest


@pytest.mark.smoke
def test_health_check(api_client, base_url):
    response = api_client.get(
        f"{base_url}/posts/1",
        timeout=10
    )

    assert response.status_code == 200
รันเฉพาะ Smoke Test
pytest -m smoke -v
รันเฉพาะ Regression
pytest -m regression -v
#16. ตรวจสอบ Response Time
สามารถวัดเวลาตอบสนองแบบง่ายได้
def test_response_time(api_client, base_url):
    response = api_client.get(
        f"{base_url}/posts/1",
        timeout=10
    )

    assert response.status_code == 200
    assert response.elapsed.total_seconds() < 2
อย่างไรก็ตามการตรวจ Response Time ใน Functional Test ไม่ใช่สิ่งทดแทน Performance Testing
หากต้องการ Load Test หรือ Stress Test ควรใช้เครื่องมือ เช่น
- k6
- JMeter
- Locust
#17. ตรวจสอบ JSON Schema
เมื่อ API มี Contract ชัดเจน เราสามารถตรวจสอบ Structure ของ JSON ได้
ติดตั้ง
pip install jsonschema
ตัวอย่าง Schema
from jsonschema import validate


POST_SCHEMA = {
    "type": "object",
    "properties": {
        "userId": {"type": "integer"},
        "id": {"type": "integer"},
        "title": {"type": "string"},
        "body": {"type": "string"}
    },
    "required": [
        "userId",
        "id",
        "title",
        "body"
    ]
}


def test_post_schema(api_client, base_url):
    response = api_client.get(
        f"{base_url}/posts/1",
        timeout=10
    )

    assert response.status_code == 200

    validate(
        instance=response.json(),
        schema=POST_SCHEMA
    )
การตรวจ Schema ช่วยตรวจจับ Breaking Change เช่น field หายไป หรือชนิดข้อมูลเปลี่ยน
#18. ตัวอย่าง Test Suite แบบรวม
tests/test_posts.py
import pytest


def test_get_post(api_client, base_url):
    response = api_client.get(
        f"{base_url}/posts/1",
        timeout=10
    )

    assert response.status_code == 200

    data = response.json()

    assert data["id"] == 1
    assert isinstance(data["title"], str)


def test_create_post(api_client, base_url):
    payload = {
        "title": "pytest API",
        "body": "API automation testing",
        "userId": 1
    }

    response = api_client.post(
        f"{base_url}/posts",
        json=payload,
        timeout=10
    )

    assert response.status_code == 201

    data = response.json()

    assert data["title"] == payload["title"]
    assert data["body"] == payload["body"]
    assert data["userId"] == payload["userId"]


@pytest.mark.parametrize("post_id", [1, 2, 3])
def test_multiple_posts(
    api_client,
    base_url,
    post_id
):
    response = api_client.get(
        f"{base_url}/posts/{post_id}",
        timeout=10
    )

    assert response.status_code == 200
    assert response.json()["id"] == post_id


def test_post_not_found(api_client, base_url):
    response = api_client.get(
        f"{base_url}/posts/999999",
        timeout=10
    )

    assert response.status_code == 404
#19. คำสั่ง pytest ที่ควรรู้
รัน Test ทั้งหมด
pytest
แสดงรายละเอียด
pytest -v
ลด Output
pytest -q
รันเฉพาะไฟล์
pytest tests/test_posts.py
รันเฉพาะ Test Function
pytest tests/test_posts.py::test_get_post
เลือก Test จากชื่อ
pytest -k "post"
หยุดเมื่อพบ Failure แรก
pytest -x
หยุดเมื่อ Failure ครบ 2 ครั้ง
pytest --maxfail=2
#20. แนวทางออกแบบ API Test ที่ดี
ไม่ควรตรวจเพียง
assert response.status_code == 200
แต่ควรตรวจหลายระดับ
1. Status Code
2. Response Headers
3. Response Body
4. Data Type
5. Required Fields
6. Business Rules
7. Error Handling
8. Authentication / Authorization
9. Schema / Contract
10. Response Time ตามเกณฑ์ที่เหมาะสม
ตัวอย่าง
def test_user(api_client, base_url):
    response = api_client.get(
        f"{base_url}/users/1",
        timeout=10
    )

    assert response.status_code == 200
    assert "application/json" in response.headers["Content-Type"]

    data = response.json()

    assert data["id"] == 1
    assert isinstance(data["name"], str)
    assert isinstance(data["email"], str)
    assert "@" in data["email"]
#21. แนวทางสำหรับโปรเจกต์จริง
เมื่อ Test Suite ใหญ่ขึ้น ควรแยก Layer เช่น
api-testing/
├── clients/
│   ├── posts_client.py
│   └── users_client.py
├── tests/
│   ├── test_posts.py
│   └── test_users.py
├── schemas/
│   ├── post_schema.py
│   └── user_schema.py
├── config/
│   └── settings.py
├── conftest.py
├── pytest.ini
└── requirements.txt
แนวคิดคือไม่ให้ Test Case ต้องรู้รายละเอียดการสร้าง HTTP Request มากเกินไป
ตัวอย่าง API Client
class PostsClient:

    def __init__(self, session, base_url):
        self.session = session
        self.base_url = base_url

    def get_post(self, post_id):
        return self.session.get(
            f"{self.base_url}/posts/{post_id}",
            timeout=10
        )

    def create_post(self, payload):
        return self.session.post(
            f"{self.base_url}/posts",
            json=payload,
            timeout=10
        )
Test จะอ่านง่ายขึ้น
def test_get_post(posts_client):
    response = posts_client.get_post(1)

    assert response.status_code == 200
    assert response.json()["id"] == 1
#22. Workflow ของ API Testing ด้วย pytest
        ┌──────────────────┐
        │   Test Case      │
        └────────┬─────────┘
                 │
                 ▼
        ┌──────────────────┐
        │ pytest Fixture   │
        └────────┬─────────┘
                 │
                 ▼
        ┌──────────────────┐
        │ requests.Session │
        └────────┬─────────┘
                 │
                 ▼
        ┌──────────────────┐
        │    REST API      │
        └────────┬─────────┘
                 │
                 ▼
        ┌──────────────────┐
        │ HTTP Response    │
        └────────┬─────────┘
                 │
                 ▼
        ┌──────────────────┐
        │ Assertions       │
        │ Status / JSON    │
        │ Header / Schema  │
        └──────────────────┘
#23. สรุป
pytest + requests เป็นชุดเครื่องมือที่เหมาะสำหรับเริ่มต้นสร้าง Automated API Testing ด้วย Python เพราะเรียนรู้ได้เร็วและขยาย Test Suite ได้ดี
แนวทางที่แนะนำคือเริ่มจาก
pytest
  ↓
GET / POST
  ↓
Assertions
  ↓
Fixtures
  ↓
Parametrization
  ↓
Negative Testing
  ↓
Authentication
  ↓
Schema Validation
  ↓
CI/CD
เมื่อระบบมีขนาดใหญ่ขึ้น ควรแยก API Client, Test Data, Configuration และ Schema ออกจาก Test Case เพื่อให้ Test Suite อ่านง่าย ดูแลรักษาง่าย และนำกลับมาใช้ซ้ำได้
#แหล่งอ้างอิง
- pytest Documentation: https://docs.pytest.org/
- Requests Documentation: https://requests.readthedocs.io/
- JSONPlaceholder Guide: https://jsonplaceholder.typicode.com/guide/