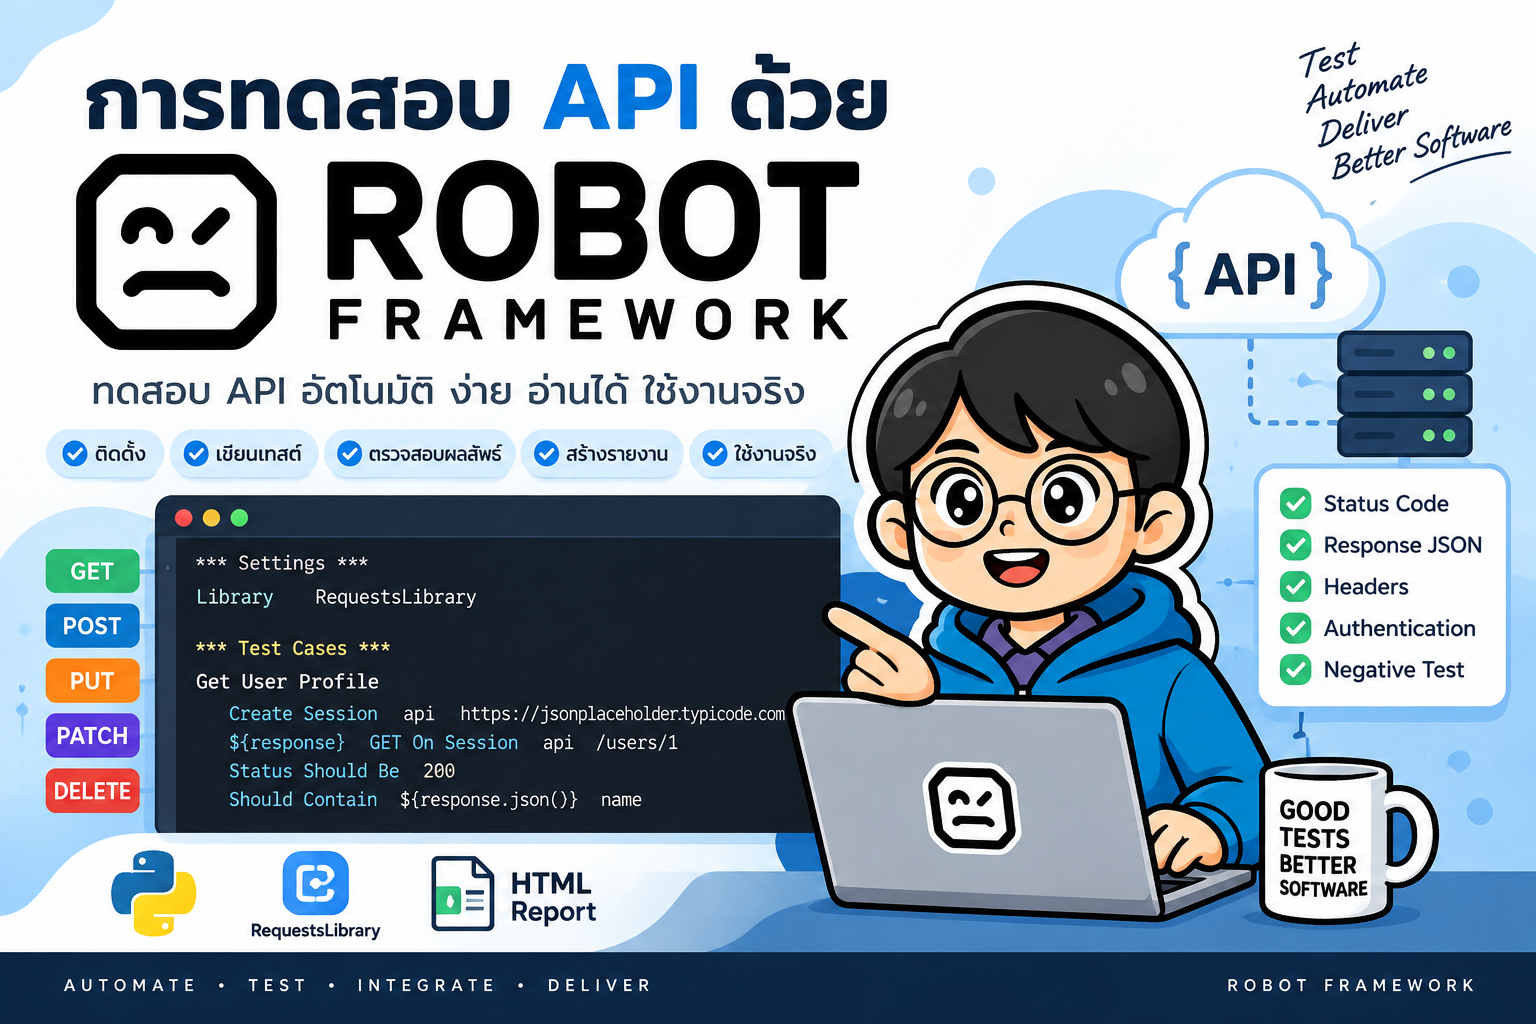
- การทดสอบ API ด้วย Robot Framework และ RequestsLibrary
- 3. ทดสอบ GET API
- 4. ตรวจสอบ Status Code
- 5. ทดสอบ JSON Response
- 6. ทดสอบ POST API
- 7. ทดสอบ PUT API
- 8. ทดสอบ PATCH API
- 9. ทดสอบ DELETE API
- 10. ส่ง Query Parameters
- 11. ส่ง HTTP Headers
- 12. Bearer Token Authentication
- 13. Login แล้วนำ Token ไปใช้
- 14. Negative Testing
- 15. สร้าง Reusable Keyword
- 16. แยก Resource File
- 17. Data-Driven Testing ด้วย Test Template
- 18. Run Test
- 19. ใช้ Tag แบ่งประเภท Test
- 20. ตัวอย่าง API Test Suite แบบสมบูรณ์
- 21. requirements.txt
- 22. ใช้ร่วมกับ CI/CD
- 23. Best Practices
- 24. Test Pyramid และตำแหน่งของ API Testing
- 25. สรุป
#การทดสอบ API ด้วย Robot Framework และ RequestsLibrary
Robot Framework เป็น Automation Framework แบบ Keyword-Driven ที่เหมาะกับงานทดสอบหลายประเภท ทั้ง Web UI, API, Database และระบบ Integration ต่าง ๆ
สำหรับการทดสอบ REST API สามารถใช้ RequestsLibrary ซึ่งทำหน้าที่เชื่อม Robot Framework เข้ากับ Python Requests ทำให้เราสามารถส่ง HTTP Request และตรวจสอบ Response ได้ด้วย syntax ที่อ่านง่าย
ตัวอย่างเช่น
*** Settings ***
Library    RequestsLibrary

*** Test Cases ***
Get User
    ${response}=    GET    https://jsonplaceholder.typicode.com/users/1
    Status Should Be    200    ${response}
ข้อดีคือ Test Case อ่านง่าย เหมาะทั้ง Developer, QA และผู้เรียนที่ต้องการเริ่มต้น API Test Automation
#1. สิ่งที่ต้องติดตั้ง
ต้องมี Python ก่อน จากนั้นสร้าง Virtual Environment เพื่อแยก dependencies ของแต่ละโครงการ
#Windows
python -m venv .venv
.venv\Scripts\activate
#macOS / Linux
python3 -m venv .venv
source .venv/bin/activate
ติดตั้ง Robot Framework และ RequestsLibrary
pip install robotframework
pip install robotframework-requests
ตรวจสอบการติดตั้ง
robot --version
pip show robotframework-requests
#2. โครงสร้างไฟล์ Robot Framework
ไฟล์ Test Suite ใช้นามสกุล .robot
ตัวอย่าง
robot-api-testing/
├── tests/
│   ├── users.robot
│   └── posts.robot
├── resources/
│   ├── variables.robot
│   └── api_keywords.resource
├── requirements.txt
└── README.md
ไฟล์ Robot Framework มักประกอบด้วยส่วนสำคัญดังนี้
*** Settings ***
Library    RequestsLibrary

*** Variables ***
${BASE_URL}    https://jsonplaceholder.typicode.com

*** Test Cases ***
Get User
    ${response}=    GET    ${BASE_URL}/users/1
    Status Should Be    200    ${response}
#3. ทดสอบ GET API
ตัวอย่างดึงข้อมูล Post หมายเลข 1
*** Settings ***
Library    RequestsLibrary

*** Variables ***
${BASE_URL}    https://jsonplaceholder.typicode.com

*** Test Cases ***
Get Post By Id
    ${response}=    GET    ${BASE_URL}/posts/1

    Status Should Be    200    ${response}

    Log    ${response.text}
    Log    ${response.json()}

    Should Be Equal As Integers
    ...    ${response.json()}[id]
    ...    1
จุดสำคัญคือ ${response} เป็น Response Object ที่สามารถเข้าถึงข้อมูล เช่น
${response.status_code}
${response.text}
${response.headers}
${response.json()}
#4. ตรวจสอบ Status Code
RequestsLibrary มี keyword สำหรับตรวจสอบ HTTP Status Code
Status Should Be 200 ${response}
หรือกำหนด status ที่คาดหวังตั้งแต่ตอนเรียก API
${response}=    GET
...    ${BASE_URL}/posts/1
...    expected_status=200
กรณีทดสอบ Resource ที่ไม่มีอยู่
*** Test Cases ***
Post Should Not Exist
    ${response}=    GET
    ...    ${BASE_URL}/posts/99999
    ...    expected_status=404

    Status Should Be    404    ${response}
#5. ทดสอบ JSON Response
สามารถเรียก .json() เพื่อแปลง Response Body เป็น Python Dictionary/List
*** Test Cases ***
Validate JSON Response
    ${response}=    GET    ${BASE_URL}/posts/1

    ${body}=    Set Variable    ${response.json()}

    Should Be Equal As Integers    ${body}[id]        1
    Should Be Equal As Integers    ${body}[userId]    1
    Should Not Be Empty            ${body}[title]
    Should Not Be Empty            ${body}[body]
แนวคิดสำคัญของ API Test คืออย่าตรวจเฉพาะ Status Code แต่ควรตรวจสอบด้วยว่า
- Response Schema ถูกต้อง
- Required Field มีอยู่
- Data Type ถูกต้อง
- Business Rule ถูกต้อง
- Response Time อยู่ในเกณฑ์
- Error Message ถูกต้องเมื่อส่งข้อมูลผิด
#6. ทดสอบ POST API
ใช้ Create Dictionary สำหรับสร้าง Request Body
*** Settings ***
Library    RequestsLibrary
Library    Collections

*** Variables ***
${BASE_URL}    https://jsonplaceholder.typicode.com

*** Test Cases ***
Create New Post
    ${body}=    Create Dictionary
    ...    title=Robot Framework API Testing
    ...    body=Testing REST API
    ...    userId=1

    ${response}=    POST
    ...    ${BASE_URL}/posts
    ...    json=${body}
    ...    expected_status=201

    ${result}=    Set Variable    ${response.json()}

    Should Be Equal
    ...    ${result}[title]
    ...    Robot Framework API Testing

    Should Be Equal As Integers
    ...    ${result}[userId]
    ...    1
เมื่อใช้
json=${body}
RequestsLibrary จะส่ง Request Body ในรูปแบบ JSON และจัดการ Content-Type ที่เหมาะสม
#7. ทดสอบ PUT API
PUT มักใช้สำหรับการแทนที่หรืออัปเดต Resource
*** Test Cases ***
Update Post
    ${body}=    Create Dictionary
    ...    id=1
    ...    title=Updated Title
    ...    body=Updated Body
    ...    userId=1

    ${response}=    PUT
    ...    ${BASE_URL}/posts/1
    ...    json=${body}
    ...    expected_status=200

    Should Be Equal
    ...    ${response.json()}[title]
    ...    Updated Title
#8. ทดสอบ PATCH API
PATCH เหมาะกับการอัปเดตข้อมูลบาง Field
*** Test Cases ***
Patch Post Title
    ${body}=    Create Dictionary
    ...    title=New Robot Framework Title

    ${response}=    PATCH
    ...    ${BASE_URL}/posts/1
    ...    json=${body}
    ...    expected_status=200

    Should Be Equal
    ...    ${response.json()}[title]
    ...    New Robot Framework Title
#9. ทดสอบ DELETE API
*** Test Cases ***
Delete Post
    ${response}=    DELETE
    ...    ${BASE_URL}/posts/1
    ...    expected_status=200

    Status Should Be    200    ${response}
ในระบบจริงควรตรวจสอบต่อว่า Resource ถูกลบจริง เช่น
${response}=    GET
...    ${BASE_URL}/posts/1
...    expected_status=404
ทั้งนี้ต้องขึ้นกับพฤติกรรมของ API ที่ทดสอบ
#10. ส่ง Query Parameters
ตัวอย่าง
GET /posts?userId=1
Robot Framework
*** Test Cases ***
Get Posts By User
    ${params}=    Create Dictionary
    ...    userId=1

    ${response}=    GET
    ...    ${BASE_URL}/posts
    ...    params=${params}
    ...    expected_status=200

    Should Not Be Empty    ${response.json()}
#11. ส่ง HTTP Headers
*** Test Cases ***
Request With Headers
    ${headers}=    Create Dictionary
    ...    Accept=application/json
    ...    Content-Type=application/json

    ${response}=    GET
    ...    ${BASE_URL}/posts/1
    ...    headers=${headers}
    ...    expected_status=200
#12. Bearer Token Authentication
API จำนวนมากใช้ JWT หรือ Bearer Token
ตัวอย่าง Header
Authorization: Bearer eyJ...
Robot Framework
*** Variables ***
${TOKEN}    your-access-token

*** Test Cases ***
Get Protected Resource
    ${headers}=    Create Dictionary
    ...    Authorization=Bearer ${TOKEN}
    ...    Accept=application/json

    ${response}=    GET
    ...    https://api.example.com/profile
    ...    headers=${headers}
    ...    expected_status=200
ในงานจริงไม่ควรเขียน Token ลงใน source code โดยตรง
สามารถส่งผ่าน command line
robot --variable TOKEN:$API_TOKEN tests/
และใน Test
*** Variables ***
${TOKEN}    ${EMPTY}
#13. Login แล้วนำ Token ไปใช้
ตัวอย่าง workflow
Login API
   ↓
Get Access Token
   ↓
Set Authorization Header
   ↓
Call Protected API
   ↓
Validate Response
ตัวอย่าง Robot Framework
*** Settings ***
Library    RequestsLibrary
Library    Collections

*** Variables ***
${BASE_URL}    https://api.example.com

*** Test Cases ***
Login And Access Profile
    ${login_body}=    Create Dictionary
    ...    email=test@example.com
    ...    password=secret123

    ${login_response}=    POST
    ...    ${BASE_URL}/login
    ...    json=${login_body}
    ...    expected_status=200

    ${token}=    Set Variable
    ...    ${login_response.json()}[access_token]

    ${headers}=    Create Dictionary
    ...    Authorization=Bearer ${token}

    ${profile_response}=    GET
    ...    ${BASE_URL}/profile
    ...    headers=${headers}
    ...    expected_status=200

    Should Not Be Empty
    ...    ${profile_response.json()}[email]
#14. Negative Testing
API Testing ไม่ควรมีเฉพาะ Happy Path
ควรทดสอบ Invalid Input ด้วย
ตัวอย่าง
*** Test Cases ***
Create User Without Email Should Fail
    ${body}=    Create Dictionary
    ...    name=Robot User

    ${response}=    POST
    ...    https://api.example.com/users
    ...    json=${body}
    ...    expected_status=400

    Status Should Be    400    ${response}
กรณีที่ควรทดสอบ เช่น
| Scenario | Expected Result |
|---|---|
| ไม่ส่ง Required Field | 400 Bad Request |
| Token ไม่ถูกต้อง | 401 Unauthorized |
| ไม่มี Permission | 403 Forbidden |
| Resource ไม่มีอยู่ | 404 Not Found |
| Duplicate Data | 409 Conflict |
| Validation Error | 400 / 422 |
| Server Error | 500 |
#15. สร้าง Reusable Keyword
เมื่อ Test Case มีขั้นตอนซ้ำ ควรสร้าง User Keyword
*** Keywords ***
Get Post By Id
    [Arguments]    ${post_id}

    ${response}=    GET
    ...    ${BASE_URL}/posts/${post_id}
    ...    expected_status=200

    RETURN    ${response}
เรียกใช้
*** Test Cases ***
Validate Post
    ${response}=    Get Post By Id    1

    Should Be Equal As Integers
    ...    ${response.json()}[id]
    ...    1
ข้อดีคือ
- ลด Code Duplication
- Test Case อ่านง่ายขึ้น
- เปลี่ยน Endpoint ได้ง่าย
- แยก Business Keyword ออกจาก Test Data
#16. แยก Resource File
ตัวอย่าง
resources/
└── api_keywords.resource
ไฟล์ api_keywords.resource
*** Settings ***
Library    RequestsLibrary

*** Variables ***
${BASE_URL}    https://jsonplaceholder.typicode.com

*** Keywords ***
Get Post
    [Arguments]    ${post_id}

    ${response}=    GET
    ...    ${BASE_URL}/posts/${post_id}
    ...    expected_status=200

    RETURN    ${response}
ไฟล์ tests/posts.robot
*** Settings ***
Resource    ../resources/api_keywords.resource

*** Test Cases ***
Get Post Successfully
    ${response}=    Get Post    1

    Should Be Equal As Integers
    ...    ${response.json()}[id]
    ...    1
#17. Data-Driven Testing ด้วย Test Template
Robot Framework รองรับ Test Template
*** Settings ***
Library    RequestsLibrary

*** Variables ***
${BASE_URL}    https://jsonplaceholder.typicode.com

*** Test Cases ***
Get Post 1
    [Template]    Get Post Should Be Successful
    1

Get Post 2
    [Template]    Get Post Should Be Successful
    2

Get Post 3
    [Template]    Get Post Should Be Successful
    3

*** Keywords ***
Get Post Should Be Successful
    [Arguments]    ${post_id}

    ${response}=    GET
    ...    ${BASE_URL}/posts/${post_id}
    ...    expected_status=200

    Should Be Equal As Integers
    ...    ${response.json()}[id]
    ...    ${post_id}
#18. Run Test
รัน Test File
robot tests/posts.robot
รันทั้ง Folder
robot tests/
กำหนด Output Directory
robot --outputdir results tests/
เมื่อรันเสร็จ Robot Framework จะสร้างผลลัพธ์หลัก เช่น
results/
├── output.xml
├── log.html
└── report.html
log.html เหมาะสำหรับดูรายละเอียดแต่ละ Keyword และ Request/Response
report.html เหมาะสำหรับดูภาพรวม Passed/Failed ของ Test Suite
#19. ใช้ Tag แบ่งประเภท Test
*** Test Cases ***
Get User API
    [Tags]    api    smoke    users

    ${response}=    GET
    ...    ${BASE_URL}/users/1
    ...    expected_status=200
รันเฉพาะ Smoke Test
robot --include smoke tests/
รันเฉพาะ API Test
robot --include api tests/
#20. ตัวอย่าง API Test Suite แบบสมบูรณ์
*** Settings ***
Library    RequestsLibrary
Library    Collections

*** Variables ***
${BASE_URL}    https://jsonplaceholder.typicode.com

*** Test Cases ***
GET Post Should Return 200
    [Tags]    api    smoke    get

    ${response}=    GET
    ...    ${BASE_URL}/posts/1
    ...    expected_status=200

    Should Be Equal As Integers
    ...    ${response.json()}[id]
    ...    1

POST Should Create Post
    [Tags]    api    post

    ${body}=    Create Dictionary
    ...    title=Robot API
    ...    body=Robot Framework
    ...    userId=1

    ${response}=    POST
    ...    ${BASE_URL}/posts
    ...    json=${body}
    ...    expected_status=201

    Should Be Equal
    ...    ${response.json()}[title]
    ...    Robot API

PUT Should Update Post
    [Tags]    api    put

    ${body}=    Create Dictionary
    ...    id=1
    ...    title=Updated
    ...    body=Updated Body
    ...    userId=1

    ${response}=    PUT
    ...    ${BASE_URL}/posts/1
    ...    json=${body}
    ...    expected_status=200

    Should Be Equal
    ...    ${response.json()}[title]
    ...    Updated

DELETE Should Return Success
    [Tags]    api    delete

    ${response}=    DELETE
    ...    ${BASE_URL}/posts/1
    ...    expected_status=200

    Status Should Be    200    ${response}
#21. requirements.txt
เพื่อให้ติดตั้ง environment เดิมซ้ำได้
robotframework
robotframework-requests
ติดตั้ง
pip install -r requirements.txt
ใน Production Project ควร pin version หลังตรวจสอบ compatibility แล้ว เช่น
robotframework==<tested-version>
robotframework-requests==<tested-version>
#22. ใช้ร่วมกับ CI/CD
Robot Framework เหมาะกับการรันใน Pipeline เพราะสั่งผ่าน CLI ได้โดยตรง
ตัวอย่าง GitHub Actions
name: API Tests

on:
  push:
  pull_request:

jobs:
  robot-api-test:
    runs-on: ubuntu-latest

    steps:
      - uses: actions/checkout@v4

      - uses: actions/setup-python@v5
        with:
          python-version: "3.12"

      - name: Install dependencies
        run: |
          pip install -r requirements.txt

      - name: Run Robot Framework API Tests
        run: |
          robot --outputdir results tests/

      - name: Upload Robot Framework Reports
        if: always()
        uses: actions/upload-artifact@v4
        with:
          name: robot-api-test-results
          path: results/
Workflow ที่นิยมใช้คือ
Developer Push Code
        ↓
CI Pipeline
        ↓
Deploy Test Environment
        ↓
Robot Framework API Tests
        ↓
Generate report.html / log.html
        ↓
Pass → Merge / Deploy
Fail → Stop Pipeline
#23. Best Practices
#23.1 แยก Test Data ออกจาก Test Logic
หลีกเลี่ยงการ hard-code ทุกอย่างใน Test Case
ควรแยก
Variables
Environment Config
Test Data
API Keywords
Test Cases
#23.2 ใช้ Keyword ให้สื่อความหมายทางธุรกิจ
แทนที่จะเขียน Test Case ยาว ๆ
${response}=    POST ...
Should Be Equal ...
Should Contain ...
สามารถสร้าง keyword เช่น
Create New Student
Student Should Be Created Successfully
Get Student By Id
Delete Student
ทำให้ Test อ่านใกล้เคียง Test Scenario
#23.3 อย่าตรวจเฉพาะ HTTP 200
ควรตรวจ
Status Code
Response Body
Headers
Schema
Data Type
Business Rule
Authentication
Authorization
Error Handling
#23.4 ไม่เก็บ Secret ใน Git
ค่าต่อไปนี้ไม่ควร hard-code
Password
API Key
Access Token
Refresh Token
Client Secret
ให้ใช้ Environment Variable หรือ Secret Manager ของ CI/CD แทน
#23.5 มีทั้ง Positive และ Negative Test
ตัวอย่าง
Positive
✓ Login ด้วยข้อมูลถูกต้อง
✓ Create Resource สำเร็จ
✓ Search Resource เจอข้อมูล

Negative
✗ Password ผิด
✗ Token หมดอายุ
✗ Required Field หาย
✗ ID ไม่มีอยู่
✗ User ไม่มี Permission
#24. Test Pyramid และตำแหน่งของ API Testing
โดยทั่วไป Automated Test สามารถจัดเป็น
             /\
            /  \
           / UI \
          /------\
         /  API   \
        /----------\
       / Unit Tests \
      /--------------\
API Test อยู่ตรงกลางของ Test Pyramid
ข้อดีคือ
- เร็วกว่า UI Test
- เสถียรกว่า UI Test
- ครอบคลุม Business Logic ระหว่าง Service ได้ดี
- เหมาะกับ Integration Test
- ทำงานกับ CI/CD ได้ดี
ดังนั้น Project ที่มี REST API ควรมี API Automation Test เป็นส่วนสำคัญของ Pipeline
#25. สรุป
การทดสอบ API ด้วย Robot Framework สามารถเริ่มต้นได้ง่ายด้วย RequestsLibrary
ขั้นตอนหลักคือ
1. Install Robot Framework
        ↓
2. Install RequestsLibrary
        ↓
3. Define BASE_URL
        ↓
4. Send HTTP Request
        ↓
5. Validate Status Code
        ↓
6. Validate JSON Response
        ↓
7. Add Positive / Negative Tests
        ↓
8. Create Reusable Keywords
        ↓
9. Run with robot CLI
        ↓
10. Integrate with CI/CD
คำสั่งพื้นฐานที่ควรรู้
pip install robotframework robotframework-requests
robot tests/
robot --include smoke tests/
robot --outputdir results tests/
และ HTTP Method ที่ใช้บ่อย
GET
POST
PUT
PATCH
DELETE
หากออกแบบ Test Suite ให้แยก Test Data, API Keywords และ Test Cases อย่างเป็นระบบ Robot Framework จะเป็นเครื่องมือที่มีประสิทธิภาพมากสำหรับ REST API Test Automation ทั้งในงานเรียน งานพัฒนา Software และ CI/CD Pipeline
#References
-
Robot Framework Guides — Requests Library
https://docs.robotframework.org/docs/different_libraries/requests -
Robot Framework Guides — Restful Booker Example
https://docs.robotframework.org/docs/examples/restfulbooker -
Robot Framework Guides — Getting Started
https://docs.robotframework.org/docs/getting_started/testing -
Robot Framework Documentation
https://docs.robotframework.org/