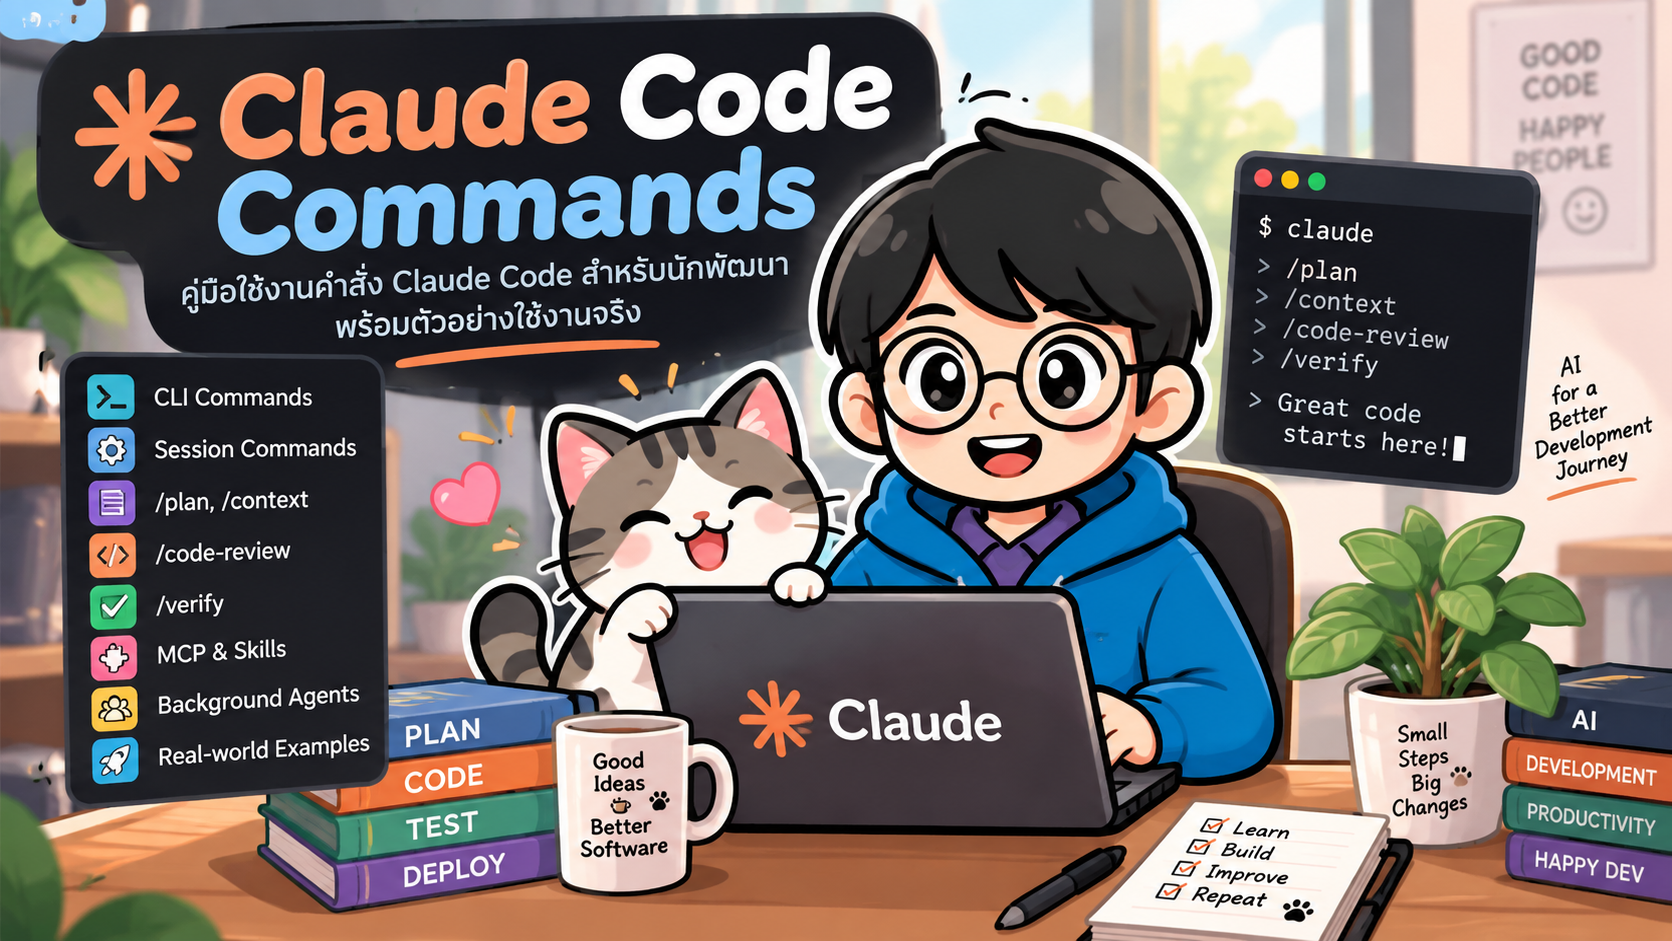
- Claude Code Commands: คู่มือคำสั่งที่ควรรู้สำหรับนักพัฒนา
- 2. เริ่ม Claude Code พร้อม Prompt
- 3. ใช้ Claude Code แบบ Non-interactive ด้วย -p
- 4. Continue Session
- 5. Resume Session
- 6. คำสั่ง /help
- 7. /init — เตรียม Repository สำหรับ Claude Code
- 8. /memory
- 9. /plan — วางแผนก่อนแก้ Code
- 10. /model — เลือก Model
- 11. /effort — กำหนดระดับ Reasoning
- 12. /permissions
- 13. /context — ตรวจสอบ Context Window
- 14. /compact — ลดการใช้ Context
- 15. /clear
- 16. /btw
- 17. /diff
- 18. /code-review
- 19. /security-review
- 20. /simplify
- 21. /run
- 22. /verify
- 23. /debug
- 24. /doctor
- 25. /status
- 26. /usage
- 27. Session Management
- 28. Background Agent
- 29. /subtask
- 30. /tasks
- 31. /batch
- 32. MCP Commands
- 33. Plugin Commands
- 34. Custom Commands ปัจจุบันใช้ Skills
- 35. .claude/commands แบบเดิมยังใช้ได้
- 36. Personal Skills
- 37. /skills
- 38. Hooks
- 39. /config
- 40. เพิ่ม Working Directory
- 41. เปลี่ยน Working Directory
- 42. Chrome Integration
- 43. Structured Output
- 44. JSON Schema Output
- 45. จำกัดจำนวน Agent Turns
- 46. จำกัด Budget
- 47. Workflow แนะนำสำหรับ Repository ใหม่
- 48. Workflow สำหรับแก้ Bug
- 49. Workflow สำหรับ Pull Request Review
- 50. Workflow เมื่อ Context เริ่มเต็ม
- 51. Workflow สำหรับ CI/CD
- 52. คำสั่งที่ควรจำก่อน
- 53. Claude Code Commands Cheat Sheet
- 54. เขียน Prompt ให้ Claude Code ทำงานได้ดีขึ้น
- 55. สรุป
#Claude Code Commands: คู่มือคำสั่งที่ควรรู้สำหรับนักพัฒนา
Claude Code เป็น AI Coding Agent ของ Anthropic ที่ออกแบบมาให้ทำงานร่วมกับนักพัฒนาผ่าน Terminal โดยตรง สามารถอ่านโค้ด วิเคราะห์โครงสร้างโปรเจกต์ แก้ไขไฟล์ รันคำสั่ง ทดสอบระบบ ตรวจสอบ Git diff ทำ Code Review รวมถึงเชื่อมต่อเครื่องมือภายนอกผ่าน MCP ได้
จุดเด่นของ Claude Code คือไม่ได้ทำหน้าที่เพียงตอบคำถามเกี่ยวกับโค้ด แต่สามารถทำงานแบบ Agentic Software Development ได้ กล่าวคือ เราสามารถมอบหมายเป้าหมายให้ Claude Code แล้วให้มันสำรวจ Repository วางแผน แก้ไขโค้ด รัน Test และตรวจสอบผลลัพธ์ได้ภายใน Workflow เดียว
บทความนี้สรุปคำสั่ง Claude Code ที่ใช้งานจริง โดยแบ่งเป็น 2 กลุ่มหลัก คือ
- CLI Commands — รันจาก Terminal
- Session Commands — ใช้ภายใน Claude Code และขึ้นต้นด้วย
/
บทความนี้อ้างอิง Claude Code Documentation ณ วันที่ 22 กันยายน 2026 คำสั่งบางรายการอาจขึ้นอยู่กับเวอร์ชัน Plan และ Environment ที่ใช้งาน
#1. เริ่มต้นใช้งาน Claude Code
หลังจากติดตั้ง Claude Code แล้ว สามารถเปิดใช้งานจาก Terminal ด้วย
claude
Claude Code จะเปิด Interactive Session โดยใช้ Directory ปัจจุบันเป็น Working Directory
ตัวอย่าง
cd my-project
claude
จากนั้นสามารถสั่งงานด้วยภาษาธรรมชาติ เช่น
Explain the architecture of this project.
หรือ
Find the root cause of the failing tests and fix it.
#2. เริ่ม Claude Code พร้อม Prompt
สามารถส่ง Prompt ตั้งแต่เปิด Session ได้
claude "explain this project"
ตัวอย่าง
claude "analyze this repository and explain the architecture"
เหมาะกับงานที่รู้เป้าหมายตั้งแต่ต้น และไม่ต้องการเริ่มจากหน้าสนทนาว่าง
#3. ใช้ Claude Code แบบ Non-interactive ด้วย -p
คำสั่งสำคัญสำหรับ Automation คือ
claude -p "prompt"
-p หรือ --print จะส่ง Prompt ให้ Claude Code ประมวลผล แล้วพิมพ์ผลลัพธ์ออกมาทาง stdout จากนั้นจบการทำงาน
ตัวอย่าง
claude -p "explain src/auth.ts"
เหมาะกับ
- Shell Script
- CI/CD Pipeline
- Automation
- Batch Processing
- Code Review Script
- Integration กับเครื่องมืออื่น
ตัวอย่างการใช้ร่วมกับ Git
git diff | claude -p "review this diff for bugs"
หรือวิเคราะห์ Log
cat error.log | claude -p "find the root cause"
#4. Continue Session
หากต้องการเปิด Conversation ล่าสุดของ Directory ปัจจุบัน
claude -c
หรือ
claude --continue
เหมาะเมื่อปิด Terminal แล้วต้องการทำงานต่อจาก Session ก่อนหน้า
#5. Resume Session
ใช้
claude -r
หรือระบุชื่อ Session
claude -r "payment-api"
สามารถตั้งชื่อ Session ตั้งแต่เริ่มต้นด้วย
claude -n "payment-api"
หรือ
claude --name "payment-api"
ภายใน Session สามารถเปลี่ยนชื่อได้ด้วย
/rename payment-api-v2
การตั้งชื่อ Session มีประโยชน์มากเมื่อทำงานหลาย Feature พร้อมกัน
#6. คำสั่ง /help
ภายใน Claude Code สามารถใช้
/help
หรือพิมพ์เพียง
/
เพื่อดู Commands และ Skills ที่สามารถใช้งานได้
นี่เป็นวิธีที่ดีที่สุดในการตรวจสอบคำสั่งที่รองรับใน Claude Code เวอร์ชันที่กำลังใช้งาน เพราะ Command บางรายการขึ้นอยู่กับ Platform, Plan และ Environment
#7. /init — เตรียม Repository สำหรับ Claude Code
เมื่อเข้า Repository ใหม่ แนะนำให้ใช้
/init
Claude Code จะสำรวจโปรเจกต์และสร้างไฟล์
CLAUDE.md
ไฟล์นี้ใช้เก็บข้อมูลสำคัญเกี่ยวกับโปรเจกต์ เช่น
- Coding Convention
- Build Command
- Test Command
- Architecture
- Project Rules
- Repository-specific Instructions
ตัวอย่าง Workflow
git clone https://github.com/example/my-project.git
cd my-project
claude
จากนั้น
/init
#8. /memory
ใช้
/memory
สำหรับดูและปรับแต่ง Memory หรือ CLAUDE.md
แนวคิดคือ
CLAUDE.md
     ↓
Project Instructions
     ↓
Claude Code
ไม่ควรใส่ Documentation ทั้งหมดลงใน CLAUDE.md เพราะข้อมูลในไฟล์นี้อาจถูกโหลดเข้า Context บ่อย ควรเก็บเฉพาะข้อมูลที่มีผลต่อการทำงานของ Agent จริง ๆ
#9. /plan — วางแผนก่อนแก้ Code
สำหรับงานขนาดใหญ่ แนะนำให้เข้า Plan Mode ก่อน
/plan
หรือส่ง Task ไปพร้อมกัน
/plan refactor authentication module to use JWT
เหมาะกับงาน เช่น
- Refactor Architecture
- Database Migration
- เปลี่ยน Framework
- แก้หลาย Module
- Redesign API
- Major Feature
Workflow ที่เหมาะสม
/plan
   ↓
Analyze Repository
   ↓
Create Implementation Plan
   ↓
Review Plan
   ↓
Implement
   ↓
Verify
#10. /model — เลือก Model
สามารถเลือก Model ได้จาก CLI
claude --model sonnet
หรือ
claude --model opus
ภายใน Session ใช้
/model
Claude Code รองรับ Model Alias เช่น
sonnet
opus
haiku
fable
Model ที่ใช้งานได้จริงขึ้นอยู่กับ Account และ Provider
#11. /effort — กำหนดระดับ Reasoning
สามารถกำหนดระดับการใช้ Reasoning ได้จาก CLI
claude --effort high
หรือภายใน Session
/effort high
ระดับที่รองรับอาจประกอบด้วย
low
medium
high
xhigh
max
ultracode
auto
งานที่ซับซ้อน เช่น Architecture Review หรือ Debugging ขนาดใหญ่ อาจเหมาะกับระดับ high ขึ้นไป ส่วนงานแก้ข้อความหรือแก้ไฟล์ง่าย ๆ อาจใช้ระดับต่ำกว่าเพื่อประหยัดเวลาและค่าใช้จ่าย
#12. /permissions
Claude Code สามารถอ่าน แก้ไขไฟล์ และรัน Shell Command ได้ จึงมีระบบ Permission สำหรับควบคุมสิทธิ์
ใช้
/permissions
เพื่อจัดการ Permission Rules
สามารถเริ่ม Session ด้วย Permission Mode เช่น
claude --permission-mode plan
Mode ที่อาจใช้งานได้ เช่น
default
manual
acceptEdits
plan
auto
dontAsk
bypassPermissions
ควรระมัดระวังการใช้
claude --dangerously-skip-permissions
เพราะจะลดหรือข้ามขั้นตอนการยืนยัน Permission ควรใช้เฉพาะ Environment ที่ควบคุมได้เท่านั้น
#13. /context — ตรวจสอบ Context Window
ใช้
/context
หรือต้องการรายละเอียดเพิ่มเติม
/context all
Claude Code จะแสดงข้อมูลว่า Context ถูกใช้งานไปกับอะไร เช่น
- Conversation
- Files
- Tools
- Memory
- Skills
การตรวจสอบ Context มีประโยชน์มากเมื่อ Session เริ่มยาวและ Claude เริ่มจำรายละเอียดบางส่วนได้ไม่ดีเท่าเดิม
#14. /compact — ลดการใช้ Context
เมื่อ Conversation ยาว สามารถใช้
/compact
Claude Code จะสรุป Conversation เพื่อลด Context Usage
สามารถระบุสิ่งที่ต้องการรักษาไว้ใน Summary ได้ เช่น
/compact keep architecture decisions, unresolved bugs, and API constraints
Workflow
Long Session
    ↓
/context
    ↓
/compact
    ↓
Continue Development
#15. /clear
ถ้าต้องการเริ่ม Task ใหม่โดยไม่ใช้ Conversation เดิม
/clear
Alias ที่ใช้ได้ เช่น
/reset
/new
ต่างจาก /compact ตรงที่ /compact ย่อ Context เดิม ส่วน /clear เริ่ม Conversation ใหม่
Project Memory เช่น CLAUDE.md ยังสามารถถูกใช้ต่อได้
#16. /btw
สำหรับถามคำถามข้างเคียงโดยไม่ต้องการเพิ่มคำถามนั้นลงใน Main Conversation History
/btw what is the difference between JWT and session authentication?
เหมาะสำหรับคำถามสั้น ๆ ระหว่างทำงาน
#17. /diff
หลัง Claude Code แก้ไฟล์ สามารถดูสิ่งที่เปลี่ยนแปลงได้ด้วย
/diff
Workflow ที่แนะนำ
Implement
   ↓
/diff
   ↓
Review Changes
   ↓
Test
   ↓
Commit
ควรตรวจสอบ Diff ก่อน Commit เสมอ โดยเฉพาะงานที่ Agent แก้ไฟล์หลายไฟล์พร้อมกัน
#18. /code-review
ใช้ตรวจสอบ Code หรือ Diff ปัจจุบัน
/code-review
หรือ
/review
ตัวอย่าง
/code-review high
ตรวจสอบ Pull Request
/code-review high 123
ให้ Claude แก้ Finding ที่ตรวจพบ
/code-review high --fix
หรือ Comment ลง Pull Request
/code-review high --comment 123
Claude Code ยังรองรับ Deep Review ด้วย
/code-review ultra
เหมาะกับงาน
- Bug Detection
- Regression Review
- Pull Request Review
- Correctness Review
#19. /security-review
ใช้ตรวจสอบ Code Change ในมุม Security
/security-review
เหมาะกับระบบที่เกี่ยวข้องกับ
- Authentication
- Authorization
- Input Validation
- API Security
- Secret Management
- Dependency Change
สำหรับงาน Security-sensitive ควรใช้ทั้ง Test, Code Review และ Security Review ร่วมกัน
#20. /simplify
ใช้
/simplify
เพื่อวิเคราะห์ Code ที่เปลี่ยนแปลงและหาโอกาสปรับปรุงด้าน
- Code Reuse
- Complexity
- Abstraction
- Efficiency
- Maintainability
Workflow ที่เหมาะสม
/code-review
      ↓
Fix Bugs
      ↓
/simplify
      ↓
Clean Up Implementation
#21. /run
Claude Code มี Skill สำหรับเปิดและทดลอง Application
/run
ระบบจะพยายามอนุมานวิธีรันจากไฟล์ เช่น
README.md
package.json
Makefile
จึงเหมาะสำหรับการตรวจสอบ UI หรือ Application Behavior หลังจากแก้ Code
#22. /verify
ใช้
/verify
เพื่อ Build และ Run Application แล้วตรวจสอบว่า Change ทำงานตามที่ต้องการจริง
แนวคิดสำคัญคือ
Code Change
    ↓
Build
    ↓
Run
    ↓
Observe
    ↓
Verify
ต่างจากการรัน Unit Test อย่างเดียว เพราะ /verify เน้นตรวจสอบ Application Behavior ที่กำลังทำงานจริง
#23. /debug
ใช้
/debug
หรือ
/debug tests randomly hang after database migration
เพื่อเปิด Debug Logging และวิเคราะห์ปัญหาที่เกี่ยวกับ Claude Code Session หรือ Environment
#24. /doctor
ภายใน Session ใช้
/doctor
เพื่อวิเคราะห์ Installation และ Configuration
สามารถตรวจสอบเรื่องต่าง ๆ เช่น
- Installation
- PATH
- Settings
- Hooks
- Skills
- MCP
- Plugins
ถ้าต้องการตรวจสอบจาก Terminal โดยไม่เปิด Interactive Session
claude doctor
#25. /status
ใช้
/status
เพื่อดูข้อมูล Session เช่น
- Claude Code Version
- Model
- Account
- Session
- Connectivity
#26. /usage
ใช้
/usage
Alias ได้แก่
/cost
/stats
ใช้ดูข้อมูล Usage และค่าใช้จ่ายตามความสามารถของ Plan
#27. Session Management
Claude Code รองรับการจัดการ Conversation หลายรูปแบบ
#Resume
/resume
#Branch Conversation
/branch experimental-approach
ใช้แยก Conversation ออกเป็นอีกแนวทางหนึ่งโดยไม่ทำลาย Session เดิม
#Fork Session
/fork
สร้างสำเนา Conversation เป็น Background Session
#Rewind
/rewind
ย้อน Code และ Conversation ไปยัง Checkpoint ก่อนหน้า
เหมาะมากเมื่อ Agent แก้ Code ผิดแนวทาง
#28. Background Agent
สามารถแยก Session ไปทำงานเบื้องหลังด้วย
/background
Alias
/bg
หรือเริ่มจาก CLI
claude --bg "investigate the flaky test"
ตรวจสอบ Sessions ได้ด้วย
claude agents
หรือรับผลแบบ JSON
claude agents --json
#29. /subtask
สามารถแบ่ง Task ย่อยให้ Subagent ได้
/subtask inspect the payment module for race conditions
แนวคิด
Main Agent
 ├── Subtask: API
 ├── Subtask: Tests
 └── Subtask: Security
เหมาะกับงานที่สามารถแยกส่วนวิเคราะห์ได้อย่างอิสระ
#30. /tasks
ใช้ดู Background Work และ Subagent ที่กำลังทำงาน
/tasks
เหมาะเมื่อใช้ Agent หลายตัวพร้อมกัน
#31. /batch
สำหรับการเปลี่ยน Codebase ขนาดใหญ่ สามารถใช้
/batch migrate src/ from JavaScript to TypeScript
Claude Code จะ
Analyze
   ↓
Split Work
   ↓
Create Worktrees
   ↓
Run Subagents
   ↓
Implement Changes
   ↓
Test
เหมาะกับ
- Large Refactor
- Migration
- Codebase-wide Update
- Repetitive Change หลาย Module
#32. MCP Commands
MCP หรือ Model Context Protocol ช่วยให้ Claude Code เชื่อมต่อกับ External Tools และ Data Sources
จาก Terminal
claude mcp
ภายใน Session
/mcp
ตัวอย่าง Authentication
claude mcp login sentry
Logout
claude mcp logout sentry
MCP ทำให้ Claude Code สามารถเชื่อมต่อระบบภายนอก เช่น Database, Monitoring, API หรือ Developer Platform ได้ตาม Server ที่กำหนด
#33. Plugin Commands
Claude Code รองรับ Plugin
จาก Terminal
claude plugin
ตัวอย่าง
claude plugin install code-review@claude-plugins-official
ภายใน Session
/plugin
Plugin สามารถรวมองค์ประกอบหลายอย่างไว้ด้วยกัน เช่น
- Skills
- Agents
- Hooks
- MCP Servers
#34. Custom Commands ปัจจุบันใช้ Skills
Claude Code ปัจจุบันรวมแนวคิด Custom Commands เข้ากับ Skills
โครงสร้างที่แนะนำคือ
.claude/
└── skills/
    └── deploy/
        └── SKILL.md
สร้าง Directory
mkdir -p .claude/skills/deploy
ตัวอย่าง SKILL.md
---
description: Deploy application to staging
---

1. Run tests.
2. Build the Docker image.
3. Deploy using Docker Compose.
4. Run a health check.
5. Report the deployment result.
จากนั้นเรียกใช้ด้วย
/deploy
#35. .claude/commands แบบเดิมยังใช้ได้
โครงสร้าง Legacy
.claude/
└── commands/
    └── deploy.md
ไฟล์ดังกล่าวยังสามารถสร้าง Command
/deploy
ได้เช่นเดิม
อย่างไรก็ตาม สำหรับ Project ใหม่ แนวทางที่แนะนำคือ
.claude/skills/<skill-name>/SKILL.md
เพราะ Skill Directory สามารถเก็บ Supporting Files เพิ่มเติมได้
#36. Personal Skills
Skill ที่ต้องการใช้กับทุก Project สามารถเก็บไว้ที่
~/.claude/skills/
ตัวอย่าง
~/.claude/skills/code-audit/SKILL.md
จากนั้นใช้
/code-audit
ได้ในหลาย Repository
#37. /skills
ใช้ดู Skills ที่พร้อมใช้งาน
/skills
หากเพิ่มหรือแก้ Skill ระหว่าง Session สามารถ reload ได้ตามความสามารถของเวอร์ชันที่ใช้งาน
#38. Hooks
Claude Code รองรับ Hooks สำหรับ Trigger Shell Command เมื่อเกิด Event
เปิดการตั้งค่าได้จาก
/hooks
ตัวอย่าง Use Case
Claude edits code
       ↓
Hook
       ↓
Run Formatter
       ↓
Run Linter
       ↓
Continue
Hooks เหมาะกับ
- Formatting
- Linting
- Logging
- Notification
- Policy Enforcement
#39. /config
เปิด Settings
/config
Alias
/settings
สามารถแก้ Setting โดยตรงได้ เช่น
/config theme=dark
/config model=sonnet
/config thinking=false
ดูค่าที่รองรับ
/config --help
#40. เพิ่ม Working Directory
ใช้
/add-dir ../shared-lib
หรือ CLI
claude --add-dir ../shared-lib
เหมาะกับ
- Monorepo
- Shared Library
- Frontend + Backend แยก Directory
- Multi-project Workspace
#41. เปลี่ยน Working Directory
ใช้
/cd ../backend
/cd จะเปลี่ยน Working Directory หลักของ Session
ต่างจาก /add-dir ซึ่งเพิ่มสิทธิ์เข้าถึง Directory เพิ่มเติมโดยไม่เปลี่ยน Working Directory หลัก
#42. Chrome Integration
สามารถเปิด Claude Code พร้อม Browser Integration ได้ด้วย
claude --chrome
หรือจัดการภายใน Session
/chrome
เหมาะกับ
- UI Testing
- Browser Automation
- Web Debugging
- Frontend Verification
#43. Structured Output
ใน Print Mode สามารถให้ Claude Code ส่ง Output เป็น JSON
claude -p \
  "analyze this repository" \
  --output-format json
หรือ Streaming JSON
claude -p \
  "run tests and report" \
  --output-format stream-json
เหมาะมากสำหรับ
- CI/CD
- Agent Orchestration
- Script
- API Integration
- Machine-readable Workflow
#44. JSON Schema Output
สามารถบังคับให้ Output ตรงกับ JSON Schema ได้
claude -p \
  --json-schema '{
    "type": "object",
    "properties": {
      "status": {
        "type": "string"
      },
      "issues": {
        "type": "array",
        "items": {
          "type": "string"
        }
      }
    },
    "required": ["status", "issues"]
  }' \
  "review the project"
เหมาะเมื่อ Output ต้องถูกส่งต่อให้ Software อีกตัวประมวลผล
#45. จำกัดจำนวน Agent Turns
สำหรับ Automation สามารถจำกัดจำนวนรอบการทำงานได้
claude -p \
  --max-turns 5 \
  "analyze and fix the failing tests"
ช่วยควบคุม Agent Loop
#46. จำกัด Budget
สามารถกำหนดงบสูงสุดของ Job ได้
claude -p \
  --max-budget-usd 5 \
  "review this repository"
เหมาะกับ CI/CD หรือ Automated Job ที่ต้องควบคุมค่าใช้จ่าย
#47. Workflow แนะนำสำหรับ Repository ใหม่
เริ่มจาก
cd my-project
claude
จากนั้น
/init
วางแผน
/plan analyze the architecture and propose improvements
Implement
Implement the approved changes.
Verify
/verify
ตรวจ Diff
/diff
Code Review
/code-review high
Workflow รวม
Project
  ↓
/init
  ↓
/plan
  ↓
Implement
  ↓
/verify
  ↓
/diff
  ↓
/code-review
#48. Workflow สำหรับแก้ Bug
Investigate why login returns HTTP 500.
Find the root cause before changing code.
จากนั้น
/plan fix the login 500 error
หลังแก้
/verify
/code-review high
/diff
ก่อน Commit
#49. Workflow สำหรับ Pull Request Review
/code-review high 123
หากต้องการแก้ Finding
/code-review high --fix 123
จากนั้น
/verify
และ
/diff
#50. Workflow เมื่อ Context เริ่มเต็ม
ตรวจสอบก่อน
/context
ถ้า Context สูงมาก
/compact keep architecture decisions, current bugs, and pending tasks
จากนั้นทำงานต่อใน Session เดิมได้
#51. Workflow สำหรับ CI/CD
ตัวอย่าง
claude -p \
  --max-turns 3 \
  --output-format json \
  "review the current git diff and report critical problems"
แนวคิด
Git Push
   ↓
CI Pipeline
   ↓
Claude Code -p
   ↓
Analyze Diff
   ↓
JSON Result
   ↓
Pipeline Processing
#52. คำสั่งที่ควรจำก่อน
| Command | หน้าที่ |
|---|---|
claude |
เปิด Claude Code |
claude -p |
รันแบบ Non-interactive |
claude -c |
Continue Session ล่าสุด |
claude -r |
Resume Session |
/help |
ดู Commands |
/init |
สร้าง Project Instructions |
/plan |
วางแผนก่อนแก้ Code |
/model |
เลือก Model |
/effort |
กำหนด Reasoning Level |
/permissions |
จัดการ Permission |
/context |
ดู Context Usage |
/compact |
ลด Context |
/diff |
ดู Code Change |
/verify |
ตรวจ Application จริง |
/code-review |
Review Code |
/security-review |
ตรวจ Security |
/resume |
กลับ Session เก่า |
/rewind |
ย้อน Checkpoint |
/mcp |
จัดการ MCP |
/doctor |
ตรวจ Environment |
#53. Claude Code Commands Cheat Sheet
# Start
claude
claude "task"
claude -p "query"

# Session
claude -c
claude -r
claude -n "name"

# Project
/init
/memory
/add-dir
/cd

# Planning
/plan
/model
/effort

# Context
/context
/compact
/clear
/btw

# Review
/diff
/code-review
/security-review
/simplify
/verify

# Session Management
/resume
/branch
/fork
/rewind
/background
/tasks
/subtask

# Integration
/mcp
/plugin
/hooks
/skills

# System
/status
/usage
/config
/doctor
/help
#54. เขียน Prompt ให้ Claude Code ทำงานได้ดีขึ้น
แทนที่จะเขียน Prompt สั้น ๆ เช่น
fix this
ควรระบุ Goal, Constraints และ Verification ให้ชัดเจน เช่น
Investigate the failing login test.

Find the root cause before modifying code.

Make the smallest safe fix.

Run the relevant tests.

Verify that the application still works.

Show me the diff and explain the change.
หลักการคือ
Clear Goal
   +
Project Context
   +
Constraints
   +
Verification
ยิ่ง Agent เข้าใจ Definition of Done ชัดเจน ผลลัพธ์ยิ่งมีโอกาสตรงกับสิ่งที่ต้องการ
#55. สรุป
Claude Code เป็นมากกว่า AI Chatbot ใน Terminal เพราะสามารถทำงานในลักษณะ Software Engineering Agent ได้ครบวงจร ตั้งแต่สำรวจ Repository วางแผน แก้ Code รัน Test ตรวจสอบ Application ทำ Code Review เชื่อม MCP ไปจนถึงสร้าง Workflow แบบ Multi-agent
Workflow พื้นฐานที่แนะนำคือ
/init
  ↓
/plan
  ↓
Implement
  ↓
/verify
  ↓
/diff
  ↓
/code-review
  ↓
Commit
สำหรับ Automation สามารถใช้
claude -p
ร่วมกับ
--output-format
--json-schema
--max-turns
--max-budget-usd
ทำให้ Claude Code สามารถนำไปเชื่อมกับ CI/CD, DevOps Pipeline หรือระบบ Agent Orchestration ได้อย่างยืดหยุ่น
หากต้องเลือกคำสั่งที่ควรจำเป็นชุดแรก แนะนำให้เริ่มจาก
/init
/plan
/context
/compact
/diff
/verify
/code-review
/resume
/mcp
/doctor
เมื่อคุ้นเคยแล้วจึงค่อยต่อยอดไปยัง Skills, Hooks, Plugins, Subagents และ Background Sessions เพื่อสร้าง Workflow ที่มี Automation สูงขึ้น
#References
-
Claude Code CLI Reference
https://code.claude.com/docs/en/cli-reference -
Claude Code Commands
https://code.claude.com/docs/en/commands -
Claude Code Skills
https://code.claude.com/docs/en/skills
อัปเดตข้อมูลล่าสุด: 22 กันยายน 2026