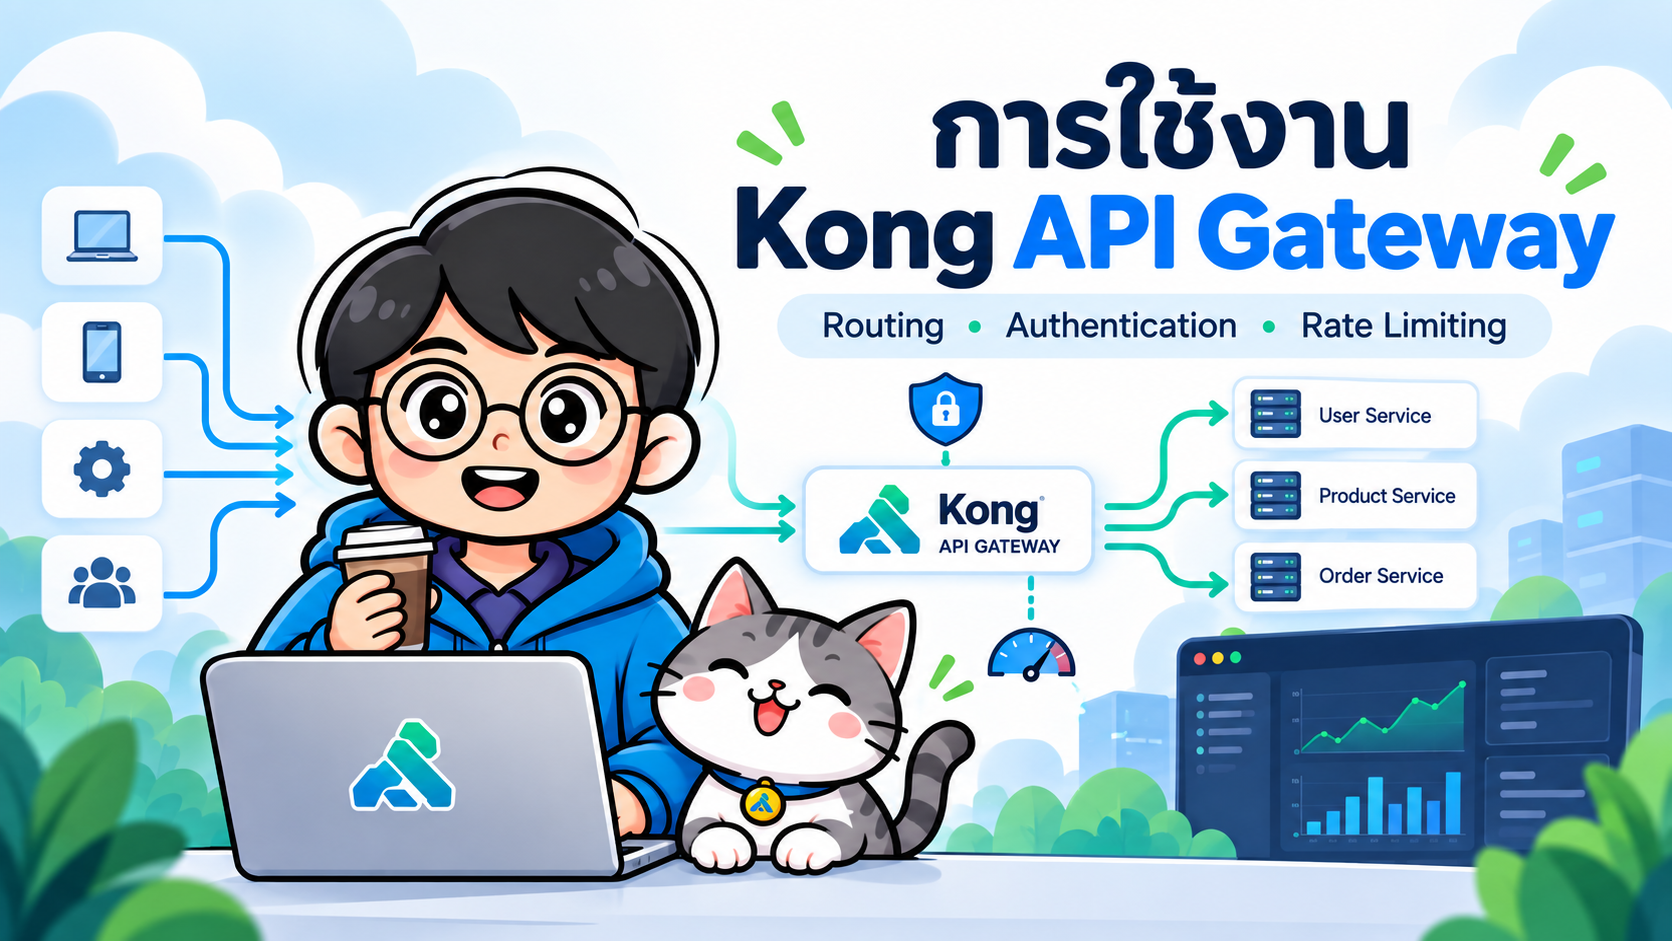
- การใช้งาน Kong API Gateway
- องค์ประกอบหลักของ Kong
- Deployment Mode ของ Kong
- Workshop: ติดตั้ง Kong แบบ DB-less ด้วย Docker Compose
- สร้าง Declarative Configuration
- สร้าง Docker Compose
- เริ่ม Kong Gateway
- Port สำคัญ
- ตรวจสอบ Admin API
- ทดสอบเรียก API ผ่าน Kong
- เรียก API ด้วย API Key
- การใช้ Rate Limiting
- Routing ไปหลาย Microservices
- Authentication
- CORS
- Logging และ Observability
- Kong กับ decK
- GitOps สำหรับ Kong
- Kong กับ Kubernetes
- Production Architecture
- Security Best Practices
- เปรียบเทียบก่อนและหลังใช้ Kong
- เมื่อใดควรใช้ Kong
- เมื่อใดอาจยังไม่จำเป็น
- Roadmap การเรียน Kong Gateway
- สรุป
- References
#การใช้งาน Kong API Gateway
เมื่อระบบเริ่มพัฒนาจาก Backend เพียงตัวเดียวไปสู่ Microservices จำนวน Endpoint และ Service มักเพิ่มขึ้นอย่างรวดเร็ว หาก Client ต้องเชื่อมต่อกับแต่ละ Service โดยตรง จะเกิดความซับซ้อนทั้งเรื่อง Routing, Authentication, Rate Limiting, Logging และ Security
Kong Gateway ช่วยแก้ปัญหานี้ด้วยการทำหน้าที่เป็น API Gateway หรือ Reverse Proxy ที่วางอยู่ระหว่าง Client และ Backend Services
Client
  |
  v
Kong API Gateway
  |
  +--> Authentication
  +--> Rate Limiting
  +--> Logging
  +--> Observability
  +--> Request / Response Policies
  |
  +--> User Service
  +--> Product Service
  +--> Order Service
ณ วันที่ 22 กันยายน 2026 เอกสาร Kong ระบุ Kong Gateway 3.16.0.0 เป็นรุ่นล่าสุดใน changelog โดยเผยแพร่เมื่อ 15 กันยายน 2026 ดังนั้นเมื่อใช้งานจริงควรตรวจสอบ release notes และเลือก image/version ที่เหมาะสมกับ Edition และสภาพแวดล้อมของระบบก่อน Deploy
#Kong API Gateway คืออะไร
Kong Gateway เป็น Cloud-native API Gateway สำหรับบริหารและควบคุม API Traffic โดยทำงานอยู่หน้า Upstream Services
ตัวอย่างระบบที่ยังไม่มี Gateway
Frontend
  |
  +--> http://user-service:8080
  +--> http://product-service:8081
  +--> http://order-service:8082
Client จำเป็นต้องรู้ตำแหน่งของ Service ทุกตัว และแต่ละ Backend อาจต้องเขียน Authentication, Logging หรือ Rate Limiting ซ้ำกัน
เมื่อเพิ่ม Kong Gateway
Frontend
   |
   v
https://api.example.com
   |
   v
Kong Gateway
   |
   +--> /users    --> User Service
   +--> /products --> Product Service
   +--> /orders   --> Order Service
Client เรียกผ่าน Gateway จุดเดียว ส่วน Kong จะรับผิดชอบ Routing และ Policy ส่วนกลาง
#องค์ประกอบหลักของ Kong
การเริ่มใช้งาน Kong ควรเข้าใจ Entity สำคัญดังต่อไปนี้
#1. Gateway Service
Service ใช้แทน Backend API หรือ Upstream Service ที่ Kong จะส่ง Request ไปให้
ตัวอย่าง
Service Name:
product-service

Upstream URL:
http://product-api:8080
Flow
Kong Service
     |
     v
Backend API
#2. Route
Route เป็นกฎที่ใช้ระบุว่า Request แบบใดจะถูกส่งไปยัง Service ใด
ตัวอย่าง
GET /api/products
ให้ส่งไปยัง
product-service
ภาพรวม
Client
  |
  | GET /api/products
  v
Route
  |
  v
Service
  |
  v
Backend API
Route สามารถ Match Request จากข้อมูลหลายรูปแบบ เช่น
- Path
- Host
- HTTP Method
- Header
- Protocol
#3. Consumer
Consumer ใช้แทนผู้ใช้ Application หรือ Client ที่กำลังเรียก API ผ่าน Kong
ตัวอย่าง
mobile-app
partner-system
internal-service
Consumer มักใช้ร่วมกับ Authentication Plugin เช่น API Key หรือ JWT
#4. Plugin
Plugin เป็นส่วนสำคัญที่ทำให้ Kong สามารถเพิ่ม Policy ให้ API โดยไม่ต้องแก้ Business Logic ภายใน Backend
ตัวอย่าง Plugin ที่ใช้บ่อย
| Plugin | การใช้งาน |
|---|---|
| Key Authentication | ตรวจสอบ API Key |
| JWT | ตรวจสอบ JWT |
| Rate Limiting | จำกัดจำนวน Request |
| CORS | กำหนด Cross-Origin Policy |
| Request Transformer | แก้ไข Request ก่อนส่ง Upstream |
| Response Transformer | แก้ไข Response |
| Prometheus | Export Metrics |
| OpenTelemetry | Distributed Tracing |
| HTTP Log | ส่ง Log ไปยังระบบภายนอก |
Conceptually สามารถผูก Plugin กับระดับต่าง ๆ เช่น Global, Service, Route หรือ Consumer ตามความสามารถของ Plugin นั้น
#5. Upstream และ Target
กรณี Backend มีหลาย Instance สามารถใช้ Upstream และ Target เพื่อช่วยทำ Load Balancing
                  Kong Gateway
                       |
                       v
               product-upstream
                  /    |    \
                 /     |     \
                v      v      v
             API-1   API-2   API-3
เช่น
10.0.0.11:8080
10.0.0.12:8080
10.0.0.13:8080
เหมาะกับระบบที่ต้องการ High Availability และ Horizontal Scaling
#Deployment Mode ของ Kong
Kong รองรับรูปแบบ Deployment หลายแบบ
#Traditional Mode
ใช้ Database เช่น PostgreSQL เป็นแหล่งเก็บ Configuration
Administrator
      |
      v
Kong Admin API
      |
      v
PostgreSQL
      |
      v
Kong Gateway
เหมาะกับระบบที่ต้องการแก้ Configuration แบบ Dynamic ผ่าน Admin API
#DB-less Mode
DB-less mode ไม่ใช้ Database แต่เก็บ Configuration ใน Declarative Configuration เช่น YAML
kong.yml
   |
   v
Kong Gateway
   |
   v
Backend APIs
ข้อดี
- โครงสร้างง่าย
- ไม่ต้องดูแล Database ของ Kong
- เหมาะกับ Configuration as Code
- เก็บ Configuration ใน Git ได้
- เหมาะสำหรับ Lab และ GitOps บางรูปแบบ
#Hybrid Mode
Hybrid Mode แยก Control Plane และ Data Plane
                 Control Plane
                       |
              Configuration Sync
                       |
             +---------+---------+
             |                   |
             v                   v
        Data Plane 1        Data Plane 2
             |                   |
             +--------+----------+
                      |
                  API Traffic
Control Plane ใช้สำหรับบริหาร Configuration ส่วน Data Plane ทำหน้าที่รับ API Traffic
เหมาะกับ Production ขนาดใหญ่, Multi-region และระบบที่ต้อง Scale Gateway หลาย Node
#Workshop: ติดตั้ง Kong แบบ DB-less ด้วย Docker Compose
ตัวอย่างนี้ออกแบบให้เหมาะสำหรับการทดลองบนเครื่อง Local
สร้าง Project
mkdir kong-lab
cd kong-lab
โครงสร้างไฟล์
kong-lab/
├── docker-compose.yml
└── kong.yml
#สร้าง Declarative Configuration
สร้างไฟล์
kong.yml
แล้วกำหนด
_format_version: "3.0"

services:
  - name: httpbin-service
    url: https://httpbin.org

    routes:
      - name: httpbin-route
        paths:
          - /httpbin
        strip_path: true

    plugins:
      - name: rate-limiting
        config:
          minute: 10
          policy: local

      - name: key-auth

consumers:
  - username: demo-user

    keyauth_credentials:
      - key: demo-key
Configuration นี้สร้างองค์ประกอบหลักดังนี้
httpbin-service
     |
     +--> Route: /httpbin
     |
     +--> Plugin: key-auth
     |
     +--> Plugin: rate-limiting
#สร้าง Docker Compose
สร้างไฟล์
docker-compose.yml
ตัวอย่าง
services:

  kong:
    image: kong:3.9.3

    container_name: kong-gateway

    environment:
      KONG_DATABASE: "off"

      KONG_DECLARATIVE_CONFIG: /kong/declarative/kong.yml

      KONG_PROXY_ACCESS_LOG: /dev/stdout
      KONG_ADMIN_ACCESS_LOG: /dev/stdout

      KONG_PROXY_ERROR_LOG: /dev/stderr
      KONG_ADMIN_ERROR_LOG: /dev/stderr

      KONG_ADMIN_LISTEN: 0.0.0.0:8001

    ports:
      - "8000:8000"
      - "8443:8443"
      - "8001:8001"
      - "8444:8444"

    volumes:
      - ./kong.yml:/kong/declarative/kong.yml:ro
ตัวอย่างระบุ version ของ Docker image แบบชัดเจนเพื่อให้ Lab ทำซ้ำได้ ควรตรวจสอบ Docker image ที่รองรับและ release ที่ต้องการใช้ก่อนนำไป Production
#เริ่ม Kong Gateway
รัน
docker compose up -d
ตรวจสอบ Container
docker compose ps
ดู Log
docker compose logs -f kong
หยุดระบบ
docker compose down
#Port สำคัญ
Port ที่มักพบในการติดตั้ง Kong ได้แก่
| Port | หน้าที่ |
|---|---|
8000 |
Proxy HTTP |
8443 |
Proxy HTTPS |
8001 |
Admin API HTTP |
8444 |
Admin API HTTPS |
Client ปกติควรเรียก API ผ่าน Proxy Port
8000 / 8443
ไม่ใช่ Admin API
#ตรวจสอบ Admin API
ลองเรียก
curl http://localhost:8001
ตรวจสอบ Services
curl http://localhost:8001/services
ตรวจสอบ Routes
curl http://localhost:8001/routes
ตรวจสอบ Plugins
curl http://localhost:8001/plugins
#ทดสอบเรียก API ผ่าน Kong
จาก Configuration เรากำหนด Route ไว้ที่
/httpbin
ลองเรียก
curl -i http://localhost:8000/httpbin/get
เนื่องจากมี Plugin
key-auth
Request ที่ไม่มี Credential จะถูกปฏิเสธ
โดยทั่วไปจะได้ Response
HTTP/1.1 401 Unauthorized
#เรียก API ด้วย API Key
เราได้สร้าง Consumer
demo-user
และ Key
demo-key
ดังนั้นสามารถเรียก
curl -i \
  -H "apikey: demo-key" \
  http://localhost:8000/httpbin/get
Flow
Client
  |
  | apikey: demo-key
  v
Kong Gateway
  |
  +--> Key Authentication
  |
  +--> Rate Limiting
  |
  v
httpbin.org
ถ้า API Key ถูกต้อง Kong จะส่ง Request ไปยัง Upstream
#การใช้ Rate Limiting
Configuration
- name: rate-limiting

  config:
    minute: 10
    policy: local
หมายถึงอนุญาตประมาณ
10 Requests / Minute
ต่อ Identifier ตามพฤติกรรมของ Plugin และ Configuration ที่ใช้
เมื่อเกิน Limit จะได้รับ
HTTP 429 Too Many Requests
Rate Limiting ช่วยลดความเสี่ยงจาก
- API Abuse
- Traffic Spike
- Scraping
- Client Retry Loop
- Bot Traffic
- การใช้ Resource เกิน Limit
สำหรับระบบ Gateway หลาย Node ควรออกแบบ Rate Limiting Policy และ Storage ให้สอดคล้องกับ Deployment Topology
#Routing ไปหลาย Microservices
ตัวอย่าง
_format_version: "3.0"

services:

  - name: user-service
    url: http://user-api:8080

    routes:
      - name: user-route
        paths:
          - /users

  - name: product-service
    url: http://product-api:8080

    routes:
      - name: product-route
        paths:
          - /products

  - name: order-service
    url: http://order-api:8080

    routes:
      - name: order-route
        paths:
          - /orders
Architecture
Client
  |
  v
Kong Gateway
  |
  +--> /users
  |       |
  |       v
  |    User API
  |
  +--> /products
  |       |
  |       v
  |    Product API
  |
  +--> /orders
          |
          v
       Order API
Client ไม่จำเป็นต้องรู้ว่าแต่ละ API ทำงานอยู่ที่ Host หรือ Port ใด
#Authentication
Kong สามารถเพิ่ม Authentication Policy ผ่าน Plugin ได้หลายรูปแบบ
#API Key
เหมาะกับ
- Internal API
- Partner API
- Machine-to-Machine แบบไม่ซับซ้อน
Client
  |
  | API Key
  v
Kong
  |
  v
Backend
#JWT
เหมาะกับ Web Application หรือ Mobile Application ที่ใช้ Token-based Authentication
Client
  |
  | Authorization: Bearer <token>
  v
Kong
  |
  +--> Verify JWT
  |
  v
Backend
#OpenID Connect / OAuth
ในระบบ Enterprise อาจเชื่อมต่อ Identity Provider เช่น
Keycloak
Okta
Microsoft Entra ID
Auth0
ความสามารถและ Plugin ที่รองรับขึ้นกับ Kong Edition และ Deployment ที่เลือกใช้ จึงควรตรวจสอบ Compatibility จากเอกสารของ Kong ก่อนออกแบบ
#CORS
กรณี Frontend เช่น React, Vue หรือ Angular เรียก API คนละ Origin สามารถกำหนด CORS จาก Gateway ได้
ตัวอย่าง
plugins:

  - name: cors

    config:

      origins:
        - https://app.example.com

      methods:
        - GET
        - POST
        - PUT
        - DELETE

      headers:
        - Accept
        - Authorization
        - Content-Type
แทนที่จะกำหนด CORS ซ้ำใน Microservice ทุกตัว ทีมสามารถกำหนด Policy ใน Gateway ได้ตาม Architecture ของระบบ
#Logging และ Observability
Kong สามารถทำงานร่วมกับระบบ Monitoring และ Observability ได้ เช่น
Kong Gateway
   |
   +--> Prometheus
   |
   +--> OpenTelemetry
   |
   +--> HTTP Log
   |
   +--> Log Platform / SIEM
Architecture ตัวอย่าง
Client
  |
  v
Kong Gateway
  |
  +--> Metrics --> Prometheus --> Grafana
  |
  +--> Traces  --> OpenTelemetry Collector
  |
  +--> Logs    --> Centralized Logging
  |
  v
Microservices
ข้อมูลที่ควร Monitoring ได้แก่
Request Rate
Latency
Upstream Latency
4xx
5xx
401 / 403
429
Gateway Errors
Upstream Health
#Kong กับ decK
decK เป็น CLI สำหรับจัดการ Declarative Configuration และ Configuration Lifecycle ของ Kong
Workflow ตัวอย่าง
kong.yaml
   |
   v
Git Repository
   |
   v
CI/CD Pipeline
   |
   +--> Validate
   |
   +--> Diff
   |
   +--> Apply / Sync
   |
   v
Kong Gateway
คำสั่งที่พบบ่อยใน Kong รุ่นปัจจุบัน ได้แก่
deck gateway validate kong.yaml
ตรวจสอบความถูกต้องของ Configuration
deck gateway diff kong.yaml
ตรวจสอบความแตกต่างก่อน Deploy
deck gateway sync kong.yaml
Sync Configuration ไปยัง Gateway ที่รองรับ Workflow ดังกล่าว
DB-less mode มีข้อจำกัดต่างจาก Database-backed Gateway ในการจัดการ Configuration ผ่าน Admin API/decK จึงควรกำหนด Workflow ให้ตรงกับ Deployment Mode
#GitOps สำหรับ Kong
สามารถเก็บ Configuration ไว้ใน Git Repository
kong-config/
|
├── kong.yml
|
├── services/
|
├── routes/
|
└── plugins/
Workflow
Developer
    |
    v
Git Push
    |
    v
Pull Request
    |
    v
CI Pipeline
    |
    +--> Validate Configuration
    |
    +--> Security Check
    |
    +--> Deploy
    |
    v
Kong Gateway
ข้อดี
- Configuration as Code
- Version Control
- Pull Request Review
- Audit Trail
- Rollback
- Automated Deployment
#Kong กับ Kubernetes
สำหรับ Kubernetes สามารถใช้ Kong Gateway ร่วมกับ Kong Ingress Controller และ Kubernetes Gateway API/Ingress Resources
Architecture
Internet
   |
   v
Load Balancer
   |
   v
Kong Gateway
   |
   v
Kong Ingress Controller
   |
   +--> User Service
   |
   +--> Product Service
   |
   +--> Order Service
เหมาะกับระบบ
- Microservices
- Kubernetes
- Cloud-native
- GitOps
- Platform Engineering
#Production Architecture
ตัวอย่าง Architecture
                    Internet
                       |
                       v
                    CDN/WAF
                       |
                       v
                 Load Balancer
                       |
                       v
                 Kong Gateway
              _________|_________
             |         |         |
             v         v         v
          User API Product API Order API
             |         |         |
             +---------+---------+
                       |
             Database / Cache / MQ
องค์ประกอบที่ควรพิจารณาเพิ่ม
TLS
Firewall
Secrets Management
High Availability
Centralized Logging
Monitoring
Distributed Tracing
Backup
Disaster Recovery
#Security Best Practices
#1. ไม่เปิด Admin API สู่ Public Internet
Admin API เป็น Management Plane ที่สำคัญ
ควรจำกัดผ่าน
- Private Network
- Firewall
- VPN
- Security Group
- Kubernetes NetworkPolicy
- mTLS/RBAC ตาม Edition และ Deployment
#2. ใช้ HTTPS
Production API ควรเป็น
Client
  |
 HTTPS
  |
  v
Kong Gateway
แทน HTTP แบบไม่เข้ารหัส
#3. ไม่เก็บ Secret ใน Git
ไม่ควร Hard-code
API Key
JWT Secret
Database Password
Private Key
Client Secret
ควรใช้
Kubernetes Secret
HashiCorp Vault
AWS Secrets Manager
Google Secret Manager
Azure Key Vault
CI/CD Secrets
#4. ใช้ Rate Limiting กับ Endpoint สำคัญ
ตัวอย่าง
/login
/register
/password-reset
/payment
/search
/ai
#5. แยก Public API และ Internal API
ตัวอย่าง
Public
/api/products

Internal
/internal/admin
ควรใช้ Authentication และ Network Policy ที่แตกต่างกัน
#6. บันทึก Log และ Metrics
ควรติดตามอย่างน้อย
Request count
Latency
4xx / 5xx
401 / 403
429
Gateway error
Upstream failure
#เปรียบเทียบก่อนและหลังใช้ Kong
#ไม่มี API Gateway
Frontend
  |
  +--> User API
  |
  +--> Product API
  |
  +--> Order API
แต่ละ API อาจต้องจัดการเองทั้งหมด
Authentication
Rate Limit
CORS
Logging
Metrics
ทำให้ Logic ซ้ำกันหลาย Service
#ใช้ Kong Gateway
Frontend
   |
   v
Kong Gateway
   |
   +--> Authentication
   +--> Rate Limiting
   +--> CORS
   +--> Logging
   +--> Metrics
   |
   +--> User API
   +--> Product API
   +--> Order API
Cross-cutting concerns ถูกย้ายมาอยู่ที่ Gateway มากขึ้น ขณะที่ Backend สามารถโฟกัสกับ Business Logic
#เมื่อใดควรใช้ Kong
Kong เหมาะกับระบบที่มี Requirement เช่น
- มีหลาย REST API หรือ Microservice
- ต้องการ API Gateway กลาง
- ต้องการ Authentication/Authorization Policy
- ต้องการ Rate Limiting
- ต้องการ Routing แบบยืดหยุ่น
- ต้องการ Logging และ Observability
- ใช้งาน Kubernetes
- ต้องการ Configuration as Code
- ต้องการ Plugin Ecosystem
- ต้องการบริหาร API Policy จากส่วนกลาง
#เมื่อใดอาจยังไม่จำเป็น
ระบบขนาดเล็ก เช่น
React
  |
  v
Laravel API
หากมี Backend ตัวเดียวและยังไม่มี Requirement ด้าน
Multiple Services
Centralized Security
Advanced Routing
Traffic Policy
Gateway-level Observability
การเพิ่ม API Gateway อาจทำให้ Architecture ซับซ้อนขึ้นโดยยังไม่ได้ประโยชน์เพียงพอ
#Roadmap การเรียน Kong Gateway
แนะนำลำดับดังนี้
1. API Gateway Concept
        |
        v
2. Gateway Service
        |
        v
3. Route
        |
        v
4. Consumer
        |
        v
5. Plugin
        |
        v
6. Authentication
        |
        v
7. Rate Limiting
        |
        v
8. Logging / Metrics / Tracing
        |
        v
9. Declarative Configuration
        |
        v
10. decK / GitOps
        |
        v
11. Kubernetes
        |
        v
12. Hybrid / Production Architecture
#สรุป
Kong Gateway ทำหน้าที่เป็นศูนย์กลางสำหรับบริหาร API Traffic
Client
  |
  v
Kong Gateway
  |
  +--> Routing
  +--> Authentication
  +--> Rate Limiting
  +--> CORS
  +--> Logging
  +--> Metrics
  +--> Tracing
  |
  v
Backend Services
สำหรับการเริ่มต้นเรียนรู้ แนะนำให้ทดลองจาก
Docker
   |
   v
DB-less Mode
   |
   v
Service + Route
   |
   v
Key Authentication
   |
   v
Rate Limiting
จากนั้นค่อยต่อยอดไปยัง
decK
GitOps
Prometheus
OpenTelemetry
Kubernetes
Hybrid Mode
High Availability
แนวทางนี้ช่วยให้เข้าใจ Kong ตั้งแต่ระดับพื้นฐานไปจนถึง Architecture สำหรับ Production และทำให้เห็นชัดว่า API Gateway สามารถลดงานซ้ำในแต่ละ Microservice พร้อมเพิ่มความสามารถด้าน Security, Traffic Management และ Observability จากจุดกลางได้อย่างไร
#References
-
Kong Gateway Documentation
https://developer.konghq.com/gateway/ -
Kong Gateway Getting Started
https://developer.konghq.com/gateway/get-started/ -
Kong Gateway Changelog
https://developer.konghq.com/gateway/changelog/ -
Kong Gateway Quickstart Reference
https://developer.konghq.com/gateway/quickstart-reference/ -
decK Documentation
https://developer.konghq.com/deck/ -
Kong Plugin Hub
https://developer.konghq.com/plugins/