- 1. ปัญหาที่ OAuth 2.0 เข้ามาแก้
- 2. บทบาทหลักของ OAuth 2.0
- 3. Token ที่ควรรู้จัก
- 4. Scope คืออะไร
- 5. Authorization Code Flow + PKCE
- 6. Client Credentials Flow
- 7. Device Authorization Grant
- 8. OAuth 2.0 กับ OpenID Connect ต่างกันอย่างไร
- 9. OAuth 2.0 กับ JWT เหมือนกันหรือไม่
- 10. Flow ที่ไม่ควรใช้กับระบบใหม่
- 11. Security Best Practices
- 12. การเรียก API ด้วย Access Token
- 13. Architecture สำหรับ Web Application
- 14. OAuth 2.0 สำหรับ SPA และ Browser-Based Application
- 15. Workshop: จำลอง OAuth 2.0 Authorization Code + PKCE
- 16. Checklist ก่อนนำขึ้น Production
- 17. เลือก Flow แบบไหนดี
- 18. สรุป
- เอกสารอ้างอิง
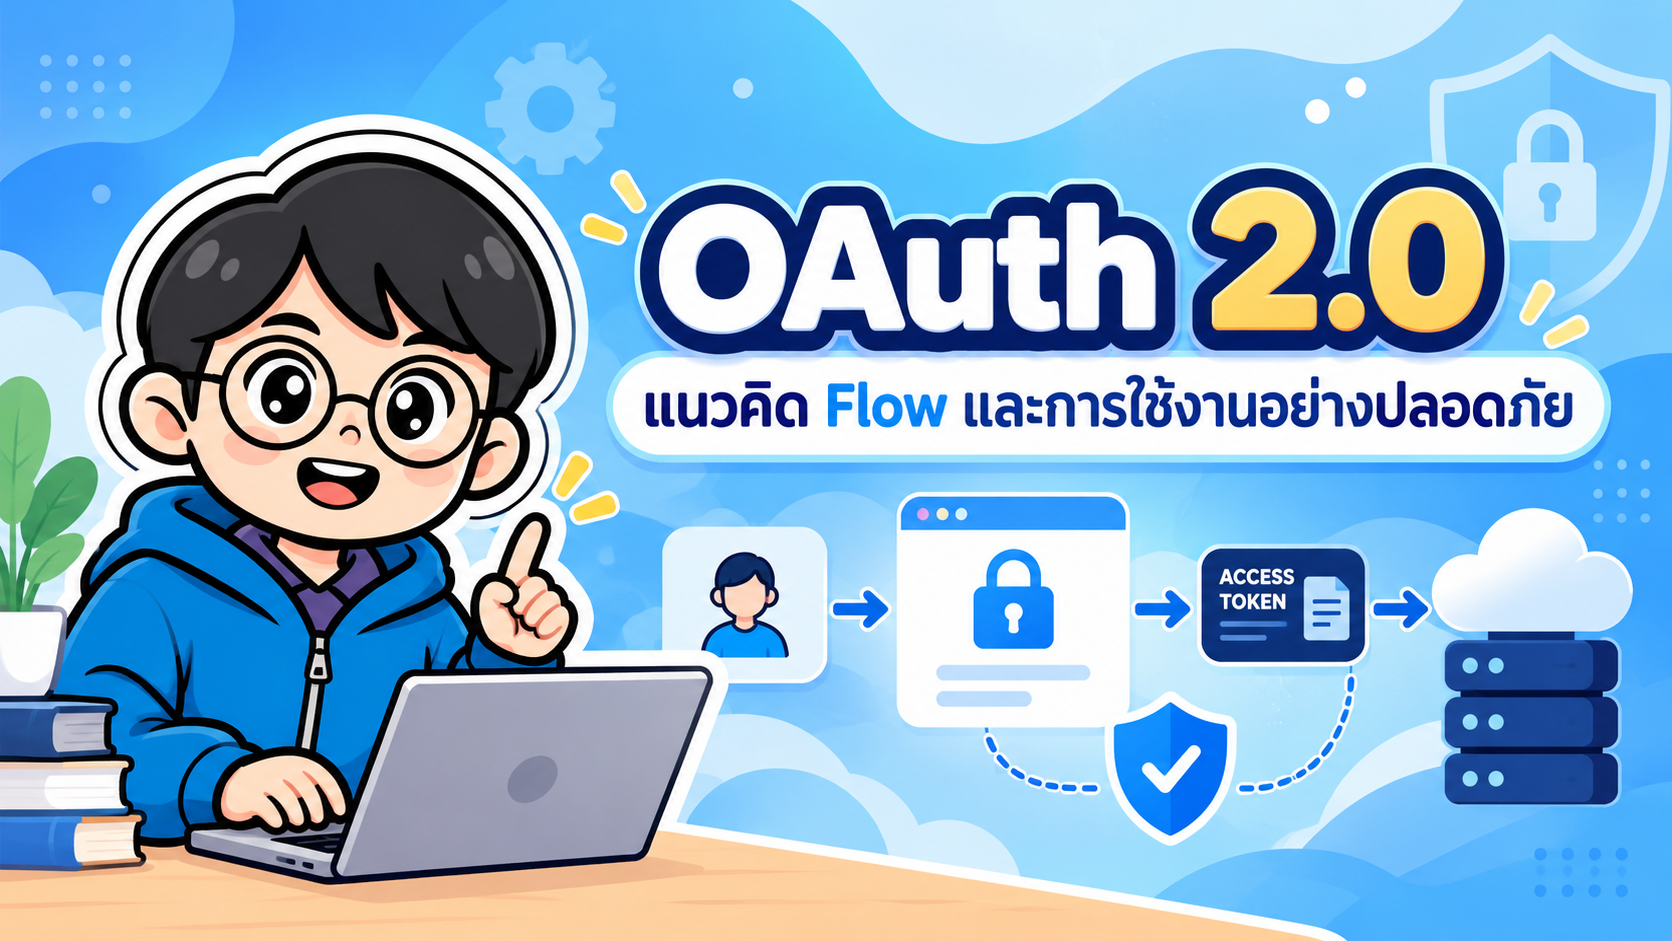
OAuth 2.0 คือ Authorization Framework ที่ใช้สำหรับมอบสิทธิ์ให้แอปพลิเคชันเข้าถึงทรัพยากรหรือ API โดยไม่จำเป็นต้องส่ง username และ password ของผู้ใช้ให้กับแอปพลิเคชันนั้นโดยตรง
ตัวอย่างที่พบได้บ่อย เช่น
- แอปต้องการอ่านข้อมูลโปรไฟล์จากระบบอื่น
- Web Application ต้องการเรียก API ในนามของผู้ใช้
- Mobile Application ต้องการเข้าถึงบริการ Cloud
- Microservice ต้องการเรียก API ของอีก Service
- ระบบต้องการรองรับ
Login with GoogleหรือLogin with Microsoft
อย่างไรก็ตาม ต้องแยกให้ชัดเจนว่า
OAuth 2.0 เน้น Authorization หรือการให้สิทธิ์
หากต้องการ Authentication หรือการยืนยันว่า “ผู้ใช้คือใคร” โดยทั่วไปจะใช้ OpenID Connect (OIDC) ซึ่งสร้างอยู่บน OAuth 2.0
#1. ปัญหาที่ OAuth 2.0 เข้ามาแก้
สมมติว่าผู้ใช้มีรูปภาพอยู่ใน Cloud Storage และต้องการอนุญาตให้แอป Photo Printing อ่านรูปบางส่วน
แนวทางที่ไม่เหมาะสมคือ
User
 |
 | username + password
 v
Photo Printing App
 |
 v
Cloud Storage
ปัญหาคือแอป Photo Printing ต้องทราบรหัสผ่านจริงของผู้ใช้
OAuth 2.0 เปลี่ยนแนวคิดเป็น
User
 |
 | Login + Consent
 v
Authorization Server
 |
 | Access Token
 v
Client Application
 |
 | Bearer Token
 v
Resource Server / API
Client ได้รับ Token สำหรับสิทธิ์เฉพาะที่ผู้ใช้อนุญาต โดยไม่ต้องทราบรหัสผ่านจริงของผู้ใช้
#2. บทบาทหลักของ OAuth 2.0
OAuth 2.0 มีองค์ประกอบสำคัญ 4 บทบาท
| บทบาท | หน้าที่ |
|---|---|
| Resource Owner | เจ้าของข้อมูลหรือเจ้าของสิทธิ์ โดยทั่วไปคือผู้ใช้ |
| Client | แอปพลิเคชันที่ต้องการขอสิทธิ์ |
| Authorization Server | ระบบที่รับผิดชอบการอนุญาตและออก Token |
| Resource Server | API หรือ Server ที่เก็บ Protected Resource |
ตัวอย่าง Architecture
flowchart LR
    U[Resource Owner / User]
    C[Client Application]
    AS[Authorization Server]
    API[Resource Server / API]

    U --> C
    C --> AS
    AS --> C
    C --> API
#3. Token ที่ควรรู้จัก
#3.1 Access Token
Access Token คือ Credential ที่ Client ใช้เพื่อเรียก Protected API
ตัวอย่าง
GET /api/profile HTTP/1.1
Host: api.example.com
Authorization: Bearer ACCESS_TOKEN
Access Token ควร
- มีอายุจำกัด
- มี Scope เท่าที่จำเป็น
- ไม่ถูกบันทึกลง Log
- ไม่ส่งผ่าน URL Query String
- ส่งผ่าน HTTPS เท่านั้น
#3.2 Refresh Token
Refresh Token ใช้สำหรับขอ Access Token ใหม่เมื่อ Access Token หมดอายุ โดยไม่ต้องให้ผู้ใช้ Login ใหม่ทุกครั้ง
ตัวอย่าง
POST /oauth/token
Content-Type: application/x-www-form-urlencoded

grant_type=refresh_token&
refresh_token=REFRESH_TOKEN&
client_id=my-client
Refresh Token มีความอ่อนไหวสูง เพราะสามารถใช้สร้าง Access Token ใหม่ได้
สำหรับ Public Client แนวทางสมัยใหม่ควรพิจารณา
- Refresh Token Rotation
- Sender-Constrained Refresh Token
#3.3 Authorization Code
Authorization Code เป็น Code อายุสั้นที่ Authorization Server ส่งกลับมายัง Client หลังผู้ใช้อนุญาต
Authorization Server
       |
       | authorization_code
       v
Client
       |
       | code + code_verifier
       v
Token Endpoint
       |
       | access_token
       v
Client
Authorization Code ไม่ใช่ Access Token และไม่ควรนำไปเรียก API โดยตรง
#4. Scope คืออะไร
scope ใช้กำหนดขอบเขตสิทธิ์ของ Token
ตัวอย่าง
profile
email
read:orders
write:orders
admin
ตัวอย่าง Authorization Request
scope=profile email read:orders
หลักการสำคัญคือ Least Privilege
กล่าวคือ Client ควรขอเฉพาะสิทธิ์ที่จำเป็นต่อการทำงานเท่านั้น
ตัวอย่าง
หากแอปต้องการเพียงอ่านรายการสินค้า
ควรใช้
products.read
แทน
products.*
#5. Authorization Code Flow + PKCE
สำหรับ Web Application, SPA, Mobile Application และ Native Application แนวทางสมัยใหม่ควรใช้ Authorization Code Flow ร่วมกับ PKCE
PKCE ย่อมาจาก
Proof Key for Code Exchange
PKCE ช่วยลดความเสี่ยงกรณี Authorization Code ถูกขโมยหรือดักระหว่าง Flow
#5.1 ภาพรวม Authorization Code + PKCE
sequenceDiagram
    participant U as User
    participant C as Client
    participant AS as Authorization Server
    participant API as Resource Server

    C->>C: สร้าง code_verifier
    C->>C: สร้าง code_challenge

    C->>AS: Authorization Request + code_challenge
    AS->>U: Login + Consent
    U->>AS: Approve

    AS-->>C: Authorization Code

    C->>AS: Code + code_verifier
    AS->>AS: Verify PKCE
    AS-->>C: Access Token

    C->>API: Authorization: Bearer Access Token
    API-->>C: Protected Resource
#5.2 สร้าง Code Verifier
Client สร้างค่า Random ที่คาดเดาได้ยาก
ตัวอย่างเชิงแนวคิด
code_verifier =
9sPqgKz8rQ6m1V2nY7jL4wXc0Bf5Da...
#5.3 สร้าง Code Challenge
โดยทั่วไปใช้ Method แบบ S256
code_challenge =
BASE64URL(SHA256(code_verifier))
#5.4 ส่ง Authorization Request
ตัวอย่าง
GET https://auth.example.com/authorize
    ?response_type=code
    &client_id=web-demo
    &redirect_uri=https://app.example.com/callback
    &scope=profile%20email
    &state=random-state
    &code_challenge=CHALLENGE_VALUE
    &code_challenge_method=S256
พารามิเตอร์สำคัญ
| Parameter | ความหมาย |
|---|---|
| response_type | สำหรับ Authorization Code ใช้ code |
| client_id | รหัส Client |
| redirect_uri | URL ที่รับ Authorization Response |
| scope | สิทธิ์ที่ต้องการ |
| state | ใช้ผูก Request/Response และช่วยลดความเสี่ยง CSRF ในหลายรูปแบบการใช้งาน |
| code_challenge | ค่าที่สร้างจาก code_verifier |
| code_challenge_method | ควรใช้ S256 |
#5.5 ผู้ใช้ Login และ Consent
Authorization Server จะแสดงหน้า Login และ Consent
ตัวอย่าง
Application ABC ต้องการ:

✓ อ่านข้อมูล Profile
✓ อ่าน Email Address

[Allow] [Cancel]
เมื่อผู้ใช้กด Allow ระบบจะ Redirect กลับไปยัง Client
https://app.example.com/callback
    ?code=AUTHORIZATION_CODE
    &state=random-state
#5.6 แลก Authorization Code เป็น Access Token
Client ส่ง Code และ code_verifier ไปยัง Token Endpoint
curl -X POST https://auth.example.com/oauth/token \
  -H "Content-Type: application/x-www-form-urlencoded" \
  -d "grant_type=authorization_code" \
  -d "client_id=web-demo" \
  -d "code=AUTHORIZATION_CODE" \
  -d "redirect_uri=https://app.example.com/callback" \
  -d "code_verifier=ORIGINAL_CODE_VERIFIER"
ตัวอย่าง Response
{
  "access_token": "eyJ...",
  "token_type": "Bearer",
  "expires_in": 3600,
  "refresh_token": "def50200...",
  "scope": "profile email"
}
#6. Client Credentials Flow
Client Credentials เหมาะสำหรับ Machine-to-Machine หรือ Service-to-Service
ตัวอย่าง
Order Service
     |
     | client_id + client_secret
     v
Authorization Server
     |
     | access_token
     v
Inventory API
ตัวอย่าง Request
curl -X POST https://auth.example.com/oauth/token \
  -H "Content-Type: application/x-www-form-urlencoded" \
  -d "grant_type=client_credentials" \
  -d "client_id=order-service" \
  -d "client_secret=CLIENT_SECRET" \
  -d "scope=inventory.read"
เหมาะกับ
- Microservices
- Scheduled Jobs
- Backend Applications
- CI/CD Integration
- Server-to-Server API
ไม่ควรฝัง client_secret ใน SPA หรือ Mobile Application เพราะเป็น Public Client และไม่สามารถเก็บ Secret ให้เป็นความลับได้จริง
#7. Device Authorization Grant
Device Authorization Grant เหมาะสำหรับอุปกรณ์ที่มีข้อจำกัดด้านการป้อนข้อมูล เช่น
- Smart TV
- Game Console
- Printer
- IoT Device
ภาพรวม
Device
  |
  | ขอ device_code
  v
Authorization Server
  |
  | user_code + verification_uri
  v
Device แสดง Code

User เปิด Browser บน Smartphone
  |
  | เปิด verification_uri
  | กรอก user_code
  v
Authorization Server

Device ตรวจสถานะ
  |
  v
Access Token
#8. OAuth 2.0 กับ OpenID Connect ต่างกันอย่างไร
OAuth 2.0 และ OpenID Connect มีความสัมพันธ์กัน แต่ไม่ได้มีหน้าที่เหมือนกัน
| OAuth 2.0 | OpenID Connect |
|---|---|
| เน้น Authorization | เน้น Authentication |
| ใช้สำหรับให้สิทธิ์ API | ใช้สำหรับระบุตัวผู้ใช้ |
| มี Access Token | เพิ่ม ID Token |
| ไม่ได้กำหนด Identity Protocol โดยตรง | กำหนดข้อมูล Identity ผ่าน Claims |
หากต้องการ
Login with Google
Login with Microsoft
Login with Identity Provider
โดยทั่วไปควรใช้ OpenID Connect
#9. OAuth 2.0 กับ JWT เหมือนกันหรือไม่
ไม่เหมือนกัน
OAuth 2.0 เป็น Authorization Framework
JWT เป็นรูปแบบ Token
OAuth 2.0 ไม่ได้กำหนดว่า Access Token ต้องเป็น JWT เสมอไป
Access Token สามารถเป็น Opaque Token
2YotnFZFEjr1zCsicMWpAA
หรือ JWT
eyJhbGciOiJSUzI1NiIsInR5cCI6IkpXVCJ9...
ดังนั้น
OAuth Token ≠ JWT เสมอไป
#10. Flow ที่ไม่ควรใช้กับระบบใหม่
#10.1 Resource Owner Password Credentials Grant
Flow นี้ให้ Client รับ username/password ของผู้ใช้โดยตรง
User
 |
 | username/password
 v
Client
 |
 v
Authorization Server
แนวทาง Security ปัจจุบันไม่แนะนำและกำหนดไม่ให้ใช้ Flow นี้กับระบบใหม่
สาเหตุ เช่น
- Client เห็น Password ของผู้ใช้
- เพิ่ม Attack Surface
- ไม่เหมาะกับ MFA
- ขัดกับแนวคิด Delegated Authorization
#10.2 Implicit Grant
Implicit Grant เคยนิยมใน SPA รุ่นเก่า
ตัวอย่าง
response_type=token
แนวทางระบบใหม่ควรใช้
Authorization Code + PKCE
แทน
#11. Security Best Practices
ระบบ OAuth 2.0 สมัยใหม่ควรพิจารณาอย่างน้อยดังนี้
- ใช้ Authorization Code + PKCE สำหรับ Redirect-Based User Flow
- ใช้
code_challenge_method=S256 - ใช้ HTTPS/TLS
- ลงทะเบียน
redirect_uriล่วงหน้า - ตรวจ
redirect_uriแบบ Exact Match - หลีกเลี่ยง Open Redirect
- จำกัด Scope ตามหลัก Least Privilege
- ให้ Access Token มีอายุสั้น
- ไม่เก็บ Client Secret ใน SPA/Mobile App
- ไม่ส่ง Token ผ่าน URL Query Parameter
- ไม่ Log Access Token หรือ Refresh Token
- ใช้ Refresh Token Rotation สำหรับ Public Client เมื่อเหมาะสม
- ป้องกัน Authorization Code Injection
- ตรวจ State/Transaction Binding ตาม Flow ที่ใช้งาน
- รองรับ Token Revocation เมื่อต้องการยกเลิกสิทธิ์
- พิจารณา Sender-Constrained Token เช่น DPoP หรือ mTLS สำหรับระบบ Security สูง
- ตรวจ Scope ก่อนอนุญาตให้เข้าถึง Resource
- หากใช้ JWT Access Token ให้ตรวจ Signature, Issuer, Audience และ Expiration อย่างถูกต้อง
#12. การเรียก API ด้วย Access Token
ตัวอย่าง
curl https://api.example.com/profile \
  -H "Authorization: Bearer ACCESS_TOKEN"
Resource Server ต้องตรวจสอบ Token ก่อนตอบกลับ
ตัวอย่าง Response
{
  "id": 101,
  "name": "Demo User",
  "email": "demo@example.com"
}
#13. Architecture สำหรับ Web Application
flowchart LR
    U[User / Browser]
    C[Web Application]
    AS[Authorization Server]
    API[Resource Server]

    U --> C
    C -->|Authorize + PKCE| AS
    AS -->|Authorization Code| C
    C -->|Code + Verifier| AS
    AS -->|Access Token| C
    C -->|Bearer Token| API
    API -->|Protected Resource| C
#14. OAuth 2.0 สำหรับ SPA และ Browser-Based Application
สำหรับ SPA หรือ Browser-Based Application รุ่นใหม่ แนวทางปัจจุบันให้ความสำคัญกับ Authorization Code + PKCE
SPA
 |
 | Authorization Code + PKCE
 v
Authorization Server
 |
 | Access Token
 v
API
อย่างไรก็ตาม Browser มีความเสี่ยงจาก JavaScript และ Cross-Site Scripting
ระบบที่ต้องการลดการเปิดเผย Token ต่อ JavaScript สามารถใช้รูปแบบ Backend for Frontend (BFF)
flowchart LR
    B[Browser]
    BFF[Backend for Frontend]
    AS[Authorization Server]
    API[Protected API]

    B -->|Secure Session Cookie| BFF
    BFF --> AS
    AS -->|Tokens| BFF
    BFF -->|Access Token| API
ข้อดีคือ Token สามารถเก็บไว้ฝั่ง Backend แทนการเก็บไว้ใน Browser โดยตรง
#15. Workshop: จำลอง OAuth 2.0 Authorization Code + PKCE
สมมติ Configuration
Authorization Endpoint:
https://auth.example.com/authorize

Token Endpoint:
https://auth.example.com/oauth/token

Client ID:
web-demo

Redirect URI:
http://localhost:3000/callback
#Step 1: Authorization Request
GET /authorize
    ?response_type=code
    &client_id=web-demo
    &redirect_uri=http://localhost:3000/callback
    &scope=profile
    &state=abc123
    &code_challenge=XYZ
    &code_challenge_method=S256
#Step 2: Login และ Consent
ผู้ใช้เข้าสู่ระบบและกดอนุญาต
User
 |
 | Login
 | Consent
 v
Authorization Server
#Step 3: Callback
http://localhost:3000/callback
    ?code=AUTH_CODE
    &state=abc123
Client ตรวจสอบ state ก่อนดำเนินการต่อ
#Step 4: Token Exchange
curl -X POST https://auth.example.com/oauth/token \
  -H "Content-Type: application/x-www-form-urlencoded" \
  -d "grant_type=authorization_code" \
  -d "client_id=web-demo" \
  -d "code=AUTH_CODE" \
  -d "redirect_uri=http://localhost:3000/callback" \
  -d "code_verifier=VERIFIER"
#Step 5: เรียก Protected API
curl https://api.example.com/me \
  -H "Authorization: Bearer ACCESS_TOKEN"
#16. Checklist ก่อนนำขึ้น Production
[ ] ใช้ HTTPS
[ ] ใช้ Authorization Code + PKCE
[ ] ใช้ PKCE แบบ S256
[ ] redirect_uri ถูกลงทะเบียน
[ ] redirect_uri ตรวจแบบ exact match
[ ] ไม่มี open redirect
[ ] scope ไม่กว้างเกินจำเป็น
[ ] access token มีอายุเหมาะสม
[ ] refresh token ถูกเก็บอย่างปลอดภัย
[ ] public client มี refresh-token replay protection
[ ] token ไม่ปรากฏใน log
[ ] ไม่ส่ง token ผ่าน query string
[ ] มี CSRF/transaction protection
[ ] มี revoke/logout strategy
[ ] API ตรวจ scope
[ ] JWT validation ตรวจ signature/issuer/audience/expiry
#17. เลือก Flow แบบไหนดี
| กรณีใช้งาน | Flow / Protocol ที่แนะนำ |
|---|---|
| Web Application | Authorization Code + PKCE |
| SPA | Authorization Code + PKCE |
| Mobile Application | Authorization Code + PKCE |
| Native Desktop App | Authorization Code + PKCE |
| Service-to-Service | Client Credentials |
| Smart TV / Console | Device Authorization Grant |
| Login / SSO | OpenID Connect |
| Public Client | ห้ามพึ่ง Client Secret เป็นหลักฐานความลับ |
| ระบบใหม่ | หลีกเลี่ยง Implicit และ Password Grant |
#18. สรุป
OAuth 2.0 เป็นกลไกมาตรฐานสำหรับ Delegated Authorization ที่ช่วยให้ Client เข้าถึง API โดยไม่ต้องได้รับรหัสผ่านของผู้ใช้
แนวคิดหลักสามารถสรุปได้ดังนี้
User
 |
 | Authorization
 v
Authorization Server
 |
 | Authorization Code
 v
Client
 |
 | Code + PKCE
 v
Authorization Server
 |
 | Access Token
 v
Protected API
สิ่งที่ควรจำสำหรับระบบสมัยใหม่คือ
- Web / SPA / Mobile → Authorization Code + PKCE
- Machine-to-Machine → Client Credentials
- Input-Constrained Device → Device Authorization Grant
- Authentication / Login → OpenID Connect
- Access Token ไม่จำเป็นต้องเป็น JWT
- ใช้ Scope ตามหลัก Least Privilege
- Access Token ควรมีอายุสั้น
- ปกป้อง Refresh Token
- หลีกเลี่ยง Implicit Grant และ Password Grant สำหรับระบบใหม่
- ให้ความสำคัญกับ Redirect URI, PKCE, Token Storage และ Token Validation
#เอกสารอ้างอิง
- RFC 6749 — The OAuth 2.0 Authorization Framework
- RFC 6750 — The OAuth 2.0 Authorization Framework: Bearer Token Usage
- RFC 7009 — OAuth 2.0 Token Revocation
- RFC 7636 — Proof Key for Code Exchange by OAuth Public Clients
- RFC 8252 — OAuth 2.0 for Native Apps
- RFC 8628 — OAuth 2.0 Device Authorization Grant
- RFC 9700 — Best Current Practice for OAuth 2.0 Security
- RFC 10017 — OAuth 2.0 for Browser-Based Applications