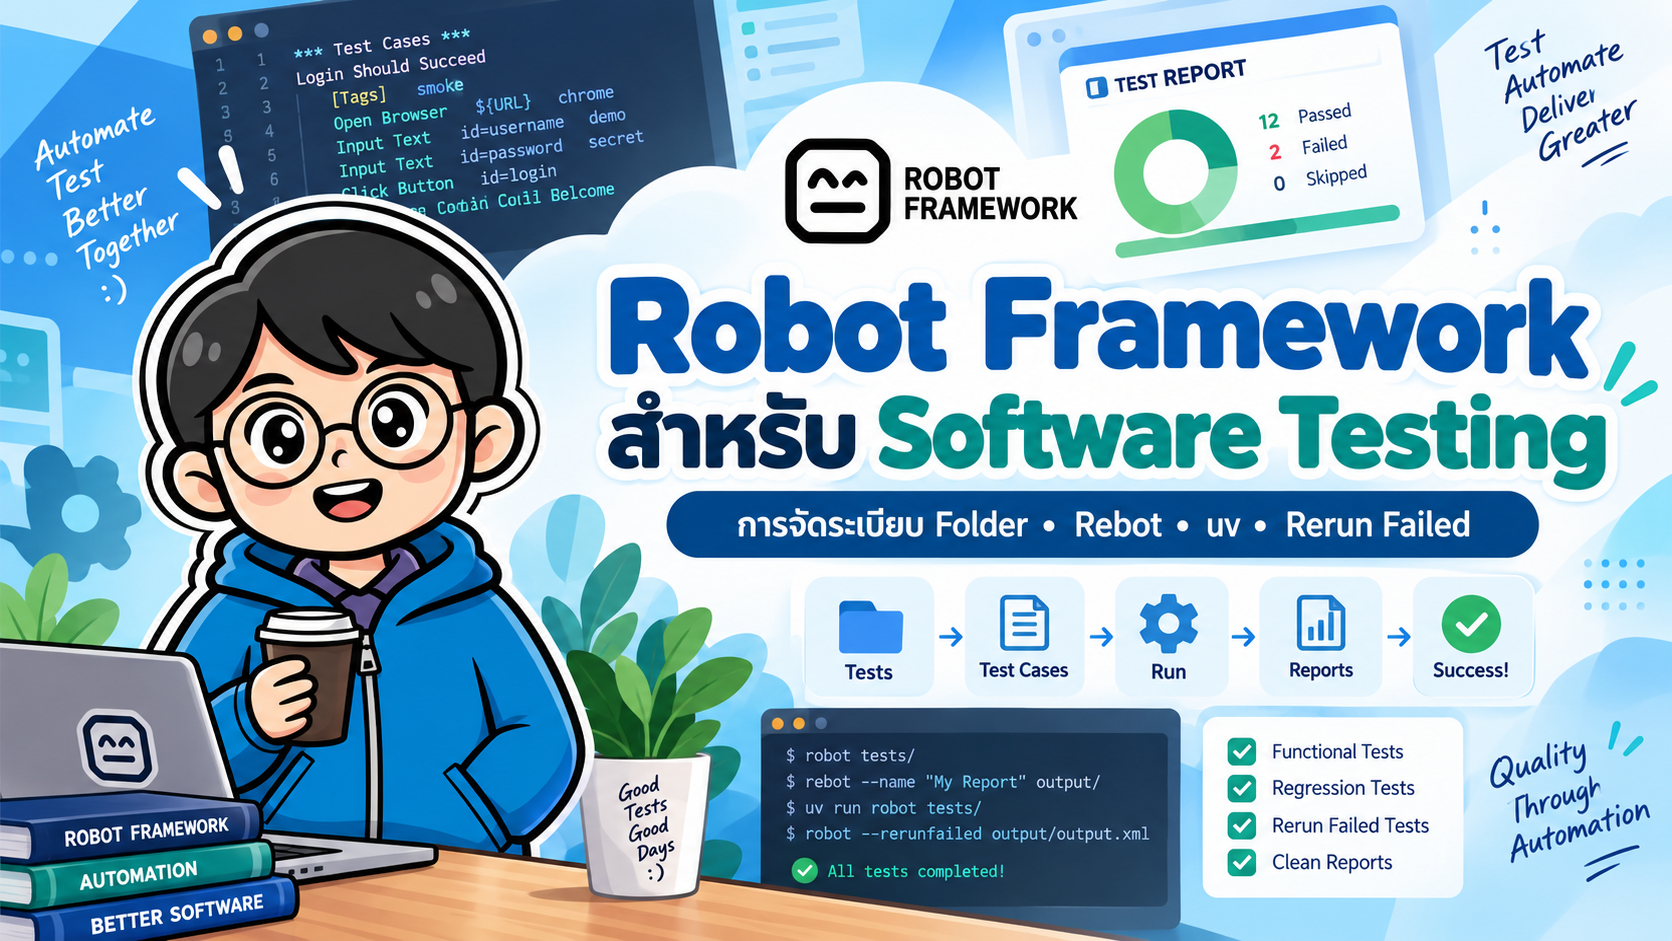
- Robot Framework สำหรับ Software Testing: Project Structure, uv, Rebot และ Rerun Failed
- 2. โครงสร้าง Folder ที่แนะนำ
- 3. เริ่มโปรเจกต์ด้วย uv
- 4. สร้างโปรเจกต์แบบ Minimal
- 5. ทำไมควรใช้ uv run robot
- 6. ตัวอย่าง Test Suite
- 7. การรันเฉพาะ Suite
- 8. การใช้ Tags
- 9. กำหนด Output Directory
- 10. Rebot คืออะไร
- 11. รวมผลหลาย Output ด้วย Rebot
- 12. rebot --merge ต่างจากการ combine อย่างไร
- 13. Rerun Failed คืออะไร
- 14. Workflow ที่แนะนำเมื่อใช้ uv
- 15. Workflow ภาพรวม
- 16. ระวังกรณีไม่มี Failed Test
- 17. Rerun Failed Test Suite
- 18. ข้อควรระวังของ --rerunfailed
- 19. ตัวอย่างคำสั่งแบบครบชุด
- 20. ตัวอย่าง Bash Script
- 21. การใช้ Rebot สร้าง Report จาก Output เดิม
- 22. สร้าง Report เฉพาะ Tag
- 23. แนวทาง Naming
- 24. แยก Test Case ออกจาก Implementation
- 25. ใช้ Tags จัด Test Layer
- 26. Suggested CI Flow
- 27. --rerunfailed ไม่ควรใช้เพื่อซ่อน Flaky Tests
- 28. Built-in --rerunfailed vs RetryFailed Listener
- 29. Workflow ที่แนะนำสำหรับทีม
- 30. คำสั่ง Cheat Sheet
- 31. สรุป
- References
#Robot Framework สำหรับ Software Testing: Project Structure, uv, Rebot และ Rerun Failed
Robot Framework เป็น automation framework แบบ keyword-driven ที่นิยมใช้กับงาน Software Testing และ Robotic Process Automation (RPA) โดยสามารถนำไปใช้ได้ทั้ง UI Testing, API Testing, Database Testing และงาน integration testing ผ่าน library ต่าง ๆ
บทความนี้เน้น workflow ที่ใช้ได้จริงในโปรเจกต์ ได้แก่
- การเริ่มโปรเจกต์ Robot Framework
- การจัดระเบียบ folder
- การจัดการ Python environment และ dependency ด้วย
uv - การรัน test
- การจัดเก็บ
output.xml,log.htmlและreport.html - การรวมผลด้วย
rebot - การ rerun เฉพาะ test ที่ fail ด้วย
--rerunfailed - การ merge ผล original + rerun ให้เป็นรายงานสุดท้าย
- แนวทางนำไปใช้ใน CI/CD
#1. Robot Framework สร้างไฟล์ผลลัพธ์อะไรบ้าง
เมื่อรัน Robot Framework ตามปกติ
robot tests/
โดยทั่วไปจะได้ไฟล์สำคัญ 3 ไฟล์
output.xml
log.html
report.html
ความหมายคือ
| ไฟล์ | หน้าที่ |
|---|---|
output.xml |
ข้อมูลผลการทดสอบแบบ machine-readable ใช้กับ Rebot และ rerun |
log.html |
รายละเอียดการทำงานระดับ suite, test case และ keyword |
report.html |
รายงานสรุปผล PASS/FAIL |
ในโปรเจกต์จริงไม่ควรปล่อยไฟล์เหล่านี้ไว้ที่ root โดยตรง แต่ควรกำหนด --outputdir
robot --outputdir results tests/
จะได้
results/
├── output.xml
├── log.html
└── report.html
#2. โครงสร้าง Folder ที่แนะนำ
ตัวอย่างโครงสร้างสำหรับโปรเจกต์ขนาดกลางถึงใหญ่
robot-automation/
├── pyproject.toml
├── uv.lock
├── README.md
├── .gitignore
│
├── tests/
│   ├── api/
│   │   ├── health_check.robot
│   │   └── users.robot
│   │
│   ├── web/
│   │   ├── login.robot
│   │   └── profile.robot
│   │
│   └── regression/
│       └── checkout.robot
│
├── resources/
│   ├── common.resource
│   ├── api/
│   │   └── api_keywords.resource
│   └── web/
│       ├── login_keywords.resource
│       └── navigation.resource
│
├── data/
│   ├── dev.yaml
│   ├── staging.yaml
│   └── test_users.py
│
├── libraries/
│   └── custom_library.py
│
├── scripts/
│   └── run_tests.sh
│
└── results/
    ├── original/
    ├── rerun/
    └── final/
#แนวคิดของแต่ละ Folder
#tests/
เก็บ Test Suite และ Test Case
tests/
├── api/
├── web/
└── regression/
ไฟล์ .robot ควรเน้นว่า ต้องทดสอบอะไร มากกว่ารายละเอียด implementation
ตัวอย่าง
*** Settings ***
Resource    resources/common.resource

*** Test Cases ***
User Can Login With Valid Credential
    [Tags]    smoke    login
    Login With Valid User
    User Should Be Logged In
#resources/
เก็บ reusable keywords และ variables ที่นำกลับมาใช้ร่วมกันได้
Robot Framework แนะนำให้ resource file ใช้นามสกุล .resource
ตัวอย่าง
*** Keywords ***
Login With Valid User
    Log    Open login page
    Log    Enter username
    Log    Enter password
    Log    Click login
แนวคิดคือ
Test Case
   ↓
Business Keyword
   ↓
Page/API Keyword
   ↓
Library
ช่วยลด duplication และทำให้ test อ่านใกล้เคียง business flow
#data/
เก็บข้อมูลหรือ environment configuration เช่น
base_url: https://staging.example.com
username: testuser
ควรแยก test logic ออกจาก test data
#libraries/
ใช้กรณีที่ต้องเขียน custom keyword ด้วย Python
ตัวอย่าง
def calculate_discount(price, percent):
    return float(price) * (1 - float(percent) / 100)
จากนั้น import
*** Settings ***
Library    libraries/custom_library.py
#results/
เก็บ artifact จากการรัน test
results/
├── original/
├── rerun/
└── final/
แนะนำให้เพิ่มใน .gitignore
.venv/
results/
__pycache__/
*.pyc
โดยทั่วไปไม่ควร commit generated report เข้า Git
#3. เริ่มโปรเจกต์ด้วย uv
uv ใช้จัดการ Python version, virtual environment, dependency และ lockfile ได้ใน workflow เดียว
#ติดตั้ง uv
macOS/Linux
curl -LsSf https://astral.sh/uv/install.sh | sh
Windows PowerShell
powershell -ExecutionPolicy ByPass -c "irm https://astral.sh/uv/install.ps1 | iex"
ตรวจสอบ
uv --version
#4. สร้างโปรเจกต์แบบ Minimal
สำหรับ repository ที่มีไว้ทำ automated test เป็นหลัก สามารถเริ่มแบบ minimal ได้
mkdir robot-automation
cd robot-automation

uv init --bare
--bare จะสร้างเฉพาะ pyproject.toml โดยไม่สร้าง application source tree ที่ไม่จำเป็น
เพิ่ม Robot Framework เป็น development dependency
uv add --dev robotframework
ตรวจสอบ
uv run robot --version
ตัวอย่าง dependency เพิ่มเติม
#Web Testing
uv add --dev robotframework-seleniumlibrary
หรือหากเลือกใช้ Browser Library ให้ติดตั้งตามคู่มือของ Browser Library และเตรียม browser runtime เพิ่มเติม
#API Testing
uv add --dev robotframework-requests
#5. ทำไมควรใช้ uv run robot
แทนที่จะ activate virtual environment ด้วยตนเอง เช่น
source .venv/bin/activate
robot tests/
สามารถใช้
uv run robot tests/
ได้โดยตรง
uv run จะรัน command ภายใน project environment และตรวจให้ environment สอดคล้องกับ dependency/lockfile ของโปรเจกต์ก่อนรัน
ตัวอย่าง
uv run robot \
  --outputdir results/original \
  tests/
Windows PowerShell สามารถเขียนบรรทัดเดียว
uv run robot --outputdir results/original tests/
#6. ตัวอย่าง Test Suite
สร้างไฟล์
tests/smoke.robot
เนื้อหา
*** Settings ***
Documentation    Basic Robot Framework example

*** Test Cases ***
Test Addition
    ${result}=    Evaluate    10 + 20
    Should Be Equal As Integers    ${result}    30

Test Application Name
    ${name}=    Set Variable    Robot Framework
    Should Be Equal    ${name}    Robot Framework
รัน
uv run robot --outputdir results/original tests/
#7. การรันเฉพาะ Suite
uv run robot tests/api/
หรือ
uv run robot tests/web/login.robot
#8. การใช้ Tags
ตัวอย่าง
*** Test Cases ***
Login Success
    [Tags]    smoke    login
    Log    Login success

Checkout Success
    [Tags]    regression    checkout
    Log    Checkout success
รันเฉพาะ smoke
uv run robot --include smoke tests/
หรือย่อ
uv run robot -i smoke tests/
ตัด test บางกลุ่มออก
uv run robot --exclude slow tests/
#9. กำหนด Output Directory
แนะนำให้แยกผลแต่ละ execution
uv run robot \
  --outputdir results/original \
  tests/
ผลลัพธ์
results/original/
├── output.xml
├── log.html
└── report.html
#10. Rebot คืออะไร
rebot คือเครื่องมือ post-processing ของ Robot Framework
ใช้สำหรับ
- สร้าง report ใหม่จาก
output.xml - filter ผลด้วย tag
- เปลี่ยนชื่อ report
- รวมผลหลาย execution
- merge original run กับ rerun
- สร้าง
log.htmlและreport.htmlใหม่
เมื่อ robotframework ถูกติดตั้งใน project แล้ว สามารถเรียกผ่าน uv ได้
uv run rebot ...
#11. รวมผลหลาย Output ด้วย Rebot
สมมติแยกการรันเป็น API และ Web
uv run robot \
  --output results/api.xml \
  --log NONE \
  --report NONE \
  tests/api/

uv run robot \
  --output results/web.xml \
  --log NONE \
  --report NONE \
  tests/web/
จากนั้นสร้างรายงานรวม
uv run rebot \
  --name "All Automated Tests" \
  --output results/combined.xml \
  --log results/log.html \
  --report results/report.html \
  results/api.xml \
  results/web.xml
กรณีนี้เป็นการ combine output หลายชุด
เหมาะเมื่อผลมาจาก suite คนละกลุ่มและต้องการ report ระดับบนที่รวมทุก suite
#12. rebot --merge ต่างจากการ combine อย่างไร
มีสองแนวคิดที่ควรแยกกัน
#Combine
rebot result1.xml result2.xml
ใช้รวม output หลายชุดเป็น hierarchy ใหม่
เหมาะกับ
API tests
Web tests
Mobile tests
ที่แยกรันกัน
#Merge
rebot --merge original.xml rerun.xml
ใช้เมื่อ output หลายไฟล์เป็น suite/test tree เดียวกัน และต้องการให้ผลที่ใหม่กว่า แทนที่ ผลเดิม
กรณีสำคัญที่สุดคือ
Original Run
      ↓
Failed Tests
      ↓
Rerun Failed
      ↓
Merge
#13. Rerun Failed คืออะไร
Robot Framework มี option built-in
--rerunfailed
หรือรูปย่อ
-R
ใช้ข้อมูลจาก output.xml ของ execution ก่อนหน้าเพื่อเลือกเฉพาะ Test Case ที่มีสถานะ FAIL
ตัวอย่างพื้นฐาน
robot --output original.xml tests/
robot --rerunfailed original.xml --output rerun.xml tests/
rebot --merge original.xml rerun.xml
#14. Workflow ที่แนะนำเมื่อใช้ uv
#Step 1 — Run All Tests
uv run robot \
  --outputdir results/original \
  --output output.xml \
  tests/
ได้
results/original/
├── output.xml
├── log.html
└── report.html
#Step 2 — Rerun เฉพาะ Failed Tests
uv run robot \
  --rerunfailed results/original/output.xml \
  --outputdir results/rerun \
  --output output.xml \
  tests/
หรือ
uv run robot \
  -R results/original/output.xml \
  --outputdir results/rerun \
  tests/
Robot Framework จะเลือกเฉพาะ test ที่ FAIL จาก original execution
#Step 3 — Merge Original + Rerun
uv run rebot \
  --merge \
  --outputdir results/final \
  --output output.xml \
  --log log.html \
  --report report.html \
  results/original/output.xml \
  results/rerun/output.xml
ผลลัพธ์สุดท้าย
results/final/
├── output.xml
├── log.html
└── report.html
ถ้า test เดิม FAIL ใน original แต่ PASS ใน rerun ผลใน merged report จะถูกแทนด้วยสถานะจาก execution ที่ใหม่กว่า
#15. Workflow ภาพรวม
                  ┌────────────────────┐
                  │   uv run robot     │
                  │      tests/        │
                  └─────────┬──────────┘
                            │
                            ▼
                  ┌────────────────────┐
                  │ original/output.xml│
                  └─────────┬──────────┘
                            │
                      Failed tests?
                            │
                  ┌─────────▼──────────┐
                  │ robot              │
                  │ --rerunfailed      │
                  └─────────┬──────────┘
                            │
                            ▼
                  ┌────────────────────┐
                  │ rerun/output.xml   │
                  └─────────┬──────────┘
                            │
                            ▼
                  ┌────────────────────┐
                  │ rebot --merge      │
                  └─────────┬──────────┘
                            │
                            ▼
             ┌────────────────────────────┐
             │ results/final/             │
             │ output.xml                 │
             │ log.html                   │
             │ report.html                │
             └────────────────────────────┘
#16. ระวังกรณีไม่มี Failed Test
ถ้า original output ไม่มี test ที่ fail การเรียก
robot --rerunfailed output.xml tests/
จะถือเป็น error ตามค่าเริ่มต้น เพราะไม่มี test ให้เลือกมารัน
ใน automation script หรือ CI จึงควรตรวจสอบก่อน หรือออกแบบ pipeline ให้รองรับกรณีนี้
Robot Framework มี option
--runemptysuite
ที่สามารถใช้เมื่อต้องการให้ execution ที่ไม่มี test ตรงกับ selection ยังสร้าง output ตามปกติ
อย่างไรก็ตาม ใน CI ที่ต้องการ logic ชัดเจน การตรวจสถานะ original run ก่อนเข้าสู่ rerun มักอ่านและดูแลได้ง่ายกว่า
#17. Rerun Failed Test Suite
นอกจาก rerun เป็นราย Test Case ยังมี
--rerunfailedsuites
หรือ
-S
ตัวอย่าง
uv run robot \
  --rerunfailedsuites results/original/output.xml \
  --outputdir results/rerun \
  tests/
ข้อแตกต่างคือ ถ้า suite ใดมี failure จะ rerun ทุก test ใน failed suite รวม test ที่เคย PASS ด้วย
เหมาะกับ test ที่มี dependency ภายใน suite หรือจำเป็นต้องรัน flow ทั้งชุดใหม่
สำหรับ test ที่ independent กัน ควรเลือก --rerunfailed มากกว่า เพราะใช้เวลาน้อยกว่า
#18. ข้อควรระวังของ --rerunfailed
ไฟล์ original output และ test suite ที่นำมารันใหม่ควรมาจาก test tree เดียวกัน
หลีกเลี่ยงสถานการณ์ เช่น
- รัน test รอบแรก
- เปลี่ยนชื่อ Test Case จำนวนมาก
- ย้าย suite ไปคนละโครงสร้าง
- ใช้
--rerunfailedกับoutput.xmlเก่า
เพราะผลการ match test อาจไม่ตรงกับ execution เดิม
แนวทางที่ดีคือเก็บ original และ rerun ไว้ใน pipeline/job เดียวกัน
#19. ตัวอย่างคำสั่งแบบครบชุด
#Initial Setup
mkdir robot-automation
cd robot-automation

uv init --bare
uv add --dev robotframework
สร้าง folder
mkdir -p tests resources data results
#Run
uv run robot \
  --outputdir results/original \
  tests/
#Rerun Failed
uv run robot \
  --rerunfailed results/original/output.xml \
  --outputdir results/rerun \
  tests/
#Merge
uv run rebot \
  --merge \
  --outputdir results/final \
  results/original/output.xml \
  results/rerun/output.xml
#20. ตัวอย่าง Bash Script
ไฟล์
scripts/run_tests.sh
#!/usr/bin/env bash

set +e

rm -rf results/original results/rerun results/final
mkdir -p results/original results/rerun results/final

echo "=== Run all tests ==="

uv run robot \
  --outputdir results/original \
  tests/

FIRST_EXIT=$?

if [ "$FIRST_EXIT" -eq 0 ]; then
  echo "All tests passed. No rerun required."

  uv run rebot \
    --output results/final/output.xml \
    --log results/final/log.html \
    --report results/final/report.html \
    results/original/output.xml

  exit 0
fi

echo "=== Rerun failed tests ==="

uv run robot \
  --rerunfailed results/original/output.xml \
  --outputdir results/rerun \
  tests/

echo "=== Merge original and rerun ==="

uv run rebot \
  --merge \
  --output results/final/output.xml \
  --log results/final/log.html \
  --report results/final/report.html \
  results/original/output.xml \
  results/rerun/output.xml

exit $?
กำหนด permission
chmod +x scripts/run_tests.sh
รัน
./scripts/run_tests.sh
#21. การใช้ Rebot สร้าง Report จาก Output เดิม
หากมีเฉพาะ output.xml
uv run rebot results/original/output.xml
Rebot จะสร้าง report/log จากผลเดิมได้โดยไม่ต้อง execute test ใหม่
ตัวอย่างกำหนดชื่อ
uv run rebot \
  --name "Regression Test Report" \
  results/original/output.xml
#22. สร้าง Report เฉพาะ Tag
สมมติ output มีทั้ง smoke และ regression
uv run rebot \
  --include smoke \
  --name "Smoke Test Report" \
  --output results/smoke.xml \
  --log results/smoke-log.html \
  --report results/smoke-report.html \
  results/original/output.xml
ข้อดีคือสามารถใช้ execution เดียว แล้วสร้าง report หลายมุมมองภายหลังได้
#23. แนวทาง Naming
แนะนำ
tests/
  authentication/
    login.robot
    logout.robot

resources/
  authentication/
    login_keywords.resource

data/
  dev.yaml
  staging.yaml
Test Case
User Can Login With Valid Credential
Login Is Rejected With Invalid Password
Account Is Locked After Maximum Failed Attempts
Keyword
Open Login Page
Login With Credential
User Should Be Logged In
หลีกเลี่ยงชื่อ generic เช่น
Test1
Test2
Click Button1
Do Login
เพราะอ่าน report แล้วไม่สื่อความหมายเชิง business
#24. แยก Test Case ออกจาก Implementation
ไม่แนะนำให้ test เต็มไปด้วย low-level steps
*** Test Cases ***
Login Test
    Open Browser    https://example.com    chrome
    Input Text    id=username    user1
    Input Password    id=password    password1
    Click Button    id=login
    Element Should Be Visible    id=dashboard
เมื่อระบบใหญ่ขึ้นควรย้ายรายละเอียดไปไว้ใน resource
*** Test Cases ***
User Can Login
    Login With Valid User
    Dashboard Should Be Visible
ทำให้ Test Case อ่านง่ายและลดการแก้ซ้ำเมื่อ UI เปลี่ยน
#25. ใช้ Tags จัด Test Layer
ตัวอย่าง tags
smoke
regression
api
web
critical
slow
auth
checkout
รัน smoke
uv run robot -i smoke tests/
รัน regression แต่ไม่เอา slow
uv run robot \
  --include regression \
  --exclude slow \
  tests/
#26. Suggested CI Flow
Pipeline ที่เหมาะกับ Robot Framework
Checkout
   ↓
Install uv
   ↓
uv sync
   ↓
Run Robot Framework
   ↓
PASS ───────────────→ Publish Report
   │
   FAIL
   ↓
Rerun Failed
   ↓
Rebot --merge
   ↓
Final Report
   ↓
Publish Artifact
CI ควรเก็บอย่างน้อย
results/final/output.xml
results/final/log.html
results/final/report.html
เป็น artifact เพื่อให้ทีมเปิดตรวจสอบภายหลังได้
#27. --rerunfailed ไม่ควรใช้เพื่อซ่อน Flaky Tests
การ rerun มีประโยชน์กับ
- transient network error
- browser timing issue
- dependency ภายนอกไม่เสถียร
- environment ชั่วคราวมีปัญหา
แต่ถ้า test ต้อง rerun บ่อยจึงจะผ่าน ควรถือว่าเป็น flaky test ที่ต้องหาสาเหตุ
ตัวอย่างสาเหตุ
Fixed sleep
Unstable selector
Shared test data
Race condition
Async operation
External API instability
Environment contention
เป้าหมายไม่ใช่ทำให้ report เป็นสีเขียวด้วย rerun แต่ใช้ rerun เป็น safety mechanism พร้อมเก็บข้อมูลเพื่อแก้ root cause
#28. Built-in --rerunfailed vs RetryFailed Listener
อย่าสับสนระหว่างสองแนวทาง
#Built-in
robot --rerunfailed output.xml tests/
ลักษณะ
Run 1
↓
สร้าง output.xml
↓
Run 2 เฉพาะ failed
↓
Merge ด้วย rebot
เหมาะกับ CI/CD และผลรายงานที่ตรวจสอบย้อนกลับได้ชัดเจน
#RetryFailed Listener
มี package เพิ่มเติมชื่อ robotframework-retryfailed ที่สามารถ retry test ระหว่าง execution ได้ตาม configuration/tag
แนวคิดนี้สะดวก แต่ควรใช้ด้วยความระมัดระวัง เพราะ retry ภายใน execution อาจทำให้ทีมมองไม่เห็นระดับความ flaky หากไม่ได้ติดตาม metric เพิ่มเติม
สำหรับ pipeline ที่ต้องการ traceability ชัด แนะนำ workflow
original → rerunfailed → rebot --merge
#29. Workflow ที่แนะนำสำหรับทีม
1. uv sync
2. uv run robot tests/
3. เก็บ original/output.xml
4. ถ้ามี FAIL:
      uv run robot --rerunfailed ...
5. uv run rebot --merge ...
6. Publish final report
7. วิเคราะห์ test ที่ต้อง rerun บ่อย
#30. คำสั่ง Cheat Sheet
#Install
uv init --bare
uv add --dev robotframework
#Sync
uv sync
#Run All
uv run robot tests/
#Output Directory
uv run robot --outputdir results/original tests/
#Run by Tag
uv run robot -i smoke tests/
#Exclude Tag
uv run robot -e slow tests/
#Rerun Failed
uv run robot \
  --rerunfailed results/original/output.xml \
  --outputdir results/rerun \
  tests/
#Rerun Failed Suites
uv run robot \
  --rerunfailedsuites results/original/output.xml \
  --outputdir results/rerun \
  tests/
#Merge Original + Rerun
uv run rebot \
  --merge \
  --outputdir results/final \
  results/original/output.xml \
  results/rerun/output.xml
#Generate Report Again
uv run rebot results/original/output.xml
#31. สรุป
สำหรับ Robot Framework project ที่ต้องการ maintainability และพร้อมใช้กับ CI/CD แนะนำแนวทางดังนี้
Project Structure
├── tests/
├── resources/
├── data/
├── libraries/
├── results/
├── pyproject.toml
└── uv.lock
ใช้ uv จัดการ environment
uv sync
uv run robot ...
uv run rebot ...
เมื่อ test fail ให้รันเฉพาะ test ที่ล้มเหลว
uv run robot \
  --rerunfailed results/original/output.xml \
  --outputdir results/rerun \
  tests/
จากนั้น merge ผล
uv run rebot \
  --merge \
  --outputdir results/final \
  results/original/output.xml \
  results/rerun/output.xml
workflow นี้ช่วยให้
- ไม่ต้อง rerun ทั้ง test suite โดยไม่จำเป็น
- ลดเวลา execution
- เก็บ original result ตรวจสอบย้อนหลังได้
- ได้ final report เพียงชุดเดียว
- dependency ทำซ้ำได้ผ่าน
uv.lock - นำต่อยอดไป GitHub Actions, GitLab CI, Jenkins หรือระบบ CI อื่นได้ง่าย
#References
-
Robot Framework Documentation — Project Structure
https://docs.robotframework.org/docs/examples/project_structure -
Robot Framework Documentation — Re-execute Failed Tests
https://docs.robotframework.org/docs/flaky_tests -
Robot Framework User Guide
https://robotframework.org/robotframework/latest/RobotFrameworkUserGuide.html -
uv Documentation — Running Commands
https://docs.astral.sh/uv/concepts/projects/run/ -
uv Documentation — Managing Dependencies
https://docs.astral.sh/uv/concepts/projects/dependencies/ -
uv Documentation — Creating Projects
https://docs.astral.sh/uv/concepts/projects/init/