- 1. วัตถุประสงค์
- 2. Playwright MCP และ Playwright CLI ต่างกันอย่างไร
- 3. Software ที่ต้องติดตั้ง
- 4. สร้าง Project
- 5. ทดสอบ Playwright Project
- 6. ติดตั้ง Playwright MCP ใน VS Code
- 7. ตรวจสอบ MCP Server
- 8. Test Scenario ที่จะใช้
- 9. Workshop A — ใช้ Playwright MCP สำรวจหน้าเว็บ
- 10. ทดลองเพิ่ม Todo ด้วย MCP
- 11. ให้ MCP สร้าง Test Script
- 12. Workshop B — ติดตั้ง Playwright CLI
- 13. ติดตั้ง Playwright Skills สำหรับ Coding Agent
- 14. เปิด TodoMVC ด้วย Playwright CLI
- 15. เพิ่ม Todo ด้วย CLI
- 16. ใช้ Snapshot เพื่อหา Checkbox
- 17. สร้าง Locator จาก ref
- 18. Record User Flow ด้วย Playwright CLI
- 19. Workshop C — ใช้ Playwright Test Codegen สร้าง .spec.ts โดยตรง
- 20. บันทึก Codegen ลงไฟล์ TypeScript
- 21. Generated Code ไม่ใช่ Final Test เสมอไป
- 22. Final TypeScript Test Script
- 23. รัน Test
- 24. รันแบบ Headed
- 25. รันเฉพาะ Chromium
- 26. รันเฉพาะ Test Case
- 27. Debug
- 28. เปิด UI Mode
- 29. เปิด HTML Report
- 30. เปิด Trace Viewer
- 31. แนะนำ playwright.config.ts สำหรับ Workshop
- 32. Workflow ที่แนะนำในงานจริง
- 33. MCP vs CLI vs Codegen
- 34. Prompt สำหรับสร้าง Test แบบครบวงจร
- 35. Lab Challenge
- 36. สรุป
- References
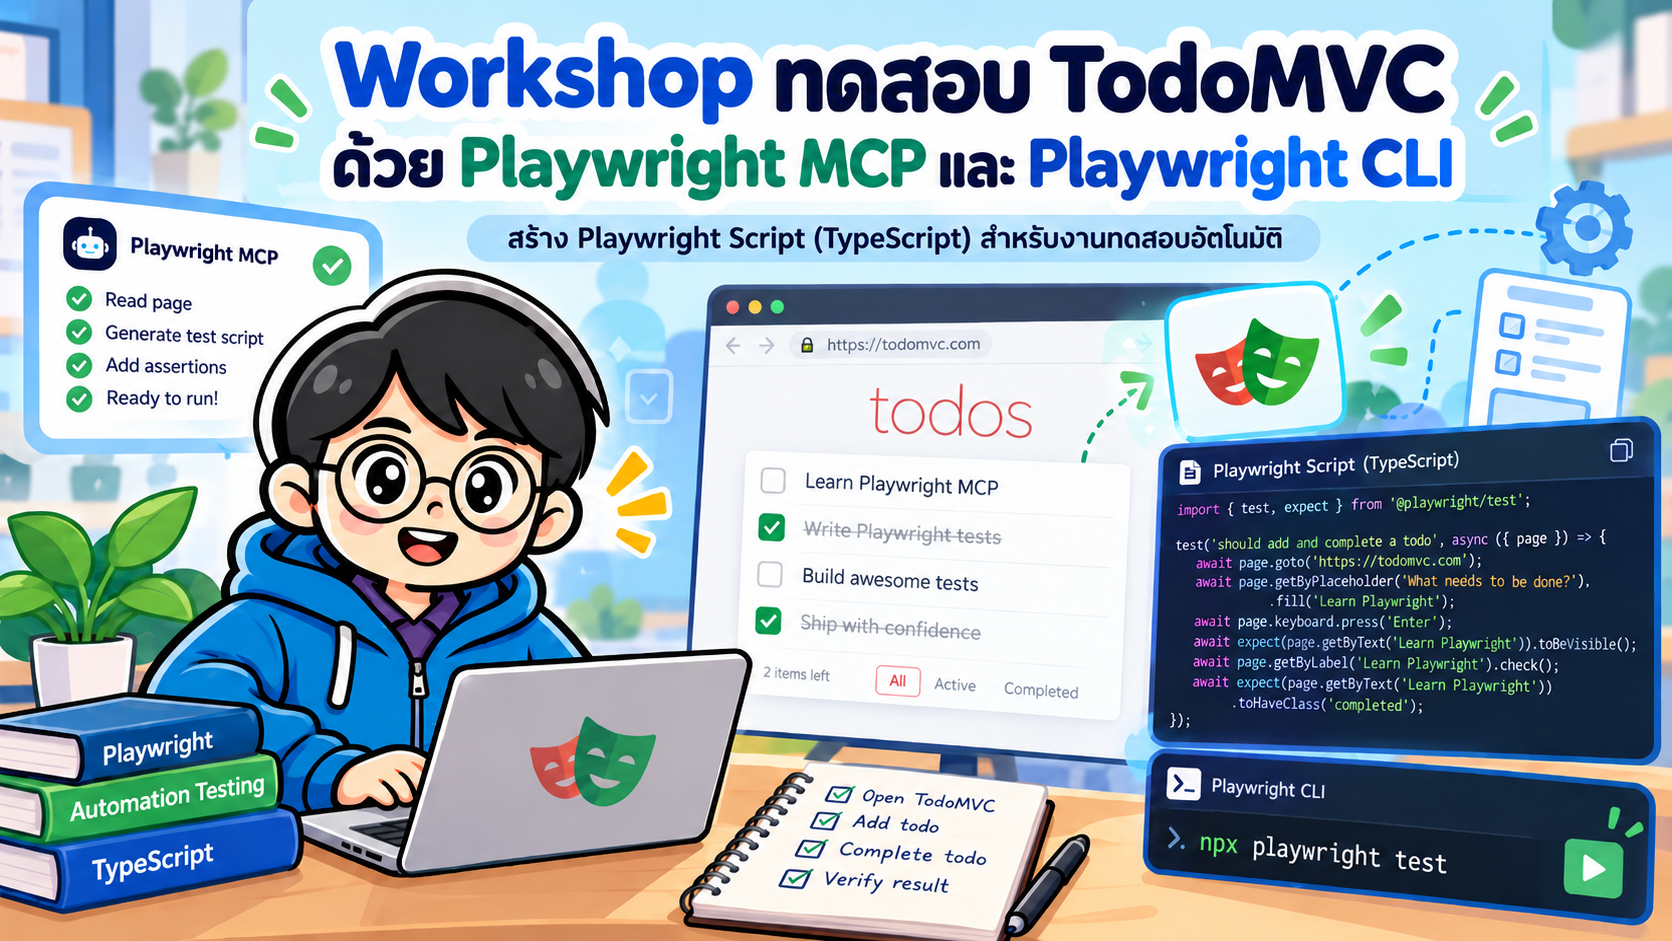
Workshop นี้สาธิตการใช้ Playwright MCP และ Playwright CLI เพื่อสำรวจพฤติกรรมของเว็บ ทดลอง Test Scenario จริง และนำ Playwright code ที่ถูกสร้างขึ้นมาพัฒนาเป็น Automated Test Script ด้วย TypeScript สำหรับเว็บตัวอย่าง TodoMVC
เว็บไซต์ที่ใช้ทดสอบ:
แนวคิดสำคัญของ Workshop คือ
Test Scenario
     |
     v
Playwright MCP / Playwright CLI
     |
     v
เปิด Browser + สำรวจ Accessibility Snapshot
     |
     v
ทดลอง User Flow จริง
     |
     v
Generated Playwright Code
     |
     v
ปรับเป็น TypeScript Test
     |
     v
npx playwright test
     |
     v
HTML Report / Trace
#1. วัตถุประสงค์
เมื่อจบ Workshop ผู้เรียนจะสามารถ
- สร้าง Playwright Test Project ด้วย TypeScript
- เชื่อม Playwright MCP กับ GitHub Copilot บน Visual Studio Code
- ใช้ AI Agent ควบคุม Browser ผ่าน Playwright MCP
- ใช้ Playwright CLI สำรวจหน้าเว็บและสร้าง Playwright code
- ใช้
playwright-cli recording-startและrecording-stop - ใช้
npx playwright codegenสร้างไฟล์.spec.ts - นำ Generated Code มาปรับเป็น Automated Test ที่มี Assertion
- ทดสอบ Add, Complete, Filter และ Clear Todo
- รัน Test แบบ Headless, Headed และ Debug
- เปิด HTML Report และ Trace Viewer
#2. Playwright MCP และ Playwright CLI ต่างกันอย่างไร
#Playwright MCP
Playwright MCP เป็น MCP Server ที่เปิด Browser Automation Tools ให้ AI Agent เช่น GitHub Copilot สามารถ
- เปิดเว็บไซต์
- อ่าน Accessibility Snapshot
- คลิก
- กรอกข้อมูล
- กด Keyboard
- ตรวจสอบหน้าเว็บ
- ถ่าย Screenshot
- ส่งกลับ Playwright code ที่ใช้กับแต่ละ action
เหมาะสำหรับ workflow แบบ
Prompt -> AI Agent -> MCP -> Browser -> Generated Code
#Playwright CLI
ใน Playwright รุ่นปัจจุบันมี CLI ที่ออกแบบมาสำหรับ Coding Agent โดยเฉพาะผ่านแพ็กเกจ
@playwright/cli
คำสั่งหลักคือ
playwright-cli
หลังจากแต่ละ action CLI จะแสดง Playwright code ที่เพิ่งทำงาน เช่น
await page.getByRole('textbox', {
  name: 'What needs to be done?'
}).fill('Learn Playwright');
จึงสามารถนำ code เหล่านี้ไปรวมเป็น test script ได้
#Playwright Test CLI Codegen
Playwright Test ยังมี Test Generator แบบ interactive ผ่านคำสั่ง
npx playwright codegen
เหมาะสำหรับการ Record การใช้งานหน้าเว็บและบันทึกเป็นไฟล์ .spec.ts โดยตรง
ดังนั้น Workshop นี้จะใช้ครบ 3 workflow:
1. Playwright MCP + GitHub Copilot
2. playwright-cli (@playwright/cli)
3. npx playwright codegen
#3. Software ที่ต้องติดตั้ง
ตรวจสอบ Node.js
node --version
npm --version
แนะนำ Node.js 20 หรือใหม่กว่าสำหรับ Playwright MCP ตามเอกสารปัจจุบัน
Software ที่ใช้:
- Node.js
- npm
- Visual Studio Code
- GitHub Copilot
- Playwright Test
- Playwright MCP
- Playwright CLI
#4. สร้าง Project
สร้างโฟลเดอร์
mkdir playwright-todomvc-workshop
cd playwright-todomvc-workshop
สร้าง Playwright project
npm init playwright@latest
เลือกค่าประมาณนี้
Do you want to use TypeScript or JavaScript?
> TypeScript

Where to put your end-to-end tests?
> tests

Add a GitHub Actions workflow?
> No

Install Playwright browsers?
> Yes
โครงสร้างจะได้ประมาณ
playwright-todomvc-workshop/
├── node_modules/
├── tests/
│   └── example.spec.ts
├── playwright.config.ts
├── package.json
└── package-lock.json
ตรวจสอบ
npx playwright --version
#5. ทดสอบ Playwright Project
รัน
npx playwright test
เปิด HTML Report
npx playwright show-report
#6. ติดตั้ง Playwright MCP ใน VS Code
ใน VS Code รุ่นปัจจุบันสามารถใช้ Portable MCP configuration ที่ root ของ workspace ได้
สร้างไฟล์
.mcp.json
โครงสร้าง
playwright-todomvc-workshop/
├── .mcp.json
├── tests/
├── package.json
└── playwright.config.ts
เพิ่ม configuration
{
  "mcpServers": {
    "playwright": {
      "command": "npx",
      "args": [
        "@playwright/mcp@latest",
        "--isolated",
        "--codegen",
        "typescript"
      ]
    }
  }
}
--codegen typescriptกำหนดให้ MCP ส่งกลับ equivalent Playwright code เป็น TypeScript
--isolatedทำให้แต่ละ browser session เริ่มจาก state ใหม่ เหมาะกับ Workshop และการทดสอบที่ต้องการ reproducibility
อีกวิธีหนึ่งสามารถติดตั้งจาก VS Code CLI
code --add-mcp '{"name":"playwright","command":"npx","args":["@playwright/mcp@latest"]}'
#7. ตรวจสอบ MCP Server
เปิด Command Palette
Ctrl+Shift+P
หรือ macOS
Cmd+Shift+P
ค้นหา
MCP: List Servers
ควรพบ
playwright
จากนั้นเปิด GitHub Copilot Chat และใช้ Agent mode
#8. Test Scenario ที่จะใช้
เราจะทดสอบ TodoMVC ด้วย Scenario ต่อไปนี้
| ID | Scenario | Expected Result |
|---|---|---|
| TC01 | เปิด TodoMVC | แสดงช่อง What needs to be done? |
| TC02 | เพิ่ม Todo 1 รายการ | Todo แสดงในรายการ และ counter = 1 |
| TC03 | เพิ่ม Todo หลายรายการ | Todo ทุกตัวแสดง และ counter ถูกต้อง |
| TC04 | Mark Todo เป็น Completed | Checkbox ถูกเลือก และจำนวน Active ลดลง |
| TC05 | Filter Active | แสดงเฉพาะ Todo ที่ยังไม่เสร็จ |
| TC06 | Filter Completed | แสดงเฉพาะ Todo ที่เสร็จแล้ว |
| TC07 | Clear completed | Todo ที่ Completed ถูกลบออก |
#9. Workshop A — ใช้ Playwright MCP สำรวจหน้าเว็บ
เปิด Copilot Agent แล้ว Prompt
Use the Playwright MCP tools.

Open:
https://demo.playwright.dev/todomvc/#/

Inspect the page and explain the important accessible elements
that can be used to create Playwright tests.
Do not modify any files yet.
Playwright MCP จะเปิด Browser และอ่าน Accessibility Tree
ตัวอย่าง element สำคัญที่ควรพบ เช่น
heading "todos"
textbox "What needs to be done?"
จุดสำคัญคือ MCP ไม่จำเป็นต้องพึ่ง CSS Selector เป็นหลัก แต่สามารถใช้ accessible role/name เพื่อสร้าง locator ที่อ่านง่ายและมีความทนทานกว่า
#10. ทดลองเพิ่ม Todo ด้วย MCP
Prompt
Using Playwright MCP, test the add-todo flow on

https://demo.playwright.dev/todomvc/#/

Steps:
1. Add "Learn Playwright MCP"
2. Verify the todo is visible
3. Verify the counter shows 1 item left

Show me the equivalent Playwright TypeScript code for the actions.
Do not create the test file yet.
ตัวอย่าง code ที่ควรได้ในแนวทางนี้
await page.goto('https://demo.playwright.dev/todomvc/#/');

const input = page.getByRole('textbox', {
  name: 'What needs to be done?'
});

await input.fill('Learn Playwright MCP');
await input.press('Enter');

await expect(
  page.getByText('Learn Playwright MCP')
).toBeVisible();

await expect(
  page.getByText('1 item left')
).toBeVisible();
#11. ให้ MCP สร้าง Test Script
Prompt
Use Playwright MCP to verify the real application first.

Create a TypeScript Playwright test file:

tests/todomvc-mcp.spec.ts

Target:
https://demo.playwright.dev/todomvc/#/

Test these scenarios:
1. Add one todo
2. Add multiple todos
3. Complete one todo
4. Filter Active and Completed
5. Clear completed todos

Requirements:
- TypeScript
- use @playwright/test
- prefer getByRole(), getByText(), and scoped locators
- add assertions with expect()
- each test must be independent
- verify the selectors against the live page before writing the test
Workflow ที่เกิดขึ้น
Copilot
   |
   v
Playwright MCP
   |
   v
TodoMVC
   |
   v
Accessibility Snapshot
   |
   v
Live interaction
   |
   v
TypeScript Playwright code
   |
   v
tests/todomvc-mcp.spec.ts
#12. Workshop B — ติดตั้ง Playwright CLI
ติดตั้งแบบ global
npm install -g @playwright/cli@latest
ตรวจสอบ
playwright-cli --help
หรือใช้แบบ local dependency
npm install -D @playwright/cli@latest
แล้วเรียก
npx playwright cli --help
#13. ติดตั้ง Playwright Skills สำหรับ Coding Agent
ถ้าใช้ GitHub Copilot / Coding Agent สามารถติดตั้ง Skills
playwright-cli install --skills
แบบ Global
playwright-cli install --skills -g
Skills ช่วยให้ Agent เข้าใจ workflow และ command ของ Playwright CLI มากขึ้น
#14. เปิด TodoMVC ด้วย Playwright CLI
รัน
playwright-cli open https://demo.playwright.dev/todomvc/#/ --headed
CLI จะแสดงข้อมูลประมาณ
Page URL:
https://demo.playwright.dev/todomvc/#/

Page Title:
React • TodoMVC

Snapshot:
...
textbox "What needs to be done?" [ref=e...]
ค่า e... เป็น element reference ของ session ปัจจุบัน
ref เปลี่ยนได้ระหว่าง session ดังนั้นอย่า hard-code ref ลงใน Automated Test
#15. เพิ่ม Todo ด้วย CLI
เมื่อ textbox เป็น element ที่ active อยู่ สามารถทดลอง
playwright-cli type "Learn Playwright CLI"
playwright-cli press Enter
เพิ่มรายการที่สอง
playwright-cli type "Create TypeScript Test"
playwright-cli press Enter
หลังแต่ละคำสั่ง CLI จะแสดง section
### Ran Playwright code
ตัวอย่าง
await page
  .getByRole('textbox', { name: 'What needs to be done?' })
  .fill('Learn Playwright CLI');
Playwright code ตรงนี้คือ raw material สำหรับนำไปสร้าง automated test
#16. ใช้ Snapshot เพื่อหา Checkbox
หลังเพิ่ม Todo แล้ว สั่ง
playwright-cli snapshot
จะเห็นรายการ Todo และ checkbox refs
ตัวอย่างแนวคิด
listitem:
  checkbox "Toggle Todo" [ref=e21]
  text: Learn Playwright CLI
จากนั้นทดลองเลือก
playwright-cli check e21
ใช้ ref ที่ CLI แสดงจริงใน session ของผู้เรียน ไม่ควรคัดลอก
e21แบบตายตัวจากตัวอย่าง
#17. สร้าง Locator จาก ref
ถ้าต้องการแปลง ref เป็น Playwright Locator
playwright-cli generate-locator e21
อาจได้แนวทาง เช่น
getByRole('checkbox', { name: 'Toggle Todo' })
ถ้ามี checkbox หลายตัว ควร scope locator ภายใน Todo item
ตัวอย่าง
const item = page
  .getByRole('listitem')
  .filter({ hasText: 'Learn Playwright CLI' });

await item
  .getByRole('checkbox', { name: 'Toggle Todo' })
  .check();
#18. Record User Flow ด้วย Playwright CLI
จุดเด่นของ Playwright CLI คือสามารถ Record การกระทำที่ผู้ใช้ทำใน browser จริงได้
เปิด browser
playwright-cli open https://demo.playwright.dev/todomvc/#/ --headed
เริ่ม Recording
playwright-cli recording-start
จากนั้นใช้ Browser ทำด้วยมือ เช่น
- เพิ่ม
Buy Coffee - เพิ่ม
Learn Playwright - Mark
Buy Coffeeเป็น completed - คลิก Completed
- คลิก All
เมื่อเสร็จแล้ว
playwright-cli recording-stop
CLI จะพิมพ์ Playwright code ของ actions ที่ถูก record
นำ code นี้มาประกอบเป็น test เช่น
import { test, expect } from '@playwright/test';

test('recorded TodoMVC flow', async ({ page }) => {
  await page.goto('https://demo.playwright.dev/todomvc/#/');

  // paste generated Playwright actions here

  await expect(page.getByText('Learn Playwright')).toBeVisible();
});
ปิด Browser
playwright-cli close
#19. Workshop C — ใช้ Playwright Test Codegen สร้าง .spec.ts โดยตรง
Playwright Test CLI มี Test Generator อยู่แล้ว
รัน
npx playwright codegen https://demo.playwright.dev/todomvc/#/
Browser และ Playwright Inspector จะเปิดขึ้น
ทดลอง
- เพิ่ม Todo
- Mark Todo completed
- คลิก Active
- คลิก Completed
- คลิก All
Playwright จะสร้าง code ให้แบบ real-time
#20. บันทึก Codegen ลงไฟล์ TypeScript
สามารถระบุ output file ได้
npx playwright codegen \
  --target=playwright-test \
  -o tests/todomvc-codegen.spec.ts \
  https://demo.playwright.dev/todomvc/#/
บน Windows PowerShell สามารถเขียนบรรทัดเดียว
npx playwright codegen --target=playwright-test -o tests/todomvc-codegen.spec.ts https://demo.playwright.dev/todomvc/#/
หลัง Record เสร็จ ให้ปิด Inspector แล้วตรวจสอบ
tests/todomvc-codegen.spec.ts
#21. Generated Code ไม่ใช่ Final Test เสมอไป
Codegen หรือ CLI มักสร้าง actions ได้ดี แต่ Automated Test ที่ดีควรมี assertions
ตัวอย่าง generated action
await page
  .getByRole('textbox', { name: 'What needs to be done?' })
  .fill('Learn Playwright');

await page
  .getByRole('textbox', { name: 'What needs to be done?' })
  .press('Enter');
ควรเพิ่ม
await expect(
  page.getByText('Learn Playwright')
).toBeVisible();
หลักการคือ
Action + Verification = Test
#22. Final TypeScript Test Script
สร้างไฟล์
tests/todomvc.spec.ts
ใช้ตัวอย่างต่อไปนี้
import { test, expect, Page } from '@playwright/test';

const TODO_URL = 'https://demo.playwright.dev/todomvc/#/';

async function addTodo(page: Page, text: string) {
  const input = page.getByRole('textbox', {
    name: 'What needs to be done?'
  });

  await input.fill(text);
  await input.press('Enter');
}

test.describe('TodoMVC', () => {

  test.beforeEach(async ({ page }) => {
    await page.goto(TODO_URL);

    await expect(
      page.getByRole('textbox', {
        name: 'What needs to be done?'
      })
    ).toBeVisible();
  });

  test('TC02 - add one todo', async ({ page }) => {
    await addTodo(page, 'Learn Playwright');

    await expect(
      page.getByText('Learn Playwright')
    ).toBeVisible();

    await expect(
      page.getByText('1 item left')
    ).toBeVisible();
  });

  test('TC03 - add multiple todos', async ({ page }) => {
    await addTodo(page, 'Learn Playwright MCP');
    await addTodo(page, 'Learn Playwright CLI');
    await addTodo(page, 'Create TypeScript Test');

    await expect(
      page.getByText('Learn Playwright MCP')
    ).toBeVisible();

    await expect(
      page.getByText('Learn Playwright CLI')
    ).toBeVisible();

    await expect(
      page.getByText('Create TypeScript Test')
    ).toBeVisible();

    await expect(
      page.getByText('3 items left')
    ).toBeVisible();
  });

  test('TC04 - complete one todo', async ({ page }) => {
    await addTodo(page, 'Learn MCP');
    await addTodo(page, 'Learn CLI');

    const item = page
      .getByRole('listitem')
      .filter({ hasText: 'Learn MCP' });

    const checkbox = item.getByRole('checkbox', {
      name: 'Toggle Todo'
    });

    await checkbox.check();

    await expect(checkbox).toBeChecked();

    await expect(
      page.getByText('1 item left')
    ).toBeVisible();
  });

  test('TC05/TC06 - filter Active and Completed', async ({ page }) => {
    await addTodo(page, 'Completed Task');
    await addTodo(page, 'Active Task');

    const completedItem = page
      .getByRole('listitem')
      .filter({ hasText: 'Completed Task' });

    await completedItem
      .getByRole('checkbox', { name: 'Toggle Todo' })
      .check();

    await page.getByRole('link', { name: 'Active' }).click();

    await expect(
      page.getByText('Active Task')
    ).toBeVisible();

    await expect(
      page.getByText('Completed Task')
    ).toBeHidden();

    await page.getByRole('link', { name: 'Completed' }).click();

    await expect(
      page.getByText('Completed Task')
    ).toBeVisible();

    await expect(
      page.getByText('Active Task')
    ).toBeHidden();

    await page.getByRole('link', { name: 'All' }).click();

    await expect(
      page.getByText('Completed Task')
    ).toBeVisible();

    await expect(
      page.getByText('Active Task')
    ).toBeVisible();
  });

  test('TC07 - clear completed todos', async ({ page }) => {
    await addTodo(page, 'Delete after complete');
    await addTodo(page, 'Keep active');

    const completedItem = page
      .getByRole('listitem')
      .filter({ hasText: 'Delete after complete' });

    await completedItem
      .getByRole('checkbox', { name: 'Toggle Todo' })
      .check();

    await page
      .getByRole('button', { name: 'Clear completed' })
      .click();

    await expect(
      page.getByText('Delete after complete')
    ).toHaveCount(0);

    await expect(
      page.getByText('Keep active')
    ).toBeVisible();

    await expect(
      page.getByText('1 item left')
    ).toBeVisible();
  });

});
#23. รัน Test
รันทั้งหมด
npx playwright test tests/todomvc.spec.ts
#24. รันแบบ Headed
npx playwright test tests/todomvc.spec.ts --headed
#25. รันเฉพาะ Chromium
npx playwright test tests/todomvc.spec.ts --project=chromium
#26. รันเฉพาะ Test Case
npx playwright test tests/todomvc.spec.ts \
  -g "add one todo"
#27. Debug
npx playwright test tests/todomvc.spec.ts --debug
Playwright Inspector จะช่วยดู
- Step
- Locator
- DOM
- Log
- Action
- Assertion
#28. เปิด UI Mode
npx playwright test --ui
เหมาะสำหรับ Workshop เพราะผู้เรียนสามารถ
- เลือก test
- รันทีละ test
- ดู action timeline
- ดู DOM snapshot
- ดู error
- rerun test
#29. เปิด HTML Report
หลังรัน test
npx playwright show-report
#30. เปิด Trace Viewer
รันพร้อม trace
npx playwright test \
  tests/todomvc.spec.ts \
  --trace on
หลังจากนั้นเปิด trace file ที่ Playwright สร้าง หรือใช้
npx playwright show-trace path/to/trace.zip
Trace ช่วยวิเคราะห์
Action
DOM Snapshot
Network
Console
Screenshot
Timing
#31. แนะนำ playwright.config.ts สำหรับ Workshop
import { defineConfig, devices } from '@playwright/test';

export default defineConfig({
  testDir: './tests',

  fullyParallel: true,

  reporter: [
    ['list'],
    ['html', { open: 'never' }]
  ],

  use: {
    baseURL: 'https://demo.playwright.dev',
    trace: 'on-first-retry',
    screenshot: 'only-on-failure',
    video: 'retain-on-failure'
  },

  projects: [
    {
      name: 'chromium',
      use: {
        ...devices['Desktop Chrome']
      }
    }
  ]
});
จากนั้น test สามารถเขียน
await page.goto('/todomvc/#/');
แทน URL แบบเต็ม
#32. Workflow ที่แนะนำในงานจริง
ไม่ควรให้ AI สร้าง test จาก HTML หรือ source code เพียงอย่างเดียว
แนวทางที่เหมาะกว่า
Requirements
     |
     v
Test Scenarios
     |
     v
Playwright MCP / CLI
     |
     v
Interact with Live Application
     |
     v
Verify Locators
     |
     v
Generate Playwright Code
     |
     v
Add Assertions
     |
     v
Refactor
     |
     v
Run Tests
     |
     v
Trace / Report
แนวคิดนี้ช่วยลดปัญหา
- Hallucinated selector
- Selector ที่ไม่มีอยู่จริง
- Assumption เกี่ยวกับ UI ที่ไม่ตรงกับระบบ
- Test ที่ compile ได้แต่ใช้งานจริงไม่ได้
#33. MCP vs CLI vs Codegen
| Feature | Playwright MCP | Playwright CLI | npx playwright codegen |
|---|---|---|---|
| เหมาะกับ AI Agent | ดีมาก | ดีมาก | ปานกลาง |
| Accessibility Snapshot | Yes | Yes | ไม่ใช่ workflow หลัก |
| Browser Automation | Yes | Yes | Yes |
| Generated Action Code | Yes | Yes | Yes |
| Record ด้วยผู้ใช้ | ผ่าน Agent workflow | recording-start/stop |
Yes |
สร้าง .spec.ts |
Agent เขียนไฟล์ | Agent/ผู้ใช้รวม code | -o file |
| เพิ่ม Assertion อัตโนมัติ | Agent ช่วยได้ | Agent ช่วยได้ | ผ่าน Inspector บางประเภท |
| เหมาะกับ exploratory testing | ดีมาก | ดีมาก | ดี |
| เหมาะกับ repeatable automation | เมื่อบันทึกเป็น test | เมื่อบันทึกเป็น test | เมื่อปรับ generated test |
#34. Prompt สำหรับสร้าง Test แบบครบวงจร
ตัวอย่าง Prompt สำหรับ GitHub Copilot
Use Playwright MCP to inspect and test:

https://demo.playwright.dev/todomvc/#/

Create tests/todomvc.spec.ts in TypeScript.

Test:
1. adding a single todo
2. adding multiple todos
3. completing one todo
4. filtering active todos
5. filtering completed todos
6. clearing completed todos

Before writing each scenario:
- execute the flow against the live application
- verify the actual accessible roles and names
- prefer getByRole/getByText
- avoid brittle CSS/XPath unless necessary

After generating the file:
- run npx playwright test tests/todomvc.spec.ts
- fix any failing locator or assertion
- keep tests isolated
- show a short summary of the generated tests
#35. Lab Challenge
ให้ผู้เรียนเพิ่ม Test Case ต่อไปนี้เอง
#Challenge 1 — Empty Todo
ตรวจสอบว่าเมื่อกด Enter โดยไม่กรอกข้อความ ระบบไม่เพิ่ม Todo
#Challenge 2 — Whitespace
กรอก
Learn Playwright
ตรวจสอบว่าระบบจัดการ whitespace ถูกต้อง
#Challenge 3 — Edit Todo
สร้าง Todo
Learn Playwright
แก้เป็น
Learn Playwright MCP
และตรวจสอบข้อความใหม่
#Challenge 4 — Toggle All
เพิ่ม Todo 3 รายการ แล้ว Mark All เป็น Completed
Expected
0 items left
#Challenge 5 — Persistence
- เพิ่ม Todo
- Reload page
- ตรวจสอบว่า Todo ยังคงอยู่ตาม behavior ของ application
#36. สรุป
Playwright MCP และ Playwright CLI เปลี่ยน workflow การเขียน Automated Test จากเดิมที่ต้องเริ่มจากการหา selector เองทั้งหมด ไปเป็น workflow ที่ให้ Browser Automation Tool สำรวจระบบจริงและสร้าง Playwright code จาก interaction ที่เกิดขึ้นจริง
Workflow ที่แนะนำคือ
Explore
   ↓
Record / Interact
   ↓
Generate
   ↓
Assert
   ↓
Refactor
   ↓
Execute
   ↓
Analyze
สำหรับ Software Testing สิ่งสำคัญคือ อย่าหยุดที่ Generated Code
Generated Code ควรถูกนำมาปรับให้มี
- Assertion ที่ชัดเจน
- Locator ที่อ่านง่าย
- Test Isolation
- Reusable helper
- Stable test data
- Report
- Trace
- CI/CD integration
จึงจะเปลี่ยนจาก Browser Automation Script ไปเป็น Maintainable Automated Test Suite
#References
-
Playwright MCP Introduction
https://playwright.dev/mcp/introduction -
Playwright MCP Installation
https://playwright.dev/mcp/installation -
Playwright MCP Configuration
https://playwright.dev/mcp/configuration/options -
Playwright CLI Introduction
https://playwright.dev/agent-cli/introduction -
Playwright CLI Quick Start
https://playwright.dev/agent-cli/quick-start -
Playwright CLI Codegen & Highlighting
https://playwright.dev/agent-cli/commands/codegen -
Playwright Test Generator / Codegen
https://playwright.dev/docs/codegen -
Playwright Test CLI
https://playwright.dev/docs/test-cli -
Playwright TypeScript
https://playwright.dev/docs/test-typescript -
VS Code MCP Configuration
https://code.visualstudio.com/docs/agents/reference/mcp-configuration -
TodoMVC Demo
https://demo.playwright.dev/todomvc/#/