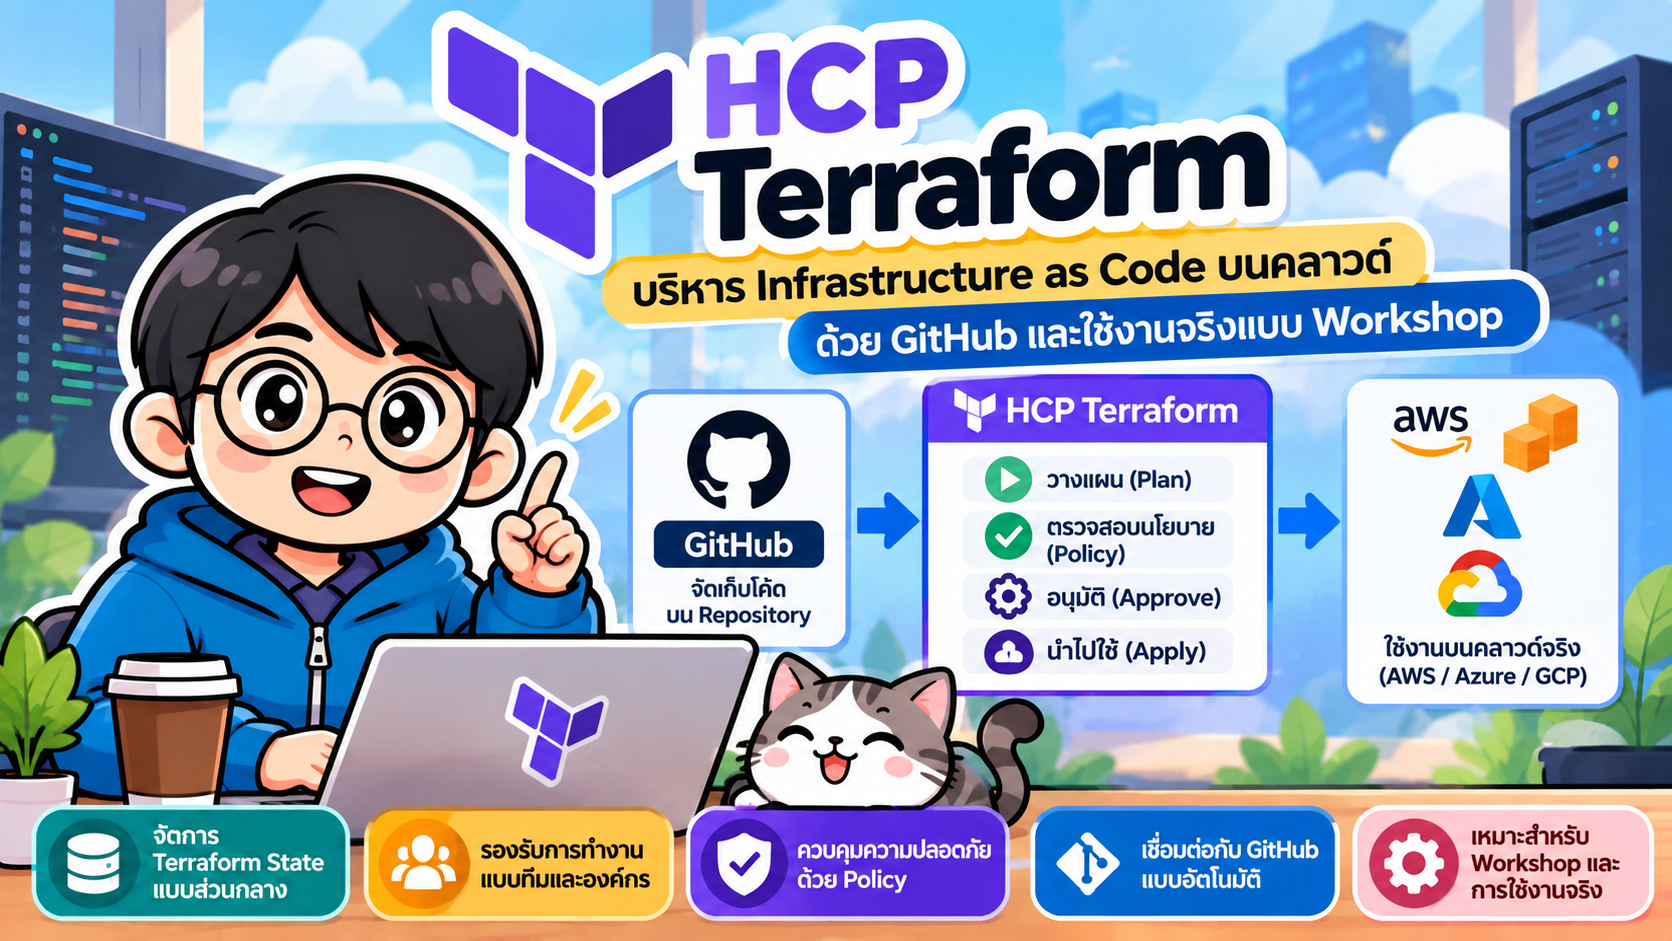
- Architecture
- วัตถุประสงค์
- เตรียมระบบ
- สร้าง Terraform Configuration
- Push ไป GitHub
- สร้าง HCP Terraform Workspace
- Workspace Variables
- AWS Authentication สำหรับ Lab
- Dynamic Provider Credentials สำหรับ Production
- Plan และ Apply
- ทดสอบ VCS-driven Workflow
- Pull Request และ Speculative Plan
- Remote State
- Destroy Infrastructure
- Workspace Design
- Security Best Practices
- Troubleshooting
- แบบฝึกหัด
- Challenge Lab
- สรุป
- เอกสารอ้างอิง
- แนวทางต่อยอด
Workshop เรียนรู้ HCP Terraform ตั้งแต่ Organization, Project, Workspace, Remote State, VCS-driven Workflow จนถึงการ Provision AWS EC2
#Architecture
Developer → GitHub → HCP Terraform → AWS EC2
                         │
                         ├─ Variables
                         ├─ Remote State
                         ├─ Plan
                         └─ Apply
#วัตถุประสงค์
- สร้าง Organization, Project และ Workspace
- เชื่อม GitHub Repository กับ HCP Terraform
- ใช้ Terraform Variables และ Environment Variables
- ใช้ Remote State และ Remote Runs
- Provision AWS EC2
- ทดลอง Git Push, Pull Request และ Speculative Plan
- เข้าใจ Static Credentials และ OIDC Dynamic Provider Credentials
- Destroy infrastructure หลังจบ Lab
#เตรียมระบบ
ต้องมี GitHub Account, HCP Terraform Account, AWS Account และ Git โดย Terraform CLI เป็นเครื่องมือเสริมสำหรับการทดลอง CLI workflow
git --version
terraform version
mkdir hcp-terraform-aws
cd hcp-terraform-aws
#สร้าง Terraform Configuration
#versions.tf
terraform {
  required_version = ">= 1.5.0"
  required_providers {
    aws = {
      source  = "hashicorp/aws"
      version = "~> 6.0"
    }
  }
}
#provider.tf
provider "aws" {
  region = var.aws_region
}
ห้ามฝัง AWS Access Key หรือ Secret Key ลงใน source code
#variables.tf
variable "aws_region" {
  type    = string
  default = "ap-southeast-1"
}

variable "instance_type" {
  type    = string
  default = "t3.micro"
}

variable "project_name" {
  type    = string
  default = "hcp-terraform-workshop"
}
#main.tf
data "aws_ami" "amazon_linux" {
  most_recent = true
  owners      = ["amazon"]

  filter {
    name   = "name"
    values = ["al2023-ami-2023.*-x86_64"]
  }

  filter {
    name   = "architecture"
    values = ["x86_64"]
  }

  filter {
    name   = "root-device-type"
    values = ["ebs"]
  }

  filter {
    name   = "virtualization-type"
    values = ["hvm"]
  }
}

resource "aws_instance" "web" {
  ami           = data.aws_ami.amazon_linux.id
  instance_type = var.instance_type

  tags = {
    Name        = "${var.project_name}-ec2"
    Project     = var.project_name
    Environment = "workshop"
    ManagedBy   = "Terraform"
  }
}
#outputs.tf
output "instance_id" {
  value = aws_instance.web.id
}

output "instance_public_ip" {
  value = aws_instance.web.public_ip
}

output "ami_id" {
  value = data.aws_ami.amazon_linux.id
}
#.gitignore
.terraform/
*.tfstate
*.tfstate.*
crash.log
*.tfvars
ในโครงการจริงโดยทั่วไปควร commit .terraform.lock.hcl เพื่อบันทึก provider selections
#Push ไป GitHub
git init
git add .
git commit -m "Initial HCP Terraform workshop"
git branch -M main
git remote add origin https://github.com/YOUR_USERNAME/hcp-terraform-aws.git
git push -u origin main
#สร้าง HCP Terraform Workspace
- Sign in ที่
https://app.terraform.io - สร้าง Organization เช่น
se-workshop - สร้าง Project เช่น
aws-workshop - New Workspace → Version Control Workflow
- เชื่อม GitHub
- เลือก repository
hcp-terraform-aws - ตั้งชื่อ Workspace
hcp-terraform-aws
Organization
└── Project: aws-workshop
    └── Workspace: hcp-terraform-aws
#Workspace Variables
เพิ่ม Terraform Variables:
aws_region    = ap-southeast-1
instance_type = t3.micro
project_name  = hcp-terraform-workshop
Terraform Variables เป็น input ของ Terraform configuration ส่วน Environment Variables ใช้กับ process/provider เช่น authentication
#AWS Authentication สำหรับ Lab
สามารถเพิ่ม Environment Variables:
AWS_ACCESS_KEY_ID
AWS_SECRET_ACCESS_KEY
กำหนด Secret เป็น Sensitive ใช้ IAM ที่มี Least Privilege และห้ามใช้ Root credentials
#Dynamic Provider Credentials สำหรับ Production
แนวทางที่ปลอดภัยกว่าคือ OIDC:
HCP Terraform → OIDC Token → AWS IAM Role → Temporary Credentials → Plan/Apply
ตัวแปรหลัก:
TFC_AWS_PROVIDER_AUTH=true
TFC_AWS_RUN_ROLE_ARN=arn:aws:iam::<ACCOUNT_ID>:role/<ROLE_NAME>
ต้องสร้าง OIDC Identity Provider, IAM Role, Trust Policy และ Permission Policy ใน AWS และควรจำกัด Trust Relationship ให้ตรงกับ Organization/Project/Workspace ที่ต้องการ
#Plan และ Apply
Fetch Configuration
        ↓
Terraform Init
        ↓
Terraform Plan
        ↓
Review
        ↓
Confirm & Apply
ตัวอย่าง:
Plan: 1 to add, 0 to change, 0 to destroy.
ตรวจ Plan ก่อน Confirm & Apply แล้วตรวจ EC2 และ Outputs ใน AWS/HCP Terraform
#ทดสอบ VCS-driven Workflow
เพิ่ม Tag ใน main.tf:
Course = "Infrastructure-as-Code"
จากนั้น:
git add .
git commit -m "Add EC2 course tag"
git push
HCP Terraform จะตรวจการเปลี่ยนแปลงและสร้าง Run ตาม VCS configuration
#Pull Request และ Speculative Plan
git checkout -b infrastructure-change
# แก้ Terraform configuration
git add .
git commit -m "Update infrastructure"
git push -u origin infrastructure-change
สร้าง PR จาก infrastructure-change ไป main
Pull Request → Speculative Plan → Review → Merge → Normal Run → Apply
Speculative Plan ใช้ตรวจผลกระทบของ configuration โดยไม่ Apply resource จาก PR นั้น
#Remote State
Developer A ─┐
Developer B ─┼──> HCP Terraform Workspace
CI/CD ───────┘          │
                        ├─ State
                        ├─ State Versions
                        └─ Runs
State ไม่ต้องกระจัดกระจายบนเครื่อง Developer และเชื่อมโยงกับ Workspace แต่ State อาจมีข้อมูลอ่อนไหว จึงต้องควบคุม permissions
#Destroy Infrastructure
หลังจบ Lab ให้ Destroy resource เพื่อป้องกันค่าใช้จ่าย ตรวจ Destroy Plan ก่อนยืนยัน เช่น:
Plan: 0 to add, 0 to change, 1 to destroy.
#Workspace Design
Organization
├── Project: development
│   ├── network-dev
│   ├── api-dev
│   └── database-dev
└── Project: production
    ├── network-prod
    ├── api-prod
    └── database-prod
การแยก Workspace ช่วยแยก State, Variables, Permissions, Runs และ Cloud Authentication ตามขอบเขตความรับผิดชอบ
#Security Best Practices
- ไม่เก็บ Secret ใน Git
- ใช้ Least Privilege
- แยก Production Workspace
- ใช้ Pull Request Review
- พิจารณา Dynamic Provider Credentials สำหรับ Production
- จำกัด OIDC Trust Policy
- ตรวจ Plan ก่อน Apply
- จำกัดผู้เข้าถึง Terraform State
Branch → Pull Request → Speculative Plan → Review → Merge → Plan → Approval → Apply
#Troubleshooting
#No valid credential sources found
ตรวจ Workspace Environment Variables, AWS credentials, OIDC configuration และ IAM Role ARN
#AccessDenied
ตรวจ IAM Policy, Role และ Resource scope
#No configuration files found
ตรวจ Repository, Branch, Terraform Working Directory และตำแหน่งไฟล์ .tf
#Push แล้วไม่มี Run
ตรวจ Workspace Settings → Version Control, repository, branch, VCS connection และ run triggers
#แบบฝึกหัด
#Exercise 1: Update Tag
เพิ่ม Owner = "student" แล้ว Push และตรวจ Plan
#Exercise 2: Variable
variable "environment" {
  type    = string
  default = "dev"
}
ใช้ Environment = var.environment และกำหนด Workspace Variable environment = dev
#Exercise 3: Pull Request
สร้าง Branch → เปลี่ยน Infrastructure → PR → Speculative Plan → Review → Merge
#Exercise 4: Workspace Architecture
ออกแบบ network-dev, application-dev, database-dev และอธิบาย resource ownership
#Exercise 5: Security
เปรียบเทียบ Static AWS Credentials กับ OIDC Dynamic Provider Credentials ด้าน Security, Rotation, Secret Management, Blast Radius และ Operational Overhead
#Challenge Lab
GitHub
   ↓
HCP Terraform
   ├── Workspace: network
   │      ├── VPC
   │      └── Subnet
   └── Workspace: compute
          ├── Security Group
          └── EC2
เป้าหมายคือฝึกแยก Terraform State และ Infrastructure ownership แทน Monolithic Workspace
#สรุป
Terraform Code → GitHub → HCP Terraform → AWS
                            ├─ Variables
                            ├─ Remote State
                            ├─ Plan
                            └─ Apply
สำหรับ Lab สามารถเริ่มจาก Static Credentials เพื่อเรียนรู้ workflow แต่ Production ควรพิจารณา OIDC Dynamic Provider Credentials, Least Privilege, Pull Request Review และ Workspace Isolation
#เอกสารอ้างอิง
- HCP Terraform Documentation: https://developer.hashicorp.com/terraform/cloud-docs
- Create Workspaces: https://developer.hashicorp.com/terraform/cloud-docs/workspaces/create
- VCS-driven Workflow: https://developer.hashicorp.com/terraform/tutorials/cloud-get-started/cloud-create-vcs-workspace
- UI/VCS Runs: https://developer.hashicorp.com/terraform/cloud-docs/workspaces/run/ui
- Dynamic Provider Credentials: https://developer.hashicorp.com/terraform/cloud-docs/dynamic-provider-credentials
- AWS Dynamic Credentials: https://developer.hashicorp.com/terraform/cloud-docs/dynamic-provider-credentials/aws-configuration
#แนวทางต่อยอด
- HCP Terraform + AWS VPC
- HCP Terraform + EKS
- HCP Terraform Multi-Cloud
- HCP Terraform + GitHub PR Workflow
- HCP Terraform + OIDC
- HCP Terraform + Vault
- HCP Terraform + Policy/Governance
- Dev / Staging / Production Workspace Design