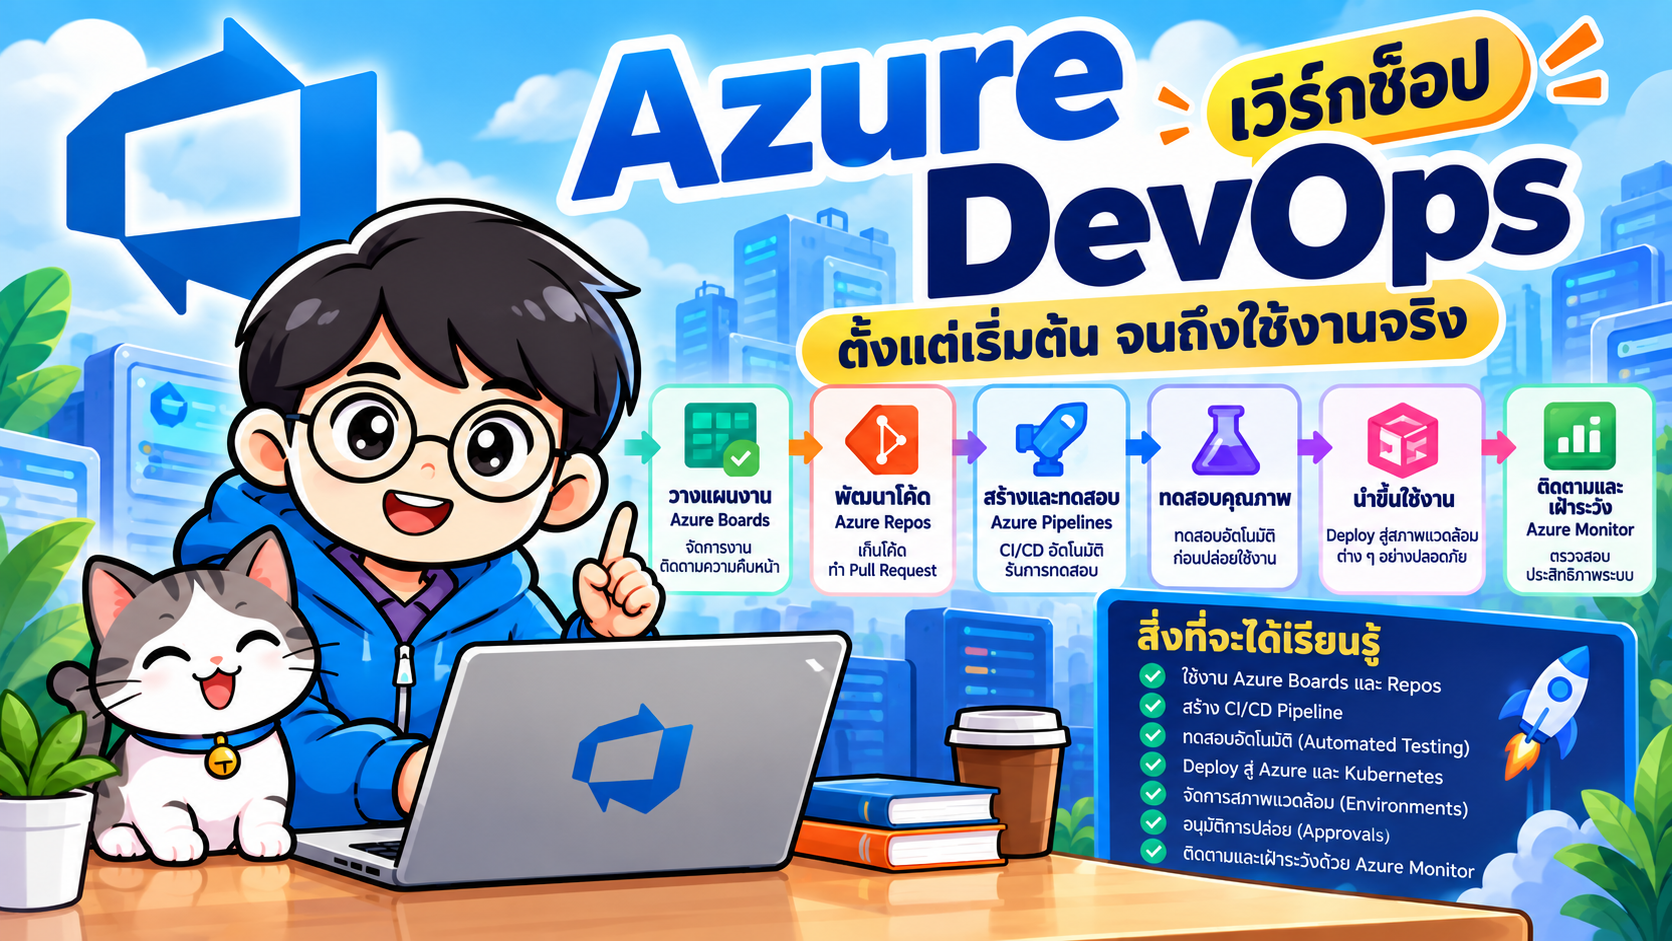
- วัตถุประสงค์
- 1. Azure DevOps คืออะไร
- 2. สิ่งที่ต้องเตรียม
- Lab 1: สร้าง Azure DevOps Project
- Lab 2: วางแผนงานด้วย Azure Boards
- Lab 3: สร้าง Repository
- Lab 4: Automated Test
- Lab 5: Branch Workflow
- Lab 6: สร้าง CI Pipeline
- Lab 7: Multi-stage Pipeline
- Lab 8: Variables และ Secrets
- Lab 9: Environment และ Approval
- Lab 10: Pipeline Agent
- Lab 11: เชื่อม Work Item กับ Development
- Lab 12: CI/CD Challenge
#วัตถุประสงค์
หลังจบ Workshop ผู้เรียนสามารถ:
- อธิบายองค์ประกอบหลักของ Azure DevOps ได้
- สร้าง Organization และ Project
- ใช้ Azure Boards จัดการ Work Item
- ใช้ Azure Repos จัดการ Git Repository
- ทำงานด้วย Branch และ Pull Request
- สร้าง Azure Pipeline ด้วย YAML
- ทำ Continuous Integration (CI)
- ออกแบบ Continuous Delivery/Deployment (CD)
- เข้าใจการใช้ Agent และ Environment
- เชื่อมโยงกระบวนการ Plan → Code → Build → Test → Deploy
#1. Azure DevOps คืออะไร
Azure DevOps เป็นแพลตฟอร์มสำหรับสนับสนุนวงจรการพัฒนาซอฟต์แวร์ โดยรวมเครื่องมือสำหรับการวางแผนงาน การจัดการ Source Code การ Build/Test การจัดการ Package และการ Deploy ไว้ในระบบเดียว
บริการหลักประกอบด้วย:
| Service | หน้าที่ |
|---|---|
| Azure Boards | Agile planning, backlog, sprint, work item |
| Azure Repos | Git repositories และ Pull Request |
| Azure Pipelines | CI/CD |
| Azure Test Plans | บริหารและติดตามการทดสอบ |
| Azure Artifacts | Package feeds เช่น npm, NuGet, Maven, Python |
ภาพรวม workflow:
Azure Boards
     |
     v
Azure Repos
     |
     v
Azure Pipelines
  |       |
 Build   Test
     |
     v
 Artifact
     |
     v
 Deploy
     |
     v
Environment
#2. สิ่งที่ต้องเตรียม
- Microsoft Account
- Azure DevOps Organization
- Git
- Visual Studio Code
- Node.js รุ่นที่ยังได้รับการสนับสนุน
- Browser
- Azure Subscription เฉพาะกรณีต้องการทดลอง Deploy ไป Azure
ตรวจสอบเครื่องมือ:
git --version
node --version
npm --version
#Lab 1: สร้าง Azure DevOps Project
เข้า Azure DevOps และสร้าง Organization หากยังไม่มี จากนั้นสร้าง Project ใหม่ เช่น:
Project name: azure-devops-workshop
Visibility: Private
Version control: Git
Work item process: Agile
Project จะเป็นขอบเขตหลักที่รวม Boards, Repos, Pipelines และบริการอื่นที่เกี่ยวข้อง
#Lab 2: วางแผนงานด้วย Azure Boards
ไปที่:
Boards → Work Items
สร้าง User Story:
Title: Create Health Check API
ตัวอย่าง Acceptance Criteria:
Given the API is running
When a client requests GET /health
Then the API returns HTTP 200
And response contains status=ok
จากนั้นสร้าง Task เช่น:
Create Node.js project
Implement /health endpoint
Create automated test
Create CI pipeline
ทดลองใช้:
Boards → Boards
Boards → Backlogs
Boards → Sprints
แนวคิดสำคัญคือทำให้ Requirement สามารถ trace ไปยัง Code, Commit, Pull Request และ Build ได้
#Lab 3: สร้าง Repository
ไปที่:
Repos → Files
Clone repository:
git clone <YOUR-AZURE-REPOS-URL>
cd azure-devops-workshop
สร้างโปรเจกต์:
npm init -y
npm install express
npm install --save-dev supertest
สร้าง src/app.js:
const express = require("express");

const app = express();

app.get("/", (req, res) => {
  res.json({
    message: "Azure DevOps Workshop"
  });
});

app.get("/health", (req, res) => {
  res.json({
    status: "ok"
  });
});

module.exports = app;
สร้าง src/server.js:
const app = require("./app");

const port = process.env.PORT || 3000;

app.listen(port, () => {
  console.log(`Server running on port ${port}`);
});
เพิ่ม scripts ใน package.json:
{
  "scripts": {
    "start": "node src/server.js",
    "test": "node --test"
  }
}
#Lab 4: Automated Test
สร้าง test/app.test.js:
const test = require("node:test");
const assert = require("node:assert/strict");
const request = require("supertest");
const app = require("../src/app");

test("GET /health returns status ok", async () => {
  const response = await request(app).get("/health");

  assert.equal(response.statusCode, 200);
  assert.equal(response.body.status, "ok");
});
ทดสอบ:
npm test
Commit:
git add .
git commit -m "feat: add health check API"
git push
#Lab 5: Branch Workflow
สร้าง Feature Branch:
git checkout -b feature/health-api
หลังแก้ไข:
git add .
git commit -m "feat: implement health endpoint"
git push -u origin feature/health-api
จาก Azure Repos ให้สร้าง Pull Request:
feature/health-api
        |
        v
Pull Request
        |
        v
Review + Validation
        |
        v
main
ในระบบจริงควรกำหนด Branch Policy ให้ main เช่น:
- Require reviewer
- Require successful build validation
- จำกัด direct push ตาม governance ของทีม
#Lab 6: สร้าง CI Pipeline
สร้างไฟล์ azure-pipelines.yml ที่ root ของ repository:
trigger:
  branches:
    include:
      - main

pr:
  branches:
    include:
      - main

pool:
  vmImage: ubuntu-latest

steps:
  - checkout: self

  - task: NodeTool@0
    inputs:
      versionSpec: '22.x'
    displayName: Install Node.js

  - script: npm ci
    displayName: Install dependencies

  - script: npm test
    displayName: Run tests
จากนั้นไปที่:
Pipelines → New Pipeline
เลือก Azure Repos Git → Repository → Existing Azure Pipelines YAML file
เมื่อมี commit หรือ PR ตาม trigger ระบบจะเริ่ม Pipeline อัตโนมัติ
#Lab 7: Multi-stage Pipeline
ปรับ pipeline ให้แยก Build/Test/Deploy:
trigger:
  branches:
    include:
      - main

pool:
  vmImage: ubuntu-latest

stages:

- stage: Build
  jobs:
  - job: BuildApplication
    steps:
    - task: NodeTool@0
      inputs:
        versionSpec: '22.x'

    - script: npm ci
      displayName: Install dependencies

    - script: npm test
      displayName: Run tests

    - task: ArchiveFiles@2
      inputs:
        rootFolderOrFile: '$(Build.SourcesDirectory)'
        includeRootFolder: false
        archiveType: zip
        archiveFile: '$(Build.ArtifactStagingDirectory)/app.zip'

    - publish: '$(Build.ArtifactStagingDirectory)/app.zip'
      artifact: app

- stage: Deploy_Dev
  dependsOn: Build
  condition: succeeded()
  jobs:
  - deployment: Deploy
    environment: development
    strategy:
      runOnce:
        deploy:
          steps:
          - download: current
            artifact: app

          - script: |
              echo "Deploying application to Development"
              ls -la $(Pipeline.Workspace)/app
            displayName: Deploy application
โครงสร้าง:
Commit
   |
   v
+---------+
|  Build  |
+---------+
   |
   v
+---------+
|  Test   |
+---------+
   |
   v
 Artifact
   |
   v
+-------------+
| Deploy Dev  |
+-------------+
ขั้น Deploy ด้านบนเป็น simulation เพื่อให้ Workshop รันได้โดยไม่จำเป็นต้องมี Azure Subscription ก่อน
#Lab 8: Variables และ Secrets
ตัวแปรทั่วไปสามารถกำหนดใน YAML:
variables:
  nodeVersion: '22.x'
  environmentName: 'development'
เรียกใช้:
- task: NodeTool@0
  inputs:
    versionSpec: '$(nodeVersion)'
ข้อมูลสำคัญ เช่น Password, Token และ API Key ไม่ควร hard-code ลง Git ให้เก็บเป็น secret variable, variable group หรือ secret store ที่เหมาะสม
#Lab 9: Environment และ Approval
สร้าง Environment:
Pipelines
→ Environments
→ New environment
ตัวอย่าง:
development
staging
production
Production pipeline สามารถออกแบบเป็น:
Build
  |
Test
  |
Deploy Dev
  |
Deploy Staging
  |
Approval / Check
  |
Deploy Production
ใช้ Approvals and Checks เพื่อเพิ่ม governance ก่อน deployment ไป environment สำคัญ
#Lab 10: Pipeline Agent
Agent คือ compute infrastructure ที่ทำงานของ Pipeline
แนวทางหลัก:
Azure Pipelines
      |
      +---- Microsoft-hosted Agent
      |
      +---- Self-hosted Agent
Microsoft-hosted agent เหมาะสำหรับ Workshop และ workload ทั่วไป เพราะระบบจัดการ VM image และ maintenance ให้
Self-hosted agent เหมาะเมื่อจำเป็นต้อง:
- เข้าถึง private network
- ใช้เครื่องมือเฉพาะ
- ควบคุม environment
- เชื่อมระบบ on-premises
#Lab 11: เชื่อม Work Item กับ Development
Workflow ที่ควรทดลอง:
User Story
    |
    v
Task
    |
    v
Feature Branch
    |
    v
Commit
    |
    v
Pull Request
    |
    v
Pipeline
    |
    v
Deployment
เป้าหมายคือ Traceability ตั้งแต่ requirement ไปจนถึง deployment
#Lab 12: CI/CD Challenge
ให้ผู้เรียนพัฒนา endpoint:
GET /api/version
Response:
{
  "version": "1.0.0"
}
เงื่อนไข:
- สร้าง Work Item
- สร้าง Feature Branch
- Implement API
- เขียน Automated Test
- Push code
- เปิด Pull Request
- ให้ Pipeline ตรวจสอบ
- Merge เข้า
main - ให้ CI/CD Pipeline ทำงาน
- ตรวจสอบ Pipeline run และ artifact
#Azure DevOps กับ DevOps Lifecycle
| Lifecycle | Azure DevOps |
|---|---|
| Plan | Azure Boards |
| Code | Azure Repos |
| Build | Azure Pipelines |
| Test | Pipelines / Test Plans |
| Package | Azure Artifacts / Pipeline Artifacts |
| Release | Azure Pipelines |
| Track | Boards / Dashboards |
#Best Practices
- เก็บ Pipeline เป็น YAML ใน Git
- ใช้ Pull Request แทน direct push เข้า
main - ทำ automated tests ใน CI
- เปิด Branch Policy
- แยก Development, Staging และ Production
- เก็บ Secrets ออกจาก Source Code
- ใช้ Least Privilege กับ Service Connections
- ให้ Production มี approval/check ตามระดับความเสี่ยง
- ทำ pipeline ให้ reproducible
- เชื่อม Work Item กับ Commit และ Pull Request เพื่อ Traceability
#Architecture สำหรับ Workshop
flowchart LR
    A[Azure Boards] --> B[Azure Repos]
    B --> C[Pull Request]
    C --> D[Azure Pipelines]
    D --> E[Build]
    E --> F[Test]
    F --> G[Artifact]
    G --> H[Development]
    H --> I[Staging]
    I --> J{Approval}
    J --> K[Production]
#สรุป
Azure DevOps ไม่ได้มีเพียง CI/CD แต่ครอบคลุมวงจรการพัฒนาซอฟต์แวร์ตั้งแต่การวางแผน จัดการ Source Code ตรวจสอบคุณภาพ สร้าง Artifact และ Deploy ระบบ
สำหรับผู้เริ่มต้น ลำดับการฝึกที่แนะนำคือ:
Azure Boards
   ↓
Azure Repos
   ↓
Git + Pull Request
   ↓
Azure Pipelines
   ↓
Automated Test
   ↓
Artifact
   ↓
Environment
   ↓
Deployment
เมื่อเข้าใจ workflow นี้แล้ว สามารถต่อยอดไปยัง Docker, Azure Container Registry, Azure App Service, Azure Container Apps, Kubernetes/AKS, Infrastructure as Code และ DevSecOps ได้