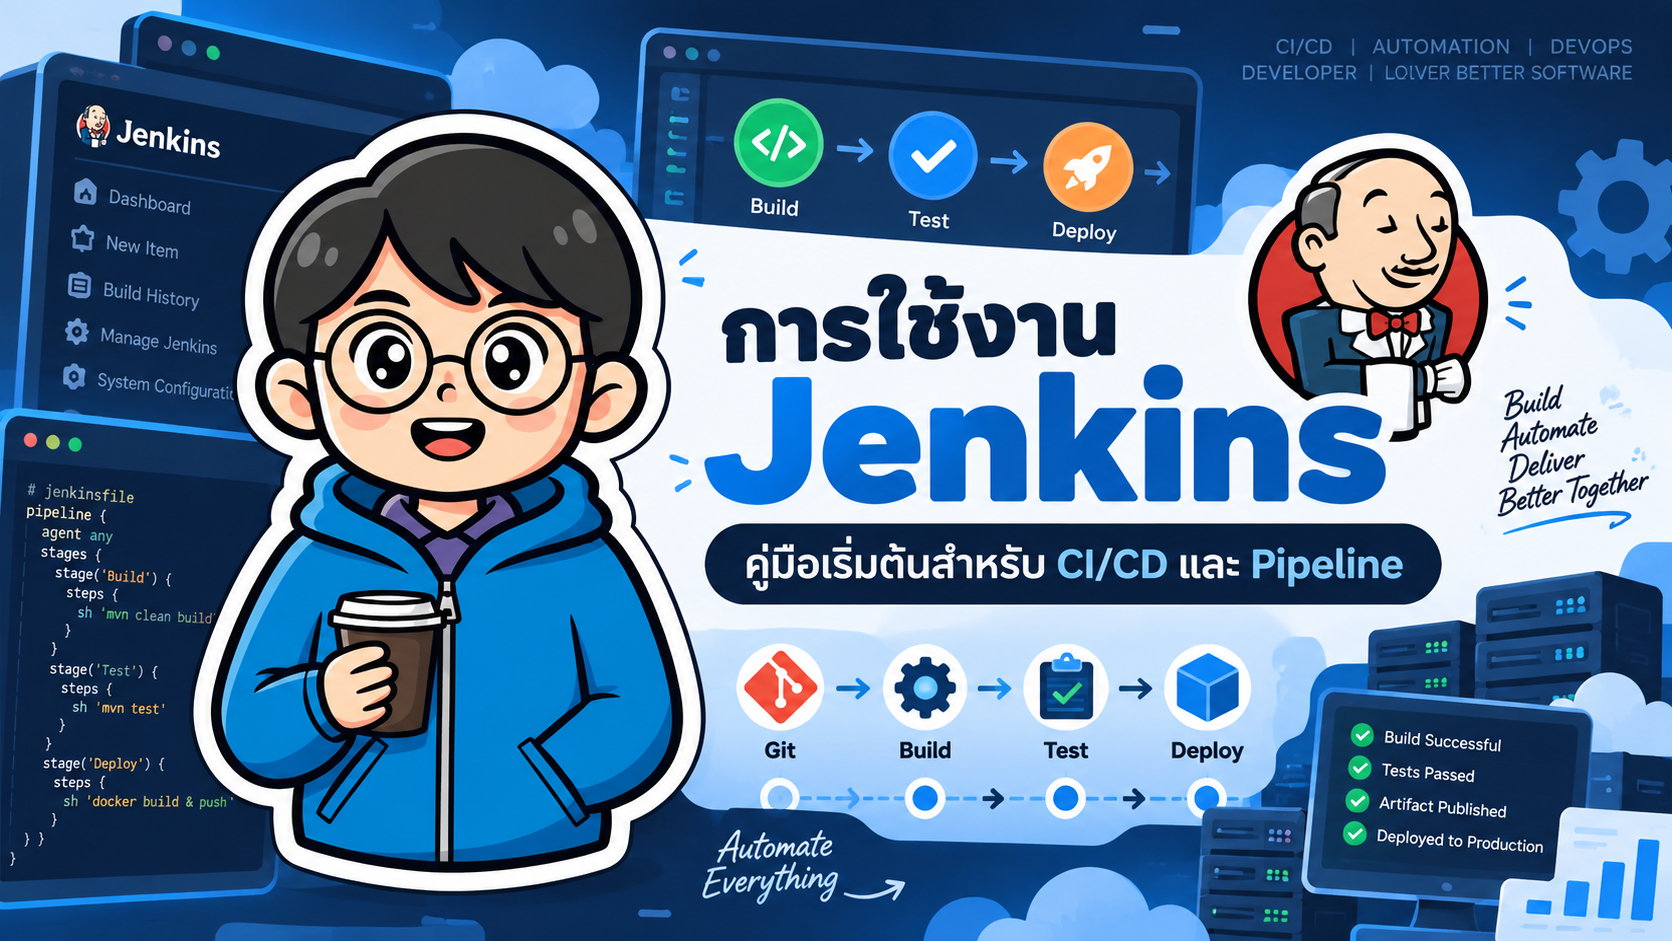
- การใช้งาน Jenkins สำหรับ CI/CD ตั้งแต่เริ่มต้นจนสร้าง Pipeline
- องค์ประกอบสำคัญของ Jenkins
- การติดตั้ง Jenkins ด้วย Docker Compose
- ดู Initial Admin Password
- Jenkins Dashboard
- สร้าง Jenkins Pipeline แรก
- โครงสร้าง Declarative Pipeline
- Jenkinsfile คืออะไร
- การเชื่อม Jenkins กับ GitHub
- การใช้ GitHub Webhook
- Jenkins Pipeline สำหรับ Node.js
- Jenkins Pipeline สำหรับ Laravel
- Jenkins Pipeline สำหรับ Spring Boot
- Jenkins Pipeline สำหรับ Go
- การใช้ Environment Variables
- Jenkins Credentials
- Pipeline Parameters
- Deploy เฉพาะ Branch main
- Parallel Testing
- การใช้ post
- เก็บ Build Artifact
- แสดง JUnit Test Report
- Jenkins กับ Automated Testing
- Jenkins กับ Docker
- ตัวอย่าง CI/CD Pipeline แบบครบขั้นตอน
- CI/CD Workflow
- Jenkins กับเครื่องมือ DevOps
- Best Practices สำหรับ Jenkins
- Jenkins เหมาะกับงานแบบไหน
- Jenkins เทียบกับ GitHub Actions แบบสั้น ๆ
- สรุป
#การใช้งาน Jenkins สำหรับ CI/CD ตั้งแต่เริ่มต้นจนสร้าง Pipeline
Jenkins เป็นเครื่องมือ Automation Server แบบ Open Source ที่ได้รับความนิยมอย่างมากในงาน DevOps โดยเฉพาะการสร้างกระบวนการ Continuous Integration (CI) และ Continuous Delivery / Continuous Deployment (CD)
แนวคิดสำคัญคือเปลี่ยนขั้นตอนที่นักพัฒนาต้องทำซ้ำ เช่น
- ดึง Source Code
- ติดตั้ง Dependency
- รัน Unit Test
- รัน API Test
- Build Application
- สร้าง Docker Image
- Deploy ขึ้น Server
- ส่ง Notification
ให้กลายเป็น Pipeline ที่ทำงานอัตโนมัติ
Developer
    |
    v
Git Push
    |
    v
GitHub / GitLab
    |
    v
Jenkins
    |
    +--> Checkout
    |
    +--> Install
    |
    +--> Test
    |
    +--> Build
    |
    +--> Deploy
บทความนี้จะพาเริ่มต้นใช้งาน Jenkins ตั้งแต่การติดตั้ง ไปจนถึงการสร้าง CI/CD Pipeline ด้วย Jenkinsfile
#Jenkins คืออะไร
Jenkins คือ Automation Server ที่สามารถใช้ควบคุมกระบวนการ Build, Test และ Deploy Software ได้
ตัวอย่างงานที่ Jenkins สามารถทำได้ ได้แก่
- Build Application
- Unit Testing
- API Testing
- End-to-End Testing
- Static Code Analysis
- สร้าง Artifact
- Build Docker Image
- Push Docker Image ไป Registry
- Deploy ไปยัง Server
- Deploy Kubernetes
- ส่ง Notification เมื่อ Pipeline สำเร็จหรือล้มเหลว
ตัวอย่าง Flow:
GitHub
   |
   | Push
   v
Jenkins Pipeline
   |
   +-- Build
   |
   +-- Test
   |
   +-- Package
   |
   +-- Deploy
   v
Production
#องค์ประกอบสำคัญของ Jenkins
#1. Jenkins Controller
Controller เป็นส่วนหลักที่ทำหน้าที่
- จัดการ Jenkins
- เก็บ Configuration
- จัดคิว Build
- จัดการ Pipeline
- จัดการ Plugin
- แจกงานให้ Agent
#2. Jenkins Agent
Agent คือเครื่องที่ Jenkins ใช้รัน Build หรือ Test จริง
ตัวอย่าง:
Jenkins Controller
      |
      +------ Linux Agent
      |
      +------ Windows Agent
      |
      +------ Docker Agent
      |
      +------ Kubernetes Agent
การแยก Agent ช่วยให้ Jenkins รองรับหลาย Environment และ Scale งานได้ดีขึ้น
#3. Job
Job คือหน่วยงานที่ Jenkins ใช้สำหรับรัน Automation
ตัวอย่าง:
frontend-build
backend-test
api-test
deploy-production
#4. Pipeline
Pipeline คือชุดขั้นตอนของกระบวนการ CI/CD
Build
  |
  v
Test
  |
  v
Package
  |
  v
Deploy
#5. Stage
Stage คือขั้นตอนหลักของ Pipeline
ตัวอย่าง:
stage('Build')
stage('Test')
stage('Deploy')
#6. Step
Step คือคำสั่งที่ทำงานอยู่ภายใน Stage
ตัวอย่าง:
sh 'npm ci'
sh 'npm test'
sh 'npm run build'
#การติดตั้ง Jenkins ด้วย Docker Compose
วิธีที่สะดวกสำหรับการทดลอง Jenkins คือการรันด้วย Docker
สร้างไฟล์
compose.yaml
แล้วใส่ Configuration ดังนี้
services:

  jenkins:
    image: jenkins/jenkins:lts-jdk21
    container_name: jenkins
    restart: unless-stopped

    ports:
      - "8080:8080"
      - "50000:50000"

    volumes:
      - jenkins_home:/var/jenkins_home

volumes:
  jenkins_home:
เริ่ม Jenkins
docker compose up -d
ตรวจสอบสถานะ
docker compose ps
เปิด Browser
http://localhost:8080
#ดู Initial Admin Password
ในการเปิด Jenkins ครั้งแรก ระบบจะให้กรอก Initial Admin Password
ใช้คำสั่ง
docker exec jenkins \
cat /var/jenkins_home/secrets/initialAdminPassword
นำ Password ที่ได้ไปกรอกในหน้า
Unlock Jenkins
จากนั้นเลือก
Install suggested plugins
และสร้างบัญชี Administrator
#Jenkins Dashboard
หลังจากติดตั้งเสร็จจะพบ Jenkins Dashboard
เมนูที่ใช้บ่อย ได้แก่
| เมนู | หน้าที่ |
|---|---|
| New Item | สร้าง Job |
| Build History | ดูประวัติ Build |
| Manage Jenkins | ตั้งค่า Jenkins |
| Credentials | จัดการ Secret / Token |
| Plugins | ติดตั้ง Plugin |
| Nodes | จัดการ Agent |
#สร้าง Jenkins Pipeline แรก
เลือก
New Item
ตั้งชื่อ
hello-pipeline
เลือกประเภท
Pipeline
จากนั้นเพิ่ม Pipeline Script
pipeline {

    agent any

    stages {

        stage('Hello') {

            steps {

                echo 'Hello Jenkins'

            }

        }

    }

}
กด
Build Now
หากสำเร็จ Console Output จะแสดง
Hello Jenkins
#โครงสร้าง Declarative Pipeline
Jenkins Pipeline สามารถเขียนได้หลายรูปแบบ แต่สำหรับผู้เริ่มต้นแนะนำ Declarative Pipeline
ตัวอย่าง:
pipeline {

    agent any

    stages {

        stage('Build') {

            steps {

                echo 'Building...'

            }

        }

        stage('Test') {

            steps {

                echo 'Testing...'

            }

        }

        stage('Deploy') {

            steps {

                echo 'Deploying...'

            }

        }

    }

}
โครงสร้างหลักประกอบด้วย
pipeline
 ├── agent
 └── stages
      ├── stage
      │    └── steps
      ├── stage
      │    └── steps
      └── stage
           └── steps
#Jenkinsfile คืออะไร
แนวทางที่แนะนำคือไม่เขียน Pipeline ไว้เฉพาะใน Jenkins UI แต่ควรสร้างไฟล์ชื่อ
Jenkinsfile
แล้วเก็บไว้ใน Git Repository
ตัวอย่างโครงสร้าง Project
my-project/
│
├── src/
├── package.json
├── Dockerfile
└── Jenkinsfile
ตัวอย่าง Jenkinsfile
pipeline {

    agent any

    stages {

        stage('Checkout') {

            steps {

                checkout scm

            }

        }

        stage('Install') {

            steps {

                sh 'npm ci'

            }

        }

        stage('Test') {

            steps {

                sh 'npm test'

            }

        }

        stage('Build') {

            steps {

                sh 'npm run build'

            }

        }

    }

}
แนวคิดนี้เรียกว่า
Pipeline as Code
ข้อดีคือ
- Pipeline อยู่ใน Version Control
- Review ผ่าน Pull Request ได้
- เปลี่ยน Pipeline พร้อม Source Code ได้
- Rollback ได้
- ทำซ้ำได้
- เหมาะกับ DevOps Workflow
#การเชื่อม Jenkins กับ GitHub
สมมติ Repository คือ
https://github.com/example/my-project
ใน Jenkins ให้สร้าง Pipeline แล้วตั้งค่า
Pipeline Definition
        |
        v
Pipeline script from SCM
เลือก
SCM = Git
Repository URL:
https://github.com/example/my-project.git
Branch:
*/main
Script Path:
Jenkinsfile
เมื่อ Build Jenkins จะ
Clone Repository
      |
      v
Read Jenkinsfile
      |
      v
Run Pipeline
#การใช้ GitHub Webhook
หากต้องการให้ Jenkins ทำงานอัตโนมัติเมื่อ Developer Push Code สามารถใช้ GitHub Webhook
Flow:
Developer
    |
    | git push
    v
GitHub
    |
    | Webhook
    v
Jenkins
    |
    v
Pipeline
ใน GitHub Repository ไปที่
Settings
    |
    v
Webhooks
    |
    v
Add webhook
ตัวอย่าง Payload URL:
https://jenkins.example.com/github-webhook/
จากนั้นกำหนด Trigger ใน Jenkins ให้เหมาะกับ Job ที่ใช้งาน
หาก Jenkins อยู่ที่
localhostGitHub จะเรียก Webhook ไม่ได้โดยตรง ต้องใช้ Server ที่เข้าถึงจาก Internet, Reverse Proxy หรือ Tunnel สำหรับ Environment ที่ใช้ทดลอง
#Jenkins Pipeline สำหรับ Node.js
ตัวอย่าง Pipeline:
pipeline {

    agent any

    stages {

        stage('Checkout') {

            steps {

                checkout scm

            }

        }

        stage('Install Dependencies') {

            steps {

                sh 'npm ci'

            }

        }

        stage('Test') {

            steps {

                sh 'npm test'

            }

        }

        stage('Build') {

            steps {

                sh 'npm run build'

            }

        }

    }

}
Flow:
Checkout
   |
   v
npm ci
   |
   v
npm test
   |
   v
npm run build
#Jenkins Pipeline สำหรับ Laravel
ตัวอย่าง:
pipeline {

    agent any

    stages {

        stage('Checkout') {

            steps {

                checkout scm

            }

        }

        stage('Install Dependencies') {

            steps {

                sh 'composer install --no-interaction --prefer-dist'

            }

        }

        stage('Prepare Environment') {

            steps {

                sh 'cp .env.example .env'
                sh 'php artisan key:generate'

            }

        }

        stage('Test') {

            steps {

                sh 'php artisan test'

            }

        }

    }

}
#Jenkins Pipeline สำหรับ Spring Boot
ตัวอย่าง Maven:
pipeline {

    agent any

    stages {

        stage('Checkout') {

            steps {

                checkout scm

            }

        }

        stage('Test') {

            steps {

                sh './mvnw test'

            }

        }

        stage('Package') {

            steps {

                sh './mvnw clean package'

            }

        }

    }

}
#Jenkins Pipeline สำหรับ Go
pipeline {

    agent any

    stages {

        stage('Test') {

            steps {

                sh 'go test ./...'

            }

        }

        stage('Build') {

            steps {

                sh 'go build -o app'

            }

        }

    }

}
#การใช้ Environment Variables
สามารถกำหนด Environment Variable ใน Pipeline ได้
pipeline {

    agent any

    environment {

        APP_NAME = 'myapp'
        APP_ENV  = 'production'

    }

    stages {

        stage('Environment') {

            steps {

                sh 'echo $APP_NAME'
                sh 'echo $APP_ENV'

            }

        }

    }

}
#Jenkins Credentials
ข้อมูลสำคัญ เช่น Password หรือ Token ไม่ควรเขียนลง Jenkinsfile โดยตรง
ตัวอย่างที่ไม่ควรทำ:
environment {

    PASSWORD = '123456'

}
ควรเก็บไว้ใน Jenkins Credentials
ไปที่
Manage Jenkins
      |
      v
Credentials
Jenkins รองรับ Credential หลายประเภท เช่น
Username / Password
Secret Text
SSH Private Key
Certificate
ตัวอย่างเรียก Credential
pipeline {

    agent any

    environment {

        GITHUB_TOKEN = credentials('github-token')

    }

    stages {

        stage('Build') {

            steps {

                echo 'Credential configured'

            }

        }

    }

}
#Pipeline Parameters
สามารถสร้าง Parameter ให้ผู้ใช้เลือกตอน Build ได้
pipeline {

    agent any

    parameters {

        choice(
            name: 'ENV',
            choices: ['dev', 'staging', 'production'],
            description: 'Deployment Environment'
        )

    }

    stages {

        stage('Deploy') {

            steps {

                echo "Deploy to ${params.ENV}"

            }

        }

    }

}
เมื่อเริ่ม Build จะสามารถเลือก
dev
staging
production
#Deploy เฉพาะ Branch main
สามารถใช้ when กำหนดเงื่อนไขให้ Stage ทำงานเฉพาะบาง Branch ได้
stage('Deploy') {

    when {

        branch 'main'

    }

    steps {

        echo 'Deploy Production'

    }

}
Flow:
Feature Branch
      |
      +--> Build
      |
      +--> Test


Main Branch
      |
      +--> Build
      |
      +--> Test
      |
      +--> Deploy
#Parallel Testing
Jenkins สามารถรัน Test หลายชุดพร้อมกันได้
stage('Test') {

    parallel {

        stage('Unit Test') {

            steps {

                sh 'npm run test:unit'

            }

        }

        stage('API Test') {

            steps {

                sh 'npm run test:api'

            }

        }

        stage('E2E Test') {

            steps {

                sh 'npm run test:e2e'

            }

        }

    }

}
แนวทางนี้ช่วยลด Pipeline Execution Time หาก Test แต่ละชุดไม่ขึ้นต่อกัน
#การใช้ post
post ใช้กำหนดคำสั่งหลัง Pipeline ทำงานเสร็จ
post {

    success {

        echo 'Pipeline Success'

    }

    failure {

        echo 'Pipeline Failed'

    }

    always {

        echo 'Pipeline Finished'

    }

}
สามารถนำไปใช้กับ
Email Notification
Slack Notification
Publish Report
Clean Workspace
#เก็บ Build Artifact
หากมี Output จาก Build สามารถเก็บไว้ใน Jenkins
stage('Build') {

    steps {

        sh 'npm run build'

        archiveArtifacts artifacts: 'dist/**'

    }

}
ตัวอย่าง Artifact:
.jar
.war
.zip
binary
frontend build
test report
#แสดง JUnit Test Report
หาก Test Framework สามารถ Export ผลลัพธ์เป็น JUnit XML ได้ Jenkins สามารถอ่านและแสดงผลได้
post {

    always {

        junit 'reports/*.xml'

    }

}
จากนั้น Jenkins สามารถแสดงข้อมูล เช่น
Tests
Passed
Failed
Skipped
Trend
#Jenkins กับ Automated Testing
Jenkins เหมาะสำหรับใช้เป็น Automation Server ของกระบวนการ Software Testing
ตัวอย่าง:
Commit Code
    |
    v
Unit Test
    |
    v
API Test
    |
    v
E2E Test
    |
    v
Load Test
ตัวอย่างเครื่องมือที่นำมาใช้ร่วมกับ Jenkins:
| ประเภท | เครื่องมือ |
|---|---|
| Unit Test | Jest, Vitest, JUnit, pytest |
| API Test | Postman, Newman, Playwright |
| E2E Test | Playwright, Selenium |
| Automation | Robot Framework |
| Load Test | k6, JMeter |
| Code Quality | SonarQube |
#Jenkins กับ Docker
Jenkins สามารถสั่งสร้าง Docker Image ได้
ตัวอย่าง:
stage('Build Docker Image') {

    steps {

        sh 'docker build -t myapp:latest .'

    }

}
Flow:
Jenkins
   |
   v
docker build
   |
   v
Docker Image
   |
   v
Container Registry
Jenkins Agent ต้องสามารถเข้าถึง Docker Runtime ได้ก่อน
การ Mount Docker Socket เช่น
/var/run/docker.sockให้ Jenkins มีผลด้าน Security สูง เนื่องจาก Pipeline อาจควบคุม Docker Host ได้ จึงควรออกแบบสิทธิ์และ Infrastructure อย่างรอบคอบ
#ตัวอย่าง CI/CD Pipeline แบบครบขั้นตอน
ตัวอย่าง Jenkinsfile สำหรับ Web Application:
pipeline {

    agent any

    environment {

        APP_NAME = 'myapp'

    }

    stages {

        stage('Checkout') {

            steps {

                checkout scm

            }

        }

        stage('Install') {

            steps {

                sh 'npm ci'

            }

        }

        stage('Lint') {

            steps {

                sh 'npm run lint'

            }

        }

        stage('Test') {

            steps {

                sh 'npm test'

            }

        }

        stage('Build') {

            steps {

                sh 'npm run build'

            }

        }

        stage('Deploy') {

            when {

                branch 'main'

            }

            steps {

                echo 'Deploy application'

            }

        }

    }

    post {

        success {

            echo 'Pipeline Success'

        }

        failure {

            echo 'Pipeline Failed'

        }

        always {

            echo 'Pipeline Finished'

        }

    }

}
#CI/CD Workflow
ภาพรวมการทำงาน:
Developer
    |
    v
Git Push
    |
    v
GitHub
    |
    v
Jenkins
    |
    +------ Checkout
    |
    +------ Install
    |
    +------ Lint
    |
    +------ Unit Test
    |
    +------ API Test
    |
    +------ Build
    |
    +------ Docker Build
    |
    +------ Deploy
    |
    v
Application
#Jenkins กับเครื่องมือ DevOps
Jenkins สามารถ Integrate กับเครื่องมือต่าง ๆ ได้จำนวนมาก เช่น
GitHub
GitLab
Bitbucket
Docker
Kubernetes
SonarQube
Maven
Gradle
npm
Playwright
Robot Framework
JMeter
k6
Terraform
Ansible
AWS
Azure
Google Cloud
ตัวอย่าง Architecture:
Developer
    |
    v
GitHub
    |
    v
Jenkins
    |
    +------ SonarQube
    |
    +------ Unit Test
    |
    +------ API Test
    |
    +------ Playwright
    |
    +------ Docker Build
    |
    +------ Container Registry
    |
    +------ Kubernetes
#Best Practices สำหรับ Jenkins
#ใช้ Jenkinsfile
ควรเก็บ Pipeline ไว้ใน Git
Jenkinsfile
เพื่อให้ Pipeline สามารถ Version Control และ Review ได้
#แยก Stage ให้ชัดเจน
ตัวอย่าง:
Checkout
Install
Lint
Test
Build
Package
Deploy
ช่วยให้ Debug ปัญหาได้ง่าย
#ห้ามเก็บ Secret ใน Repository
ข้อมูลสำคัญ เช่น
Password
API Token
SSH Key
Cloud Credential
Registry Credential
ควรเก็บด้วย Jenkins Credentials หรือ Secret Management System ที่เหมาะสม
#แยก Controller และ Agent
สำหรับ Production Environment ควรใช้ Agent สำหรับ Build Workload
Controller
    |
    +--- Agent 1
    |
    +--- Agent 2
    |
    +--- Agent 3
#ใช้ Least Privilege
กำหนดสิทธิ์เท่าที่จำเป็น เช่น
Read Job
Run Job
Configure Job
Manage Credentials
Deploy Production
Manage Jenkins
#Backup Jenkins Home
ข้อมูลสำคัญของ Jenkins อยู่ใน
JENKINS_HOME
หากรันด้วย Docker Volume:
jenkins_home
ควรมี Backup Policy อย่างสม่ำเสมอ
#อัปเดต Jenkins และ Plugin
ควรตรวจสอบและอัปเดต Jenkins รวมถึง Plugin อย่างสม่ำเสมอ โดยควรทดสอบใน Environment ที่ไม่ใช่ Production ก่อน
#Jenkins เหมาะกับงานแบบไหน
Jenkins เหมาะสำหรับงาน เช่น
CI/CD
Automated Testing
Build Automation
Release Automation
Deployment Automation
Scheduled Jobs
Infrastructure Automation
DevOps Pipeline
จุดเด่นของ Jenkins คือสามารถปรับแต่ง Workflow ได้สูง และมี Ecosystem ของ Plugin จำนวนมาก
#Jenkins เทียบกับ GitHub Actions แบบสั้น ๆ
| Jenkins | GitHub Actions |
|---|---|
| ต้องดูแล Server เองเป็นส่วนใหญ่ | Integrate กับ GitHub โดยตรง |
| ปรับแต่ง Infrastructure ได้สูง | เริ่มใช้งานง่าย |
| Plugin Ecosystem ขนาดใหญ่ | Marketplace มี Action จำนวนมาก |
| เหมาะกับ On-Premise | เหมาะกับ GitHub Workflow |
| เหมาะกับ Custom Enterprise CI/CD | เหมาะกับ Cloud-native Workflow |
หากองค์กรต้องการควบคุม Infrastructure เอง Jenkins ยังเป็นตัวเลือกที่มีความยืดหยุ่นสูง
#สรุป
Jenkins เป็น Automation Server ที่สามารถนำมาใช้ควบคุมกระบวนการ Software Delivery ตั้งแต่
Code
 ↓
Build
 ↓
Test
 ↓
Package
 ↓
Deploy
แนวทางที่เหมาะสมสำหรับการเริ่มต้นคือ
Git Repository
      +
Jenkinsfile
      +
Jenkins Pipeline
      +
Credentials
      +
Agent
เมื่อ Developer Push Code ระบบ CI/CD สามารถทำงานแบบอัตโนมัติ
Push
 ↓
Build
 ↓
Test
 ↓
Deploy
ช่วยลดขั้นตอน Manual ลด Human Error ทำให้การทดสอบสม่ำเสมอ และช่วยให้ทีมพัฒนาส่งมอบ Software ได้รวดเร็วขึ้น
#แหล่งเรียนรู้เพิ่มเติม
- Jenkins Documentation: https://www.jenkins.io/doc/
- Jenkins Pipeline: https://www.jenkins.io/doc/book/pipeline/
- Pipeline Syntax: https://www.jenkins.io/doc/book/pipeline/syntax/
- Jenkins Docker Installation: https://www.jenkins.io/doc/book/installing/docker/
- Docker with Jenkins Pipeline: https://www.jenkins.io/doc/book/pipeline/docker/