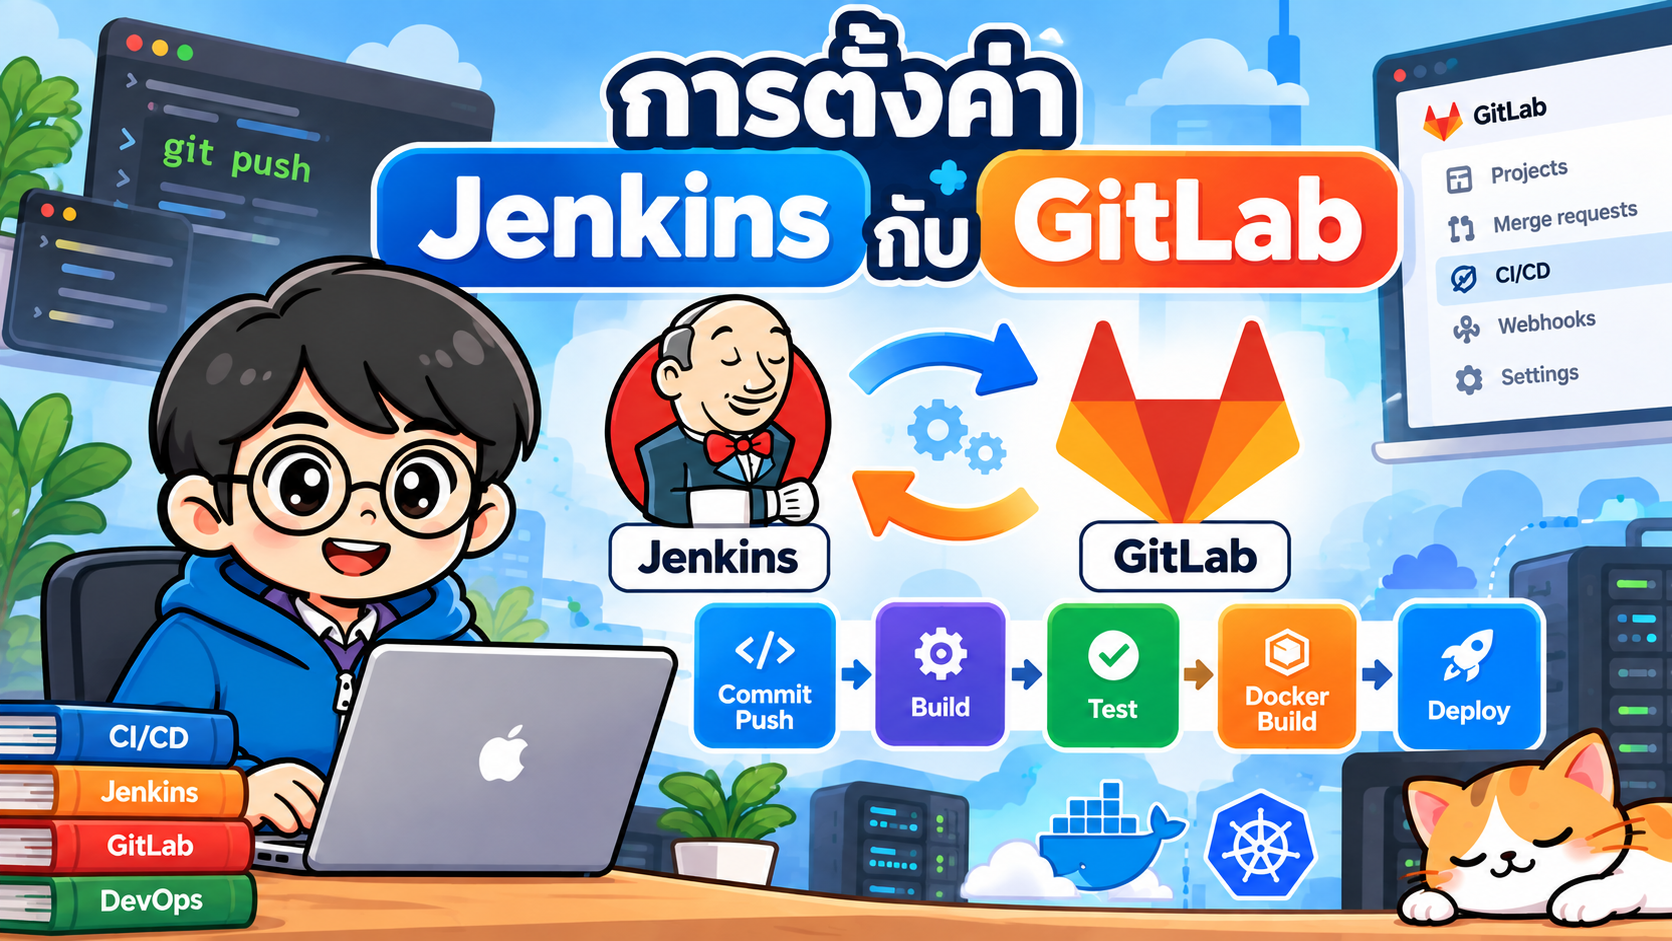
- 1. Architecture
- 2. สิ่งที่ต้องเตรียม
- 3. ติดตั้ง Jenkins Plugins
- 4. สร้าง GitLab Access Token
- 5. เพิ่ม GitLab API Token ใน Jenkins
- 6. ตั้งค่า SSH สำหรับ Clone Repository
- 7. สร้าง Jenkins Pipeline
- 8. สร้าง Jenkinsfile
- 9. เปิด GitLab Trigger ใน Jenkins
- 10. สร้าง Webhook ใน GitLab
- 11. ทดสอบ Pipeline
- 12. รายงาน Build Status กลับ GitLab
- 13. เพิ่ม Docker Build
- 14. ตัวอย่าง Jenkinsfile ที่ครบขึ้น
- 15. Jenkins กับ GitLab CI/CD
- Maintenance ดูแล Jenkins ดูแล Runner/PlatformInfrastructure ตามรูปแบบใช้งาน
- 16. Security Best Practices
- 17. Troubleshooting
- 18. ต่อยอดเป็น CI/CD เต็มรูปแบบ
- 19. Workshop สำหรับการเรียนการสอน
- สรุป
- เอกสารอ้างอิง
Jenkins และ GitLab สามารถทำงานร่วมกันเพื่อสร้างกระบวนการ Continuous Integration / Continuous Delivery (CI/CD) โดย GitLab ทำหน้าที่จัดเก็บ Source Code และส่ง Event ผ่าน Webhook ส่วน Jenkins ทำหน้าที่ Checkout, Build, Test และต่อยอดไปสู่ Deployment
เมนูและความสามารถอาจแตกต่างตามเวอร์ชันของ Jenkins, GitLab และ Plugin ที่ติดตั้ง ควรตรวจสอบเอกสารทางการเมื่อใช้งาน Production
#1. Architecture
Developer
    |
    | git push
    v
+----------------+
|     GitLab     |
|   Repository   |
+-------+--------+
        |
        | Webhook
        v
+----------------+
|    Jenkins     |
|    Pipeline    |
+-------+--------+
        |
        +--> Checkout
        +--> Install
        +--> Unit Test
        +--> Build
        +--> Docker Build
        +--> Push Image
        +--> Deploy
เมื่อ Developer ทำ git push GitLab จะสร้าง Event และเรียก Jenkins Webhook
จากนั้น Jenkins อ่านขั้นตอนจาก Jenkinsfile
#2. สิ่งที่ต้องเตรียม
- Jenkins Server/Agent ที่พร้อมใช้งาน
- GitLab Repository
- Git บน Jenkins Agent
- Runtime ของ Project เช่น Node.js, Java, PHP หรือ Go
- Docker หากต้อง Build Container Image
- Jenkins URL ที่ GitLab สามารถเข้าถึงได้
- HTTPS สำหรับ Production
- สิทธิ์สร้าง GitLab Token และ Webhook
ตัวอย่าง:
https://jenkins.example.com
#3. ติดตั้ง Jenkins Plugins
ไปที่:
Manage Jenkins
→ Plugins
→ Available Plugins
ติดตั้ง Plugin ที่เกี่ยวข้อง:
Plugin หน้าที่
Git Checkout Source Code Pipeline ใช้ Pipeline และ Jenkinsfile GitLab เชื่อม Jenkins กับ GitLab Credentials Binding จัดการ Secret/Credential
Restart Jenkins หากระบบร้องขอ
#4. สร้าง GitLab Access Token
Jenkins อาจต้องใช้ GitLab API สำหรับงาน เช่น รายงาน Commit Status กลับ GitLab
ให้สร้าง Personal, Project หรือ Group Access Token ตามนโยบายขององค์กร และให้
Scope เท่าที่จำเป็น เช่น api
glpat-xxxxxxxxxxxxxxxxxxxx
ไม่ควรเขียน Token ลงใน Source Code หรือ Jenkinsfile
#5. เพิ่ม GitLab API Token ใน Jenkins
ไปที่:
Manage Jenkins
→ Credentials
→ System
→ Global credentials
→ Add Credentials
ตัวอย่าง:
Kind: GitLab API token
API Token: glpat-xxxxxxxxxxxxxxxx
ID: gitlab-api-token
Description: GitLab API Token for Jenkins
จากนั้นไปที่:
Manage Jenkins
→ System
→ GitLab
กำหนด:
Connection name: gitlab
GitLab host URL: https://gitlab.com
Credentials: gitlab-api-token
กด Test Connection
#6. ตั้งค่า SSH สำหรับ Clone Repository
ควรแยก Credential สำหรับ GitLab API ออกจาก Credential ที่ใช้ Checkout Repository
Repository URL:
git@gitlab.com:my-group/my-project.git
สร้าง SSH Key บน Jenkins Server/Agent:
ssh-keygen -t ed25519 -C "jenkins@gitlab"
ดู Public Key:
cat ~/.ssh/id_ed25519.pub
นำ Public Key ไปกำหนดสิทธิ์ใน GitLab เช่น Deploy Key หรือ Service Account แล้วเพิ่ม Private Key ใน Jenkins Credentials:
Kind: SSH Username with private key
Username: git
ID: gitlab-ssh
Description: GitLab SSH Credential
ทดสอบ:
ssh -T git@gitlab.com
#7. สร้าง Jenkins Pipeline
เลือก:
Dashboard
→ New Item
→ Pipeline
ตัวอย่างชื่อ:
gitlab-demo
กำหนด Pipeline:
Definition: Pipeline script from SCM
SCM: Git
Repository URL: git@gitlab.com:my-group/my-project.git
Credentials: gitlab-ssh
Branch Specifier: */main
Script Path: Jenkinsfile
#8. สร้าง Jenkinsfile
สร้าง Jenkinsfile ไว้ที่ Root ของ Repository:
pipeline {
    agent any

    options {
        gitLabConnection('gitlab')
    }

    stages {
        stage('Checkout') {
            steps {
                checkout scm
            }
        }

        stage('Install') {
            steps {
                sh 'npm ci'
            }
        }

        stage('Test') {
            steps {
                sh 'npm test'
            }
        }

        stage('Build') {
            steps {
                sh 'npm run build'
            }
        }
    }

    post {
        success {
            echo 'Pipeline successful'
        }

        failure {
            echo 'Pipeline failed'
        }
    }
}
Flow:
Checkout
   ↓
Install
   ↓
Test
   ↓
Build
ถ้า Jenkins Agent เป็น Windows ให้ใช้ bat แทน sh ตามความเหมาะสม:
bat 'npm ci'
#9. เปิด GitLab Trigger ใน Jenkins
เข้า Jenkins Job:
gitlab-demo
→ Configure
→ Build Triggers
เปิด Trigger สำหรับ GitLab เช่น:
Build when a change is pushed to GitLab
เลือก Event ที่ต้องการ เช่น Push หรือ Merge Request ตามความสามารถของ Plugin ที่ติดตั้ง
Jenkins Plugin อาจแสดง Webhook URL เช่น:
https://jenkins.example.com/project/gitlab-demo
สามารถกำหนด Secret Token ในการตั้งค่า Job เพื่อใช้ตรวจสอบ Webhook
#10. สร้าง Webhook ใน GitLab
ไปยัง Project Webhook Settings ใน GitLab แล้วเพิ่ม URL ที่ Jenkins Plugin กำหนด:
https://jenkins.example.com/project/gitlab-demo
กำหนด Secret/Signing mechanism ตามที่ GitLab และ Jenkins endpoint รองรับ และเลือก Event เช่น:
Push events
Merge request events
Tag push events
GitLab ต้องสามารถเข้าถึง Jenkins URL ได้จริง ดังนั้น http://localhost:8080
บนเครื่องส่วนตัวจะไม่สามารถใช้เป็นปลายทางจาก GitLab.com ได้
สำหรับ Production ควรใช้:
https://jenkins.example.com
#11. ทดสอบ Pipeline
แก้ไข Source Code แล้ว Push:
git add .
git commit -m "test Jenkins pipeline"
git push origin main
Flow:
Developer
   |
   | git push
   v
GitLab
   |
   | Webhook
   v
Jenkins
   |
   +--> Checkout
   +--> npm ci
   +--> npm test
   +--> npm run build
ตรวจสอบผลใน Jenkins:
Build History
→ Console Output
#12. รายงาน Build Status กลับ GitLab
ตัวอย่างการใช้ GitLab Plugin:
stage('Test') {
    steps {
        updateGitlabCommitStatus(
            name: 'unit-test',
            state: 'running'
        )

        sh 'npm test'

        updateGitlabCommitStatus(
            name: 'unit-test',
            state: 'success'
        )
    }
}
และใน post:
post {
    success {
        updateGitlabCommitStatus(
            name: 'jenkins',
            state: 'success'
        )
    }

    failure {
        updateGitlabCommitStatus(
            name: 'jenkins',
            state: 'failed'
        )
    }

    aborted {
        updateGitlabCommitStatus(
            name: 'jenkins',
            state: 'canceled'
        )
    }
}
#13. เพิ่ม Docker Build
เพิ่ม Stage:
stage('Docker Build') {
    steps {
        sh '''
            docker build             -t myapp:${BUILD_NUMBER} .
        '''
    }
}
Pipeline:
GitLab
   ↓
Jenkins
   ↓
Checkout
   ↓
Install
   ↓
Unit Test
   ↓
Build
   ↓
Docker Build
BUILD_NUMBER เป็น Jenkins Environment Variable และสามารถใช้สร้าง Image
Tag เช่น:
myapp:101
myapp:102
myapp:103
#14. ตัวอย่าง Jenkinsfile ที่ครบขึ้น
pipeline {
    agent any

    options {
        gitLabConnection('gitlab')
    }

    stages {
        stage('Checkout') {
            steps {
                checkout scm
            }
        }

        stage('Install Dependencies') {
            steps {
                sh 'npm ci'
            }
        }

        stage('Unit Test') {
            steps {
                sh 'npm test'
            }
        }

        stage('Build') {
            steps {
                sh 'npm run build'
            }
        }

        stage('Docker Build') {
            steps {
                sh '''
                    docker build                     -t myapp:${BUILD_NUMBER} .
                '''
            }
        }
    }

    post {
        success {
            updateGitlabCommitStatus(
                name: 'jenkins',
                state: 'success'
            )
            echo 'CI Pipeline completed successfully.'
        }

        failure {
            updateGitlabCommitStatus(
                name: 'jenkins',
                state: 'failed'
            )
            echo 'CI Pipeline failed.'
        }

        aborted {
            updateGitlabCommitStatus(
                name: 'jenkins',
                state: 'canceled'
            )
        }
    }
}
#15. Jenkins กับ GitLab CI/CD
GitLab มี GitLab CI/CD ในตัว จึงไม่จำเป็นต้องใช้ Jenkins ในทุกกรณี
ประเด็น Jenkins GitLab CI/CD
Pipeline Jenkinsfile .gitlab-ci.yml
Infrastructure Jenkins GitLab + Runner Controller/Agent
Ecosystem Plugin จำนวนมาก GitLab Integration
Git Provider ใช้ได้หลาย Provider GitLab-centric
Flexibility สูง Integrated Workflow
#Maintenance ดูแล Jenkins ดูแล Runner/Platform Infrastructure ตามรูปแบบใช้งาน
Jenkins เหมาะกับองค์กรที่มี Jenkins Infrastructure อยู่แล้ว ต้องเชื่อมหลายระบบ หรือใช้ Plugin/Workflow เฉพาะ ส่วน GitLab CI/CD เหมาะกับทีมที่ต้องการรวม Source Code และ CI/CD ไว้ใน GitLab
#16. Security Best Practices
#ไม่เก็บ Secret ใน Jenkinsfile
ไม่ควร:
environment {
    GITLAB_TOKEN = "glpat-xxxxxxxx"
}
ให้ใช้ Jenkins Credentials
#แยก Credential ตามหน้าที่
gitlab-api-token
gitlab-ssh
gitlab-registry
production-ssh
#Least Privilege
ให้ Token และ Service Account มี Permission เท่าที่ Pipeline ต้องใช้
#ใช้ HTTPS
Production Jenkins ควรเข้าผ่าน HTTPS และมีการควบคุมการเข้าถึงที่เหมาะสม
#ป้องกัน Webhook
ใช้ Secret หรือ Signature Validation ที่ GitLab และ Jenkins endpoint รองรับ
#17. Troubleshooting
#Webhook เรียก Jenkins ไม่ได้
ตรวจสอบ Webhook delivery, Jenkins URL, Firewall, Reverse Proxy, TLS และ Jenkins Build Trigger
#Jenkins Clone Repository ไม่ได้
ทดสอบ:
ssh -T git@gitlab.com
ตรวจสอบ SSH Key, Repository URL, Credentials ID และ Repository Permission
#Pipeline ไม่ทำงานหลัง Push
ตรวจสอบตามลำดับ:
GitLab Webhook
      ↓
Jenkins Build Trigger
      ↓
Branch Configuration
      ↓
Jenkinsfile
#Jenkins หา npm ไม่เจอ
node --version
npm --version
ตรวจสอบ Runtime บน Agent และ PATH
#Jenkins ใช้ Docker ไม่ได้
docker version
ตรวจสอบ Docker daemon และสิทธิ์ของ Jenkins Agent โดยหลีกเลี่ยงการให้สิทธิ์เกินจำเป็น
#18. ต่อยอดเป็น CI/CD เต็มรูปแบบ
Developer
   ↓
GitLab
   ↓
Jenkins
   ├── Checkout
   ├── Unit Test
   ├── SonarQube
   ├── Build
   ├── Docker Build
   ├── Push Registry
   └── Deploy
            ↓
        Kubernetes
หรือแยก CI/CD ด้วย GitOps:
GitLab Application Repo
        ↓
     Jenkins
        ├── Test
        ├── Build Image
        └── Push Image
        ↓
GitLab GitOps Repo
        ↓
      Argo CD
        ↓
    Kubernetes
แนวทางนี้ทำให้ Jenkins เน้น CI ส่วน Argo CD ทำ Continuous Delivery/Deployment โดย Synchronize Desired State จาก Git Repository
#19. Workshop สำหรับการเรียนการสอน
แนะนำแบ่งเป็น 6 ขั้น:
Step 1: GitLab Repository
          ↓
Step 2: Jenkins + GitLab Plugin
          ↓
Step 3: GitLab Webhook
          ↓
Step 4: Jenkinsfile
          ↓
Step 5: Unit Test + Build
          ↓
Step 6: Docker Build
จากนั้นต่อยอดเป็น:
GitLab
   ↓
Jenkins
   ↓
Test
   ↓
SonarQube
   ↓
Docker Build
   ↓
Container Registry
   ↓
Kubernetes / GitOps
#สรุป
องค์ประกอบหลักของการเชื่อม Jenkins กับ GitLab คือ:
GitLab Repository
      ↓
GitLab Webhook
      ↓
Jenkins Pipeline
      ↓
Jenkinsfile
      ↓
Build + Test
      ↓
Docker / Deploy
สำหรับ Production ควรให้ความสำคัญกับ Credential Management, HTTPS, Least Privilege, Webhook Security และการแยก Jenkins Agent ตาม Workload
เมื่อวางพื้นฐานนี้ได้แล้ว สามารถต่อยอด Jenkins ร่วมกับ Docker, SonarQube, Container Registry, Kubernetes และ Argo CD เพื่อสร้าง DevOps Pipeline ตั้งแต่ Source Code จนถึง Deployment
#เอกสารอ้างอิง
- Jenkins Documentation: https://www.jenkins.io/doc/
- Jenkins GitLab Plugin: https://plugins.jenkins.io/gitlab-plugin/
- Jenkins Git Plugin: https://plugins.jenkins.io/git/
- GitLab Jenkins Integration: https://docs.gitlab.com/integration/jenkins/
- GitLab Webhooks: https://docs.gitlab.com/user/project/integrations/webhooks/