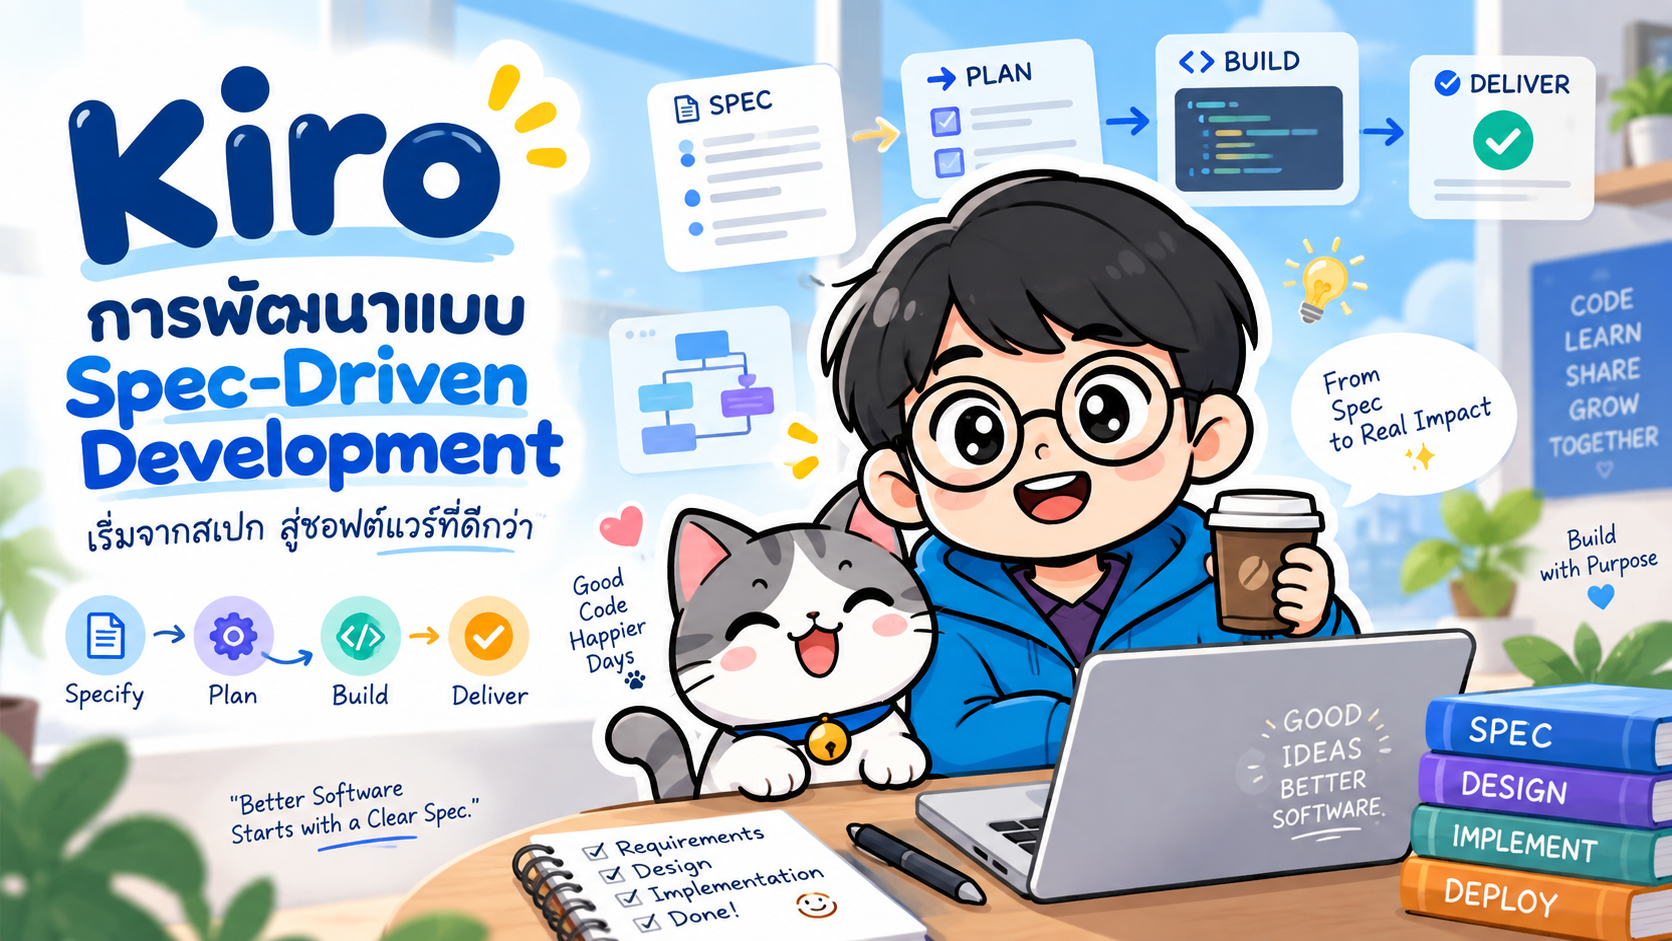
- Kiro กับการพัฒนาแบบ Spec-Driven Development (SDD)
- Spec-Driven Development คืออะไร
- โครงสร้าง Spec ของ Kiro
- ทำไมไม่ให้ AI เขียน Code ทันที
- Workflow หลักของ Kiro
- 1. Requirements-First Development
- 2. Requirements Phase
- EARS Requirements
- 3. Design Phase
- ตัวอย่าง Sequence Diagram
- 4. Tasks Phase
- 5. Implementation Phase
- Design-First Development
- Quick Spec
- Steering คืออะไร
- Spec + Steering
- Agent Hooks
- Property-Based Testing
- Bugfix Specs
- ตัวอย่างสร้าง REST API ด้วย Kiro SDD
- ตัวอย่าง Requirements
- ตัวอย่าง API Design
- ตัวอย่าง Tasks
- Kiro SDD vs Prompt-to-Code
- SDD vs Vibe Coding
- Kiro กับ Software Engineering Lifecycle
- Workflow ที่แนะนำสำหรับ Production Project
- เก็บ Specification ไว้ใน Git
- ควรแบ่ง Spec ตาม Feature
- Human-in-the-Loop ยังสำคัญ
- ข้อดีของ Kiro + Spec-Driven Development
- ข้อควรระวัง
- Architecture ภาพรวมของ Kiro SDD
- สรุป
#Kiro กับการพัฒนาแบบ Spec-Driven Development (SDD)
การพัฒนาซอฟต์แวร์ด้วย AI Coding Assistant ในปัจจุบันสามารถช่วยให้ Developer เขียนโค้ดได้เร็วขึ้นอย่างมาก ไม่ว่าจะเป็นการสร้าง CRUD, เขียน Test, Refactor Code, สร้าง API หรือแม้แต่สร้างระบบต้นแบบทั้งระบบจาก Prompt เพียงไม่กี่บรรทัด
อย่างไรก็ตาม เมื่อระบบเริ่มมีขนาดใหญ่และมี Requirement ซับซ้อน การใช้วิธี
Idea → Prompt → Code
เพียงอย่างเดียวอาจทำให้เกิดปัญหา เช่น
- AI เข้าใจ Requirement ไม่ครบ
- Architecture เปลี่ยนไปมาระหว่างการพัฒนา
- Code ที่สร้างแต่ละครั้งไม่สอดคล้องกัน
- Requirement ถูกเก็บอยู่ใน Chat และค้นหาย้อนหลังยาก
- Developer ไม่สามารถตรวจสอบ Traceability จาก Requirement ไปยัง Code ได้ง่าย
- การทำงานร่วมกันหลายคนเริ่มยากขึ้น
หนึ่งในแนวทางที่เข้ามาแก้ปัญหานี้คือ Spec-Driven Development (SDD)
และ Kiro เป็นหนึ่งในเครื่องมือที่นำแนวคิดนี้มาใช้กับการพัฒนาซอฟต์แวร์ร่วมกับ AI Agent อย่างเป็นระบบ
#Kiro คืออะไร
Kiro คือ Agentic Development Environment สำหรับช่วยพัฒนาซอฟต์แวร์ด้วย AI โดยไม่ได้มุ่งเน้นเพียงการ Generate Code แต่ครอบคลุมกระบวนการตั้งแต่
Requirement
   ↓
Design
   ↓
Planning
   ↓
Implementation
   ↓
Testing
แนวคิดสำคัญของ Kiro คือ
ให้ AI Agent ทำงานจาก Specification ที่ชัดเจน แทนการเดาความต้องการจาก Prompt เพียงอย่างเดียว
องค์ประกอบสำคัญของ Kiro ได้แก่
- Specs
- Steering
- Agent Hooks
- MCP Servers
- Custom Agents
- Agent Skills
- CLI
- IDE
- Web Interface
สำหรับบทความนี้จะเน้นที่ Specs และ Spec-Driven Development
#Spec-Driven Development คืออะไร
Spec-Driven Development หรือ SDD คือแนวทางการพัฒนาซอฟต์แวร์ที่ใช้ Specification เป็นศูนย์กลางของกระบวนการพัฒนา
แทนที่จะเริ่มจาก
Prompt
  ↓
Code
SDD จะเริ่มจาก
Idea
  ↓
Requirements
  ↓
Design
  ↓
Tasks
  ↓
Implementation
  ↓
Validation
Specification จึงกลายเป็นตัวเชื่อมระหว่าง
Business Requirement
      ↓
Architecture
      ↓
Implementation
      ↓
Testing
#โครงสร้าง Spec ของ Kiro
โดยทั่วไป Feature หนึ่งใน Kiro จะประกอบด้วยไฟล์หลักประมาณนี้
.kiro/
└── specs/
    └── user-authentication/
        ├── requirements.md
        ├── design.md
        └── tasks.md
แต่ละไฟล์มีหน้าที่ต่างกัน
| File | หน้าที่ |
|---|---|
requirements.md |
ระบุว่าระบบต้องทำอะไร |
design.md |
ระบุว่าจะออกแบบและ Implement อย่างไร |
tasks.md |
แบ่ง Design ออกเป็นงานย่อยที่ลงมือทำได้ |
แนวคิดนี้สร้าง Traceability ที่ชัดเจน
Requirement
    ↓
Design Decision
    ↓
Implementation Task
    ↓
Code
    ↓
Test
#ทำไมไม่ให้ AI เขียน Code ทันที
สมมติว่าเราสั่ง AI ว่า
สร้างระบบ Login
คำสั่งนี้ยังมีข้อมูลไม่เพียงพอ
AI อาจต้องเดาว่า
- ใช้ JWT หรือ Session
- Token มีอายุเท่าไร
- ใช้ Database อะไร
- Password Hash ด้วย Algorithm ไหน
- มี Refresh Token หรือไม่
- ต้องมี Email Verification หรือไม่
- Login ผิดกี่ครั้งถึงถูก Block
- Error Response ใช้ Format แบบใด
- มี Role และ Permission หรือไม่
ถ้า Developer ไม่กำหนดเรื่องเหล่านี้ไว้ก่อน ผลลัพธ์ที่ได้จาก AI อาจเปลี่ยนไปตาม Prompt ในแต่ละรอบ
SDD จึงพยายามลดการคาดเดาของ AI ด้วย Specification
#Workflow หลักของ Kiro
Kiro สามารถใช้แนวทางพัฒนา Feature ได้หลายแบบ โดยแนวทางสำคัญคือ
Requirements First
และ
Design First
#1. Requirements-First Development
Requirements-First เหมาะกับกรณีที่เรารู้ว่า
ระบบต้องทำอะไร
แต่ยังไม่ได้กำหนด Architecture อย่างละเอียด
Workflow จะเป็น
Idea
 ↓
Requirements
 ↓
Design
 ↓
Tasks
 ↓
Implementation
ตัวอย่าง Requirement เริ่มต้น
สร้างระบบ Authentication

ผู้ใช้ต้องสามารถ

- Register
- Login
- Logout
- Reset Password
- Verify Email
Kiro จะช่วยนำ Requirement ที่ยังเป็น Natural Language ไปจัดโครงสร้างให้ชัดเจนมากขึ้น
#2. Requirements Phase
ในขั้นตอน Requirements เป้าหมายคือการตอบคำถาม
ระบบต้องทำอะไร
ตัวอย่าง
## User Login

WHEN a user submits a valid email and password
THE SYSTEM SHALL authenticate the user

WHEN a user submits an invalid password
THE SYSTEM SHALL reject the authentication request

WHEN a user fails authentication 5 times within 10 minutes
THE SYSTEM SHALL temporarily block additional login attempts
รูปแบบนี้มีข้อดีคือ Requirement สามารถนำไปตรวจสอบและสร้าง Test ได้ง่าย
#EARS Requirements
Kiro ใช้แนวคิดการเขียน Requirement ที่มีโครงสร้าง เช่น EARS — Easy Approach to Requirements Syntax
ตัวอย่างรูปแบบพื้นฐาน
WHEN <condition>
THE SYSTEM SHALL <behavior>
เช่น
WHEN a user submits a valid login request
THE SYSTEM SHALL return an authentication token
หรือ
WHEN an unauthenticated user accesses an admin resource
THE SYSTEM SHALL reject the request
ข้อดีคือ Requirement มีความ
- ชัดเจน
- Testable
- Reviewable
- Traceable
#3. Design Phase
หลัง Requirement ชัดเจน ขั้นตอนต่อไปคือ
design.md
เป้าหมายคือการตอบคำถาม
ระบบควรถูกสร้างอย่างไร
Design อาจประกอบด้วย
- System Architecture
- Component Design
- API Design
- Data Model
- Sequence Diagram
- Error Handling
- Security
- Testing Strategy
- Infrastructure
ตัวอย่าง Architecture
Client
  │
  ▼
REST API
  │
  ▼
Authentication Service
  │
  ├── PostgreSQL
  │
  └── Redis
#ตัวอย่าง Sequence Diagram
sequenceDiagram
    actor User
    participant API
    participant Auth
    participant DB

    User->>API: POST /login
    API->>Auth: authenticate(email, password)
    Auth->>DB: Find User
    DB-->>Auth: User
    Auth->>Auth: Verify Password
    Auth-->>API: JWT Token
    API-->>User: 200 OK
การกำหนด Design ก่อน Implement ช่วยให้ Developer สามารถ Review Architecture ก่อนที่ AI จะสร้าง Code จำนวนมาก
#4. Tasks Phase
เมื่อ Requirement และ Design ชัดเจน Kiro จะช่วยแบ่งงานออกเป็น Tasks
ตัวอย่าง tasks.md
# Implementation Tasks

- [ ] 1. Create User entity
- [ ] 2. Create database migration
- [ ] 3. Implement UserRepository
- [ ] 4. Implement password hashing
- [ ] 5. Implement registration API
- [ ] 6. Implement login API
- [ ] 7. Implement JWT service
- [ ] 8. Implement rate limiting
- [ ] 9. Add unit tests
- [ ] 10. Add integration tests
แทนที่จะให้ AI สร้างระบบทั้งหมดในครั้งเดียว
AI Agent สามารถทำงานตามลำดับ
Task 1
 ↓
Task 2
 ↓
Task 3
 ↓
Task 4
 ↓
Feature Complete
#5. Implementation Phase
เมื่อ Task พร้อมแล้ว Developer สามารถสั่ง Agent ให้ Implement งานแต่ละส่วนได้
ตัวอย่าง
Implement task 5: Registration API
Agent สามารถใช้ Context จาก
requirements.md
design.md
tasks.md
source code
steering
project conventions
ทำให้ Code มีแนวโน้มสอดคล้องกับ Requirement และ Architecture มากขึ้น
#Design-First Development
บางโครงการไม่ได้เริ่มจาก Business Requirement แต่เริ่มจากข้อจำกัดทางเทคนิค
ตัวอย่าง
ต้องสร้าง Authentication Service

Technology:

Spring Boot
PostgreSQL
Redis
JWT
Docker
Kubernetes
หรือ
API ต้องรองรับ 5,000 requests/second
กรณีนี้สามารถใช้แนวทาง
Technical Design
      ↓
Requirements
      ↓
Tasks
      ↓
Implementation
เรียกว่า
Design First
เหมาะสำหรับงาน เช่น
- Existing Architecture
- Platform Engineering
- Infrastructure Project
- Performance-sensitive System
- Enterprise Architecture
- Compliance-driven System
#Quick Spec
สำหรับ Feature ขนาดเล็กหรือ Requirement ที่ค่อนข้างชัด Kiro สามารถใช้แนวคิด Quick Spec
แทนที่จะสร้างและ Review ทีละส่วน
Requirements
    ↓
Review
    ↓
Design
    ↓
Review
    ↓
Tasks
สามารถทำเป็น
Idea
 ↓
Clarifying Questions
 ↓
Requirements
 ↓
Design
 ↓
Tasks
ช่วยลดขั้นตอน Planning สำหรับ Feature ที่ไม่ซับซ้อนมาก
#Steering คืออะไร
Specs ใช้อธิบาย
Feature
ส่วน Steering ใช้อธิบาย
Project Context
ตัวอย่างโครงสร้าง
.kiro/
├── steering/
│   ├── product.md
│   ├── tech.md
│   └── structure.md
│
└── specs/
    └── authentication/
ตัวอย่าง tech.md
# Technology Stack

Backend:

- Spring Boot
- Java
- PostgreSQL
- Redis

Testing:

- JUnit
- Testcontainers

Deployment:

- Docker
- Kubernetes

Rules:

- Follow Clean Architecture
- REST API returns JSON
- Every Service must have Unit Tests
Agent จึงไม่ต้องถามใหม่ทุกครั้งว่า Project ใช้ Technology อะไร
#Spec + Steering
เมื่อใช้ร่วมกันจะเกิด Context ประมาณนี้
Project Context
      │
      ▼
   Steering
      │
      ▼
Feature Requirement
      │
      ▼
    Specs
      │
      ▼
   AI Agent
      │
      ▼
Implementation
#Agent Hooks
Kiro รองรับแนวคิด Agent Hooks สำหรับให้ AI ทำงานอัตโนมัติเมื่อเกิด Event
ตัวอย่าง
Source Code Changed
        ↓
Agent Hook
        ↓
Generate / Update Test
หรือ
Documentation Changed
        ↓
Agent Hook
        ↓
Check Source Code
สามารถประยุกต์ใช้กับ
- Unit Test
- Documentation
- Security Review
- Linting
- Code Quality
- Repetitive Development Tasks
#Property-Based Testing
แนวคิดที่น่าสนใจอีกส่วนคือการนำ Specification ไปใช้ในการตรวจสอบ Correctness
สมมติ Requirement ระบุว่า
THE SYSTEM SHALL never allow
an unauthenticated user to access admin resources
Requirement นี้สามารถถูกมองเป็น Property
Unauthenticated User
        ↓
Admin Endpoint
        ↓
Must Always Be Rejected
จากนั้น Test Framework สามารถ Generate Input หลายรูปแบบเพื่อค้นหากรณีที่ Implementation ละเมิด Property
แนวคิดคือ
Requirement
    ↓
Property
    ↓
Generated Tests
    ↓
Implementation
    ↓
Pass / Fail
#Bugfix Specs
SDD ไม่ได้ใช้เฉพาะการสร้าง Feature ใหม่
สามารถประยุกต์กับ Bug Fix ได้เช่นกัน
Workflow ตัวอย่าง
Bug Report
    ↓
Current Behavior
    ↓
Expected Behavior
    ↓
Root Cause
    ↓
Fix Design
    ↓
Tasks
    ↓
Regression Test
ข้อดีคือ Developer ไม่ได้เพียงแก้ Code ให้ Error หาย แต่ยังมี Documentation ว่า
Bug เกิดจากอะไร
แก้อย่างไร
ป้องกัน Regression อย่างไร
#ตัวอย่างสร้าง REST API ด้วย Kiro SDD
สมมติเราต้องการสร้าง
Task Management REST API
Technology Stack
Spring Boot
PostgreSQL
Redis
Docker
Prompt เริ่มต้น
Build a Task Management REST API.

Users can:

- Register
- Login
- Create tasks
- Update tasks
- Delete tasks
- Mark tasks completed
- Filter tasks by status

Use Spring Boot and PostgreSQL.
Use JWT authentication.
Provide unit and integration tests.
Kiro จะช่วยเปลี่ยน Workflow เป็น
Prompt
  ↓
requirements.md
  ↓
design.md
  ↓
tasks.md
  ↓
Implementation
#ตัวอย่าง Requirements
## Task Creation

WHEN an authenticated user submits a valid task
THE SYSTEM SHALL create the task

WHEN an unauthenticated user attempts to create a task
THE SYSTEM SHALL reject the request

WHEN a task title is empty
THE SYSTEM SHALL return a validation error
#ตัวอย่าง API Design
POST   /api/auth/register
POST   /api/auth/login

GET    /api/tasks
POST   /api/tasks
GET    /api/tasks/{id}
PUT    /api/tasks/{id}
DELETE /api/tasks/{id}

PATCH  /api/tasks/{id}/complete
Architecture
Client
  │
  ▼
Controller
  │
  ▼
Application Service
  │
  ├── PostgreSQL
  │
  └── Redis
#ตัวอย่าง Tasks
- [ ] Setup Spring Boot project
- [ ] Configure PostgreSQL
- [ ] Create User model
- [ ] Create Task model
- [ ] Implement JWT authentication
- [ ] Implement TaskRepository
- [ ] Implement TaskService
- [ ] Implement TaskController
- [ ] Add validation
- [ ] Add unit tests
- [ ] Add integration tests
- [ ] Add Dockerfile
- [ ] Add docker-compose.yml
#Kiro SDD vs Prompt-to-Code
#Prompt-to-Code
Developer
   ↓
Prompt
   ↓
AI
   ↓
Code
เหมาะกับ
- Function ขนาดเล็ก
- Prototype
- Refactoring
- Generate Tests
- Utility Script
#Spec-Driven Development
Developer
   ↓
Requirements
   ↓
Design
   ↓
Tasks
   ↓
AI Agent
   ↓
Code
   ↓
Tests
เหมาะกับ
- Feature ขนาดกลางถึงใหญ่
- Production System
- Team Development
- Enterprise Application
- ระบบที่ต้อง Maintain ระยะยาว
#SDD vs Vibe Coding
| หัวข้อ | Vibe Coding | Spec-Driven Development |
|---|---|---|
| จุดเริ่มต้น | Prompt | Specification |
| Planning | น้อย | มีโครงสร้าง |
| Requirements | อยู่ใน Chat | อยู่ใน Repository |
| Architecture | AI อาจตัดสินใจเอง | Review ก่อน Implement |
| Traceability | ต่ำ | สูงกว่า |
| Team Review | ยาก | ทำได้ง่ายกว่า |
| AI Context | Prompt เป็นหลัก | Spec + Steering |
| Testing | อาจตามหลัง Code | เชื่อมกับ Requirement |
| เหมาะกับ | Prototype | Production Feature |
ไม่ได้หมายความว่า Vibe Coding ไม่ดี
แต่ทั้งสองแนวทางเหมาะกับงานต่างกัน
Prototype
   ↓
Vibe Coding

Production System
   ↓
Spec-Driven Development
#Kiro กับ Software Engineering Lifecycle
สามารถเทียบกระบวนการ Kiro กับ Software Engineering ได้ดังนี้
Requirement Engineering
        ↓
requirements.md

Software Architecture
        ↓
design.md

Project Planning
        ↓
tasks.md

Implementation
        ↓
AI Agent + Developer

Verification
        ↓
Automated Tests
นี่ทำให้ Kiro แตกต่างจาก AI Coding Assistant ที่มุ่ง Generate Code เพียงอย่างเดียว
#Workflow ที่แนะนำสำหรับ Production Project
สำหรับระบบจริงสามารถใช้ Workflow ดังนี้
1. Define Product Context
          ↓
2. Create Steering
          ↓
3. Create Feature Spec
          ↓
4. Review Requirements
          ↓
5. Review Design
          ↓
6. Review Tasks
          ↓
7. Implement Task
          ↓
8. Run Tests
          ↓
9. Code Review
          ↓
10. Commit Spec + Code
#เก็บ Specification ไว้ใน Git
ข้อดีของ Spec-Driven Development คือ Specification สามารถ Version Control ได้พร้อมกับ Code
ตัวอย่าง
git add .kiro/specs
git add .kiro/steering
git add src
git commit -m "feat: implement authentication spec"
Repository จึงเก็บทั้ง
WHY
 ↓
Requirements

HOW
 ↓
Design

WORK
 ↓
Tasks

IMPLEMENTATION
 ↓
Code
#ควรแบ่ง Spec ตาม Feature
ไม่ควรสร้าง Spec ใหญ่เกินไป เช่น
Build complete e-commerce platform
ควรแบ่งเป็น
.kiro/specs/

authentication/
product-catalog/
shopping-cart/
checkout/
payment/
order-management/
แต่ละ Spec จะมี Context ที่ชัดเจนกว่า
authentication/
├── requirements.md
├── design.md
└── tasks.md
#Human-in-the-Loop ยังสำคัญ
แม้ AI Agent จะสามารถสร้าง Requirement, Design และ Code ได้
Developer ควร Review ในทุก Phase
Requirements
    ↓
Human Review

Design
    ↓
Human Review

Tasks
    ↓
Human Review

Code
    ↓
Human Review + Tests
AI ไม่ควรเป็นผู้ตัดสินใจเพียงลำพังในเรื่องสำคัญ เช่น
- Security
- Architecture
- Data Privacy
- Compliance
- Performance
- Cost
- Database Design
- API Contract
#ข้อดีของ Kiro + Spec-Driven Development
#1. Requirement ชัดเจนขึ้น
ลดการคาดเดาของ AI
Prompt
ถูกเปลี่ยนเป็น
Structured Requirement
#2. Architecture ถูกออกแบบก่อน Code
Developer สามารถ Review Design ก่อน Generate Code จำนวนมาก
#3. แบ่งงานเป็น Task
Agent ไม่จำเป็นต้องสร้างระบบทั้งหมดในครั้งเดียว
สามารถทำงานเป็น Increment
Task
 ↓
Code
 ↓
Test
 ↓
Next Task
#4. Traceability ดีขึ้น
สามารถย้อนกลับได้ว่า
Code นี้
 ↓
มาจาก Task ไหน
 ↓
Design อะไร
 ↓
Requirement ไหน
#5. เหมาะกับ Team Development
สมาชิกทีมสามารถ Review
- Requirement
- Architecture
- Task
- Code
จาก Artifact ชุดเดียวกัน
#6. Testing เชื่อมกับ Requirement
Requirement ที่ Testable สามารถนำไปสร้าง
- Unit Test
- Integration Test
- Acceptance Test
- Property-Based Test
ได้ง่ายขึ้น
#ข้อควรระวัง
Spec-Driven Development ไม่ได้ทำให้ AI ถูกต้อง 100%
Developer ยังต้องตรวจสอบ
- Security
- Performance
- Scalability
- Error Handling
- Concurrency
- Database Transaction
- Data Privacy
- Dependency Version
- Test Coverage
- Infrastructure
- Cost
ดังนั้นแนวคิดที่เหมาะสมคือ
AI Agent
   =
Engineering Assistant
ไม่ใช่
AI Agent
   =
Autonomous Replacement for Engineering Review
#Architecture ภาพรวมของ Kiro SDD
                ┌──────────────────┐
                │       Idea       │
                └────────┬─────────┘
                         │
                         ▼
                ┌──────────────────┐
                │   Requirements   │
                │ requirements.md  │
                └────────┬─────────┘
                         │
                         ▼
                ┌──────────────────┐
                │      Design      │
                │    design.md     │
                └────────┬─────────┘
                         │
                         ▼
                ┌──────────────────┐
                │      Tasks       │
                │     tasks.md     │
                └────────┬─────────┘
                         │
                         ▼
                ┌──────────────────┐
                │     AI Agent     │
                │ Implementation   │
                └────────┬─────────┘
                         │
                         ▼
                ┌──────────────────┐
                │   Test / Review  │
                └────────┬─────────┘
                         │
                         ▼
                ┌──────────────────┐
                │ Production Code  │
                └──────────────────┘
#สรุป
Kiro นำแนวคิด Spec-Driven Development มาใช้เพื่อทำให้การพัฒนาซอฟต์แวร์ด้วย AI มีโครงสร้างมากขึ้น
จากเดิม
Prompt → Code
เปลี่ยนเป็น
Requirements
    ↓
Design
    ↓
Tasks
    ↓
Implementation
    ↓
Validation
จุดสำคัญคือ AI Agent ไม่ได้ทำงานจาก Prompt อย่างเดียว แต่ทำงานจาก Specification และ Project Context ที่สามารถ Review และ Version Control ได้
แนวทางนี้เหมาะอย่างมากกับ
- Production System
- Enterprise Application
- REST API
- Microservices
- Cloud Native Application
- AI Application
- Platform Engineering
- ระบบที่พัฒนาด้วยหลายทีม
- ระบบที่ต้อง Maintain ระยะยาว
แนวคิดสำคัญจึงไม่ใช่
ให้ AI เขียน Code แทน Developer
แต่คือ
Developer defines intent
        ↓
Specification defines system
        ↓
AI Agent executes tasks
        ↓
Developer validates quality
นี่คือหัวใจของ Spec-Driven Development และเป็นแนวทางที่ช่วยนำ AI Coding จากระดับ Prototype ไปสู่กระบวนการ Software Engineering ที่เป็นระบบมากขึ้น
#References
- Kiro Documentation: https://kiro.dev/docs/
- Kiro Specs: https://kiro.dev/docs/specs/
- Kiro Feature Specs: https://kiro.dev/docs/specs/feature-specs/
- Kiro Steering: https://kiro.dev/docs/steering/
- Kiro Agent Hooks: https://kiro.dev/docs/hooks/
- Kiro Blog: https://kiro.dev/blog/