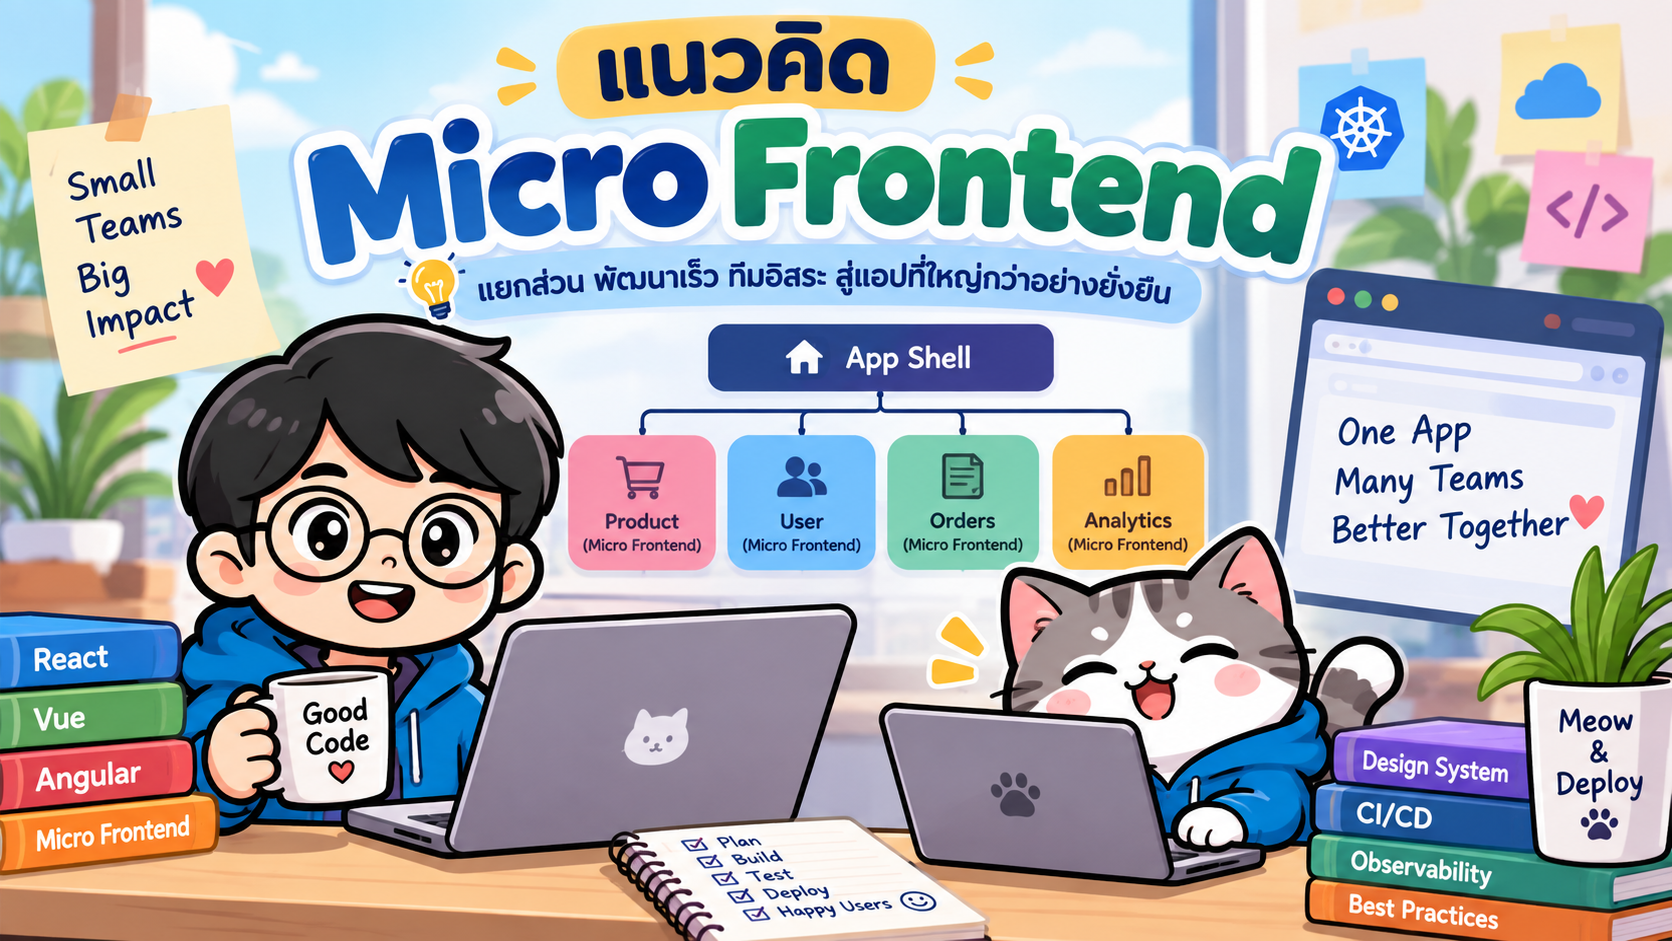
- แนวคิด Micro Frontend
- 1. ปัญหาของ Monolithic Frontend
- 2. จาก Monolith สู่ Micro Frontend
- 3. สถาปัตยกรรมพื้นฐานของ Micro Frontend
- 4. แบ่งตาม Business Domain
- 5. รูปแบบการ Integrate Micro Frontend
- 6. การสื่อสารระหว่าง Micro Frontend
- 7. การจัดการ Shared State
- 8. Shared Design System
- 9. Authentication และ Authorization
- 10. Independent Deployment
- 11. CI/CD สำหรับ Micro Frontend
- 12. Testing Strategy
- 13. Observability
- 14. Security
- 15. ตัวอย่างสถาปัตยกรรม E-Commerce
- 16. ข้อดีของ Micro Frontend
- 17. ข้อจำกัดของ Micro Frontend
- 18. Micro Frontend ไม่เหมาะเมื่อใด
- 19. Micro Frontend เหมาะเมื่อใด
- 20. Micro Frontend กับ Microservices
- 21. แนวทาง Migration จาก Monolith
- 22. Best Practices
- 23. สรุป
#แนวคิด Micro Frontend
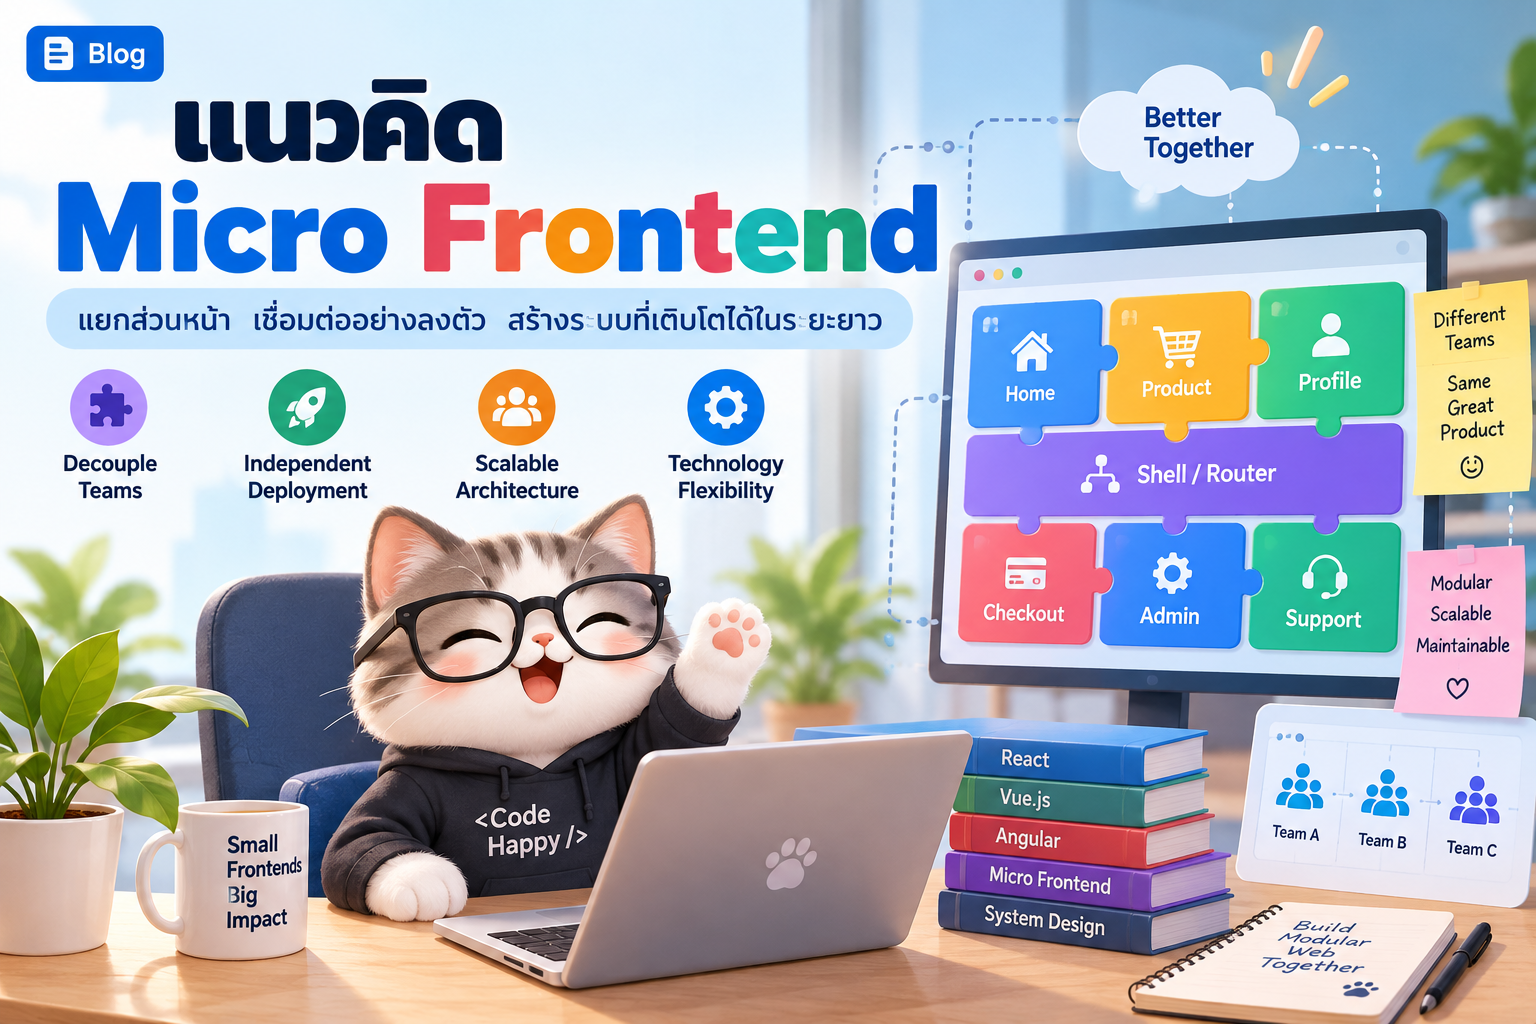
เมื่อระบบเว็บมีขนาดใหญ่ขึ้น ปัญหาที่พบไม่ได้อยู่เพียงแค่จำนวนไฟล์หรือจำนวน Component ที่เพิ่มขึ้น แต่รวมถึงการที่หลายทีมต้องแก้ไข Codebase เดียวกัน, Release พร้อมกัน, แบ่ง Ownership ได้ยาก และมี Dependency เชื่อมโยงกันมากขึ้น
Micro Frontend คือแนวคิดที่นำหลักการของ Microservices มาประยุกต์ใช้กับฝั่ง Frontend โดยแบ่ง Web Application ขนาดใหญ่ออกเป็นส่วนย่อยตาม Business Domain แต่ละส่วนสามารถมีทีมรับผิดชอบ พัฒนา ทดสอบ และ Deploy ได้อย่างค่อนข้างอิสระ
ตัวอย่างระบบ E-Commerce อาจแบ่งเป็น
- Product
- Search
- Cart
- Checkout
- Payment
- Profile
- Order
แนวคิดสำคัญของ Micro Frontend คือ
แบ่ง Frontend ตาม Business Capability ไม่ใช่เพียงแบ่งตามประเภทของ Component
ดังนั้น Micro Frontend ไม่ได้หมายถึงการสร้าง React หลาย Project เท่านั้น แต่เป็นเรื่องของ Team Ownership, Deployment Boundary, Domain Boundary และ Loose Coupling
#1. ปัญหาของ Monolithic Frontend
Frontend แบบ Monolith อาจมีโครงสร้างดังนี้
frontend/
├── components/
├── pages/
├── services/
├── stores/
├── hooks/
└── utils/
ในช่วงแรกโครงสร้างลักษณะนี้จัดการได้ง่าย แต่เมื่อระบบมีขนาดใหญ่ขึ้น อาจพบปัญหา เช่น
- Codebase มีขนาดใหญ่
- Build ใช้เวลานาน
- หลายทีมแก้ไข Source Code ชุดเดียวกัน
- Dependency เชื่อมโยงกันจำนวนมาก
- Release ต้องประสานงานหลายทีม
- การเปลี่ยน Framework หรือ Library ทำได้ยาก
- Bug ในส่วนหนึ่งอาจกระทบหลาย Feature
- Ownership ของแต่ละ Business Domain ไม่ชัดเจน
ตัวอย่างเช่น หากทีม Product ต้องการ Release Feature ใหม่ แต่ระบบ Frontend ทั้งหมดอยู่ใน Repository เดียวกัน ทีมอาจต้องรอการทดสอบจาก Cart, Checkout และ Profile ก่อน Deploy
#2. จาก Monolith สู่ Micro Frontend
Micro Frontend แบ่งระบบตาม Business Domain
frontend-platform/
├── app-shell/
├── product-frontend/
├── cart-frontend/
├── checkout-frontend/
└── profile-frontend/
แต่ละ Application สามารถมี Lifecycle ของตัวเอง
Develop
   ↓
Test
   ↓
Build
   ↓
Deploy
แนวคิดนี้ช่วยให้แต่ละทีมมี Ownership ที่ชัดเจนขึ้น
Product Team
    |
    v
Product Frontend
    |
    v
Product API
Checkout Team
    |
    v
Checkout Frontend
    |
    v
Checkout API
#3. สถาปัตยกรรมพื้นฐานของ Micro Frontend
โครงสร้างทั่วไปมักมี App Shell หรือ Host Application ทำหน้าที่เป็นตัวประกอบระบบ
                   Browser
                      |
                      v
             +----------------+
             |    App Shell   |
             |----------------|
             | Routing        |
             | Authentication |
             | Navigation     |
             | Layout         |
             +-------+--------+
                     |
         +-----------+-----------+
         |           |           |
         v           v           v
     Product       Cart       Checkout
     Frontend    Frontend     Frontend
         |           |           |
         +-----------+-----------+
                     |
                     v
                 Backend APIs
App Shell มักรับผิดชอบ
- Global Layout
- Navigation
- Authentication
- Global Configuration
- Routing
- Error Boundary
- Loading State
- Feature Flags
- Design System Integration
แต่ Business Logic ของ Product, Cart หรือ Checkout ควรอยู่ภายใน Micro Frontend ของแต่ละ Domain
#4. แบ่งตาม Business Domain
แนวทางที่ควรใช้คือแบ่งตาม Business Capability
ตัวอย่าง
/products
/cart
/checkout
/profile
/orders
ตัวอย่าง Ownership
| Domain | Team |
|---|---|
| Product | Product Team |
| Cart | Shopping Team |
| Checkout | Checkout Team |
| Profile | Account Team |
| Order | Order Team |
แนวคิดนี้คล้ายกับ Bounded Context ใน Domain-Driven Design
สิ่งที่ควรหลีกเลี่ยงคือแบ่งตาม Technical Layer เช่น
buttons/
forms/
tables/
pages/
เพราะการแบ่งแบบนั้นไม่ได้สร้าง Business Ownership ที่ชัดเจน
#5. รูปแบบการ Integrate Micro Frontend
Micro Frontend สามารถประกอบเข้าด้วยกันได้หลายวิธี
#5.1 Route-based Integration
แต่ละ Route เป็น Application แยกกัน
/products   → Product App
/cart       → Cart App
/checkout   → Checkout App
/profile    → Profile App
ข้อดี
- เข้าใจง่าย
- Isolation สูง
- Deploy แยกได้ง่าย
- เหมาะกับ Domain ที่แบ่งตามหน้าได้ชัดเจน
ข้อควรพิจารณา
- Navigation ระหว่าง Application
- Shared Authentication
- Shared UI
- Loading Experience
#5.2 Build-time Integration
แต่ละทีม Publish Package เช่น
@company/product
@company/cart
@company/checkout
Main Application นำ Package มาใช้
import Product from "@company/product";
import Cart from "@company/cart";
ข้อดีคือใช้งานง่ายและ Integration ตรงไปตรงมา
อย่างไรก็ตาม การ Deploy ยังมีความผูกกัน เพราะ Host Application ต้อง Build ใหม่เมื่อต้องการใช้ Version ใหม่ของ Package
#5.3 Runtime Integration
Host Application โหลด Micro Frontend ในช่วง Runtime
หนึ่งในแนวทางที่นิยมคือ Module Federation
Host Application
       |
       +---- Product Remote
       |
       +---- Cart Remote
       |
       +---- Checkout Remote
ตัวอย่างเชิงแนวคิด
const ProductApp = React.lazy(() => import("product/ProductApp"));
ข้อดี
- Deploy Remote แยกกันได้
- ลดการ Release พร้อมกันทั้งระบบ
- รองรับทีมจำนวนมากได้ดี
แต่ต้องจัดการเรื่อง
- Version Compatibility
- Shared Dependencies
- Runtime Failure
- Cache
- Security
#5.4 Web Components
แต่ละ Micro Frontend สามารถ expose เป็น Custom Element
<product-list></product-list>
<shopping-cart></shopping-cart>
แนวทางนี้ช่วยลดการผูกกับ Framework
ตัวอย่าง
Product → React
Cart    → Vue
Profile → Angular
อย่างไรก็ตาม การใช้หลาย Framework ใน Production ควรมีเหตุผลทางสถาปัตยกรรมที่ชัดเจน เพราะจะเพิ่ม
- Bundle Size
- Runtime Overhead
- Learning Curve
- Maintenance Cost
#6. การสื่อสารระหว่าง Micro Frontend
Micro Frontend ที่ดีควรลด Coupling ระหว่าง Application
ไม่ควรให้ Application หนึ่งเข้าถึง Internal State ของอีก Application โดยตรง
แนวทางที่ใช้ได้ เช่น
#URL และ Routing
/cart?productId=101
#Custom Event
window.dispatchEvent(
  new CustomEvent("cart:item-added", {
    detail: {
      productId: 101
    }
  })
);
Application อื่นสามารถ Subscribe ได้
window.addEventListener("cart:item-added", event => {
  console.log(event.detail);
});
#Event Bus
Product
   |
   | item-added
   v
Event Bus
   |
   v
Cart
ควรกำหนด Event Contract เช่น
{
  "event": "cart:item-added",
  "version": "1.0",
  "payload": {
    "productId": 101,
    "quantity": 1
  }
}
#7. การจัดการ Shared State
ปัญหาที่พบบ่อยคือพยายามสร้าง Global State ขนาดใหญ่ที่ทุก Application ใช้ร่วมกัน
Global Redux Store
       |
  +----+----+
  |    |    |
Product Cart Checkout
ผลลัพธ์คือแต่ละ Application กลับมา Coupling กันอีกครั้ง
แนวทางที่เหมาะสมกว่าคือให้แต่ละ Domain มี State ของตัวเอง
Product  → Product State
Cart     → Cart State
Checkout → Checkout State
State ที่อาจแชร์ระดับ Platform เช่น
- Authentication
- User ID
- Locale
- Theme
- Feature Flags
หลักคิดง่าย ๆ คือ
Local State ควรอยู่ใกล้ Domain ที่เป็นเจ้าของข้อมูลมากที่สุด
#8. Shared Design System
แม้แต่ละทีมจะพัฒนา Frontend แยกกัน แต่ผู้ใช้ควรรู้สึกว่าใช้งานเว็บไซต์เดียวกัน
ดังนั้นควรมี Shared Design System
Design System
├── Button
├── Input
├── Modal
├── Table
├── Typography
├── Color Tokens
└── Spacing Tokens
แต่ละทีมสามารถติดตั้ง Design System ผ่าน Package เช่น
npm install @company/design-system
ตัวอย่าง
import { Button } from "@company/design-system";

export default function CheckoutButton() {
  return <Button>Checkout</Button>;
}
ข้อดี
- UI สม่ำเสมอ
- ลดการสร้าง Component ซ้ำ
- รองรับ Branding กลาง
- ลด UX Fragmentation
#9. Authentication และ Authorization
Authentication ควรอยู่ในระดับ Platform หรือ App Shell
User
 |
 v
App Shell
 |
 +---- Authentication
 |
 +---- Product
 |
 +---- Cart
 |
 +---- Checkout
ข้อมูลที่อาจแชร์ เช่น
Access Token
User Profile
Roles
Permissions
แต่ละ Micro Frontend ไม่ควรสร้าง Login Flow ของตัวเองโดยไม่มีเหตุผล
แนวทางที่เหมาะสมคือใช้ Shared Authentication Service หรือ Identity Provider เช่น OAuth 2.0 / OpenID Connect
#10. Independent Deployment
ข้อดีสำคัญของ Micro Frontend คือแต่ละทีมสามารถ Deploy ได้อิสระ
ตัวอย่าง Product Frontend
Product Team
     |
     v
Git Repository
     |
     v
CI Pipeline
     |
     v
Build
     |
     v
CDN / Hosting
Cart Frontend ก็สามารถมี Pipeline ของตัวเอง
Cart Team
     |
     v
Git Repository
     |
     v
CI Pipeline
     |
     v
Build
     |
     v
CDN / Hosting
ทีม Product จึงไม่จำเป็นต้องรอ Checkout Team เพื่อ Release Feature
#11. CI/CD สำหรับ Micro Frontend
แต่ละ Application ควรมี Pipeline แยกกัน
Push
 |
 v
Lint
 |
 v
Unit Test
 |
 v
Build
 |
 v
Integration Test
 |
 v
Security Scan
 |
 v
Deploy
ตัวอย่าง Repository
product-frontend
cart-frontend
checkout-frontend
แต่ละ Repository สามารถมี Workflow เช่น
.github/workflows/ci.yml
.github/workflows/deploy.yml
#12. Testing Strategy
Micro Frontend ควรมีการทดสอบหลายระดับ
Unit Test
   ↓
Component Test
   ↓
Contract Test
   ↓
Integration Test
   ↓
End-to-End Test
#Unit Test
ทดสอบ Business Logic ภายใน Application
เครื่องมือ เช่น
- Vitest
- Jest
#Component Test
ทดสอบ Component แยกออกจากระบบทั้งหมด
#Contract Test
ตรวจสอบ Interface ระหว่าง Micro Frontend หรือ API
#End-to-End Test
ทดสอบ User Flow จริง
Search Product
     ↓
Add to Cart
     ↓
Checkout
     ↓
Payment
เครื่องมือ เช่น
- Playwright
- Cypress
#13. Observability
เมื่อระบบถูกแบ่งเป็นหลาย Application การ Debug จะซับซ้อนกว่า Monolith
ควรมี
- Centralized Logging
- Error Tracking
- Frontend Performance Monitoring
- Real User Monitoring
- Metrics
- Trace Correlation กับ Backend
Metadata ที่ควรแนบไปกับ Error หรือ Log เช่น
application=cart
version=2.5.1
environment=production
team=shopping
ข้อมูลเหล่านี้ช่วยให้หา Owner ของปัญหาได้เร็วขึ้น
#14. Security
Micro Frontend เพิ่ม Surface Area ของระบบ จึงต้องออกแบบ Security อย่างรอบคอบ
หัวข้อสำคัญ ได้แก่
- Content Security Policy
- XSS Protection
- Dependency Scanning
- Secure Token Handling
- CORS Configuration
- Trusted Remote Sources
- Dependency Version Management
- Supply Chain Security
หาก Host Application โหลด JavaScript Remote จากหลาย Domain ควรควบคุม Source อย่างเข้มงวด
#15. ตัวอย่างสถาปัตยกรรม E-Commerce
                        Browser
                           |
                           v
                     +-----------+
                     | App Shell |
                     +-----+-----+
                           |
          +----------------+----------------+
          |                |                |
          v                v                v
      Product App       Cart App       Checkout App
          |                |                |
          v                v                v
     Product API       Cart API        Payment API
แต่ละ Domain สามารถมีทีมของตนเอง
Product Team
Cart Team
Checkout Team
แต่ในมุมผู้ใช้ยังเป็นเว็บไซต์เดียว
#16. ข้อดีของ Micro Frontend
#Independent Teams
แต่ละทีมสามารถพัฒนา Feature ตาม Domain ของตัวเอง
#Independent Deployment
Deploy เฉพาะส่วนที่เปลี่ยนแปลง
#Smaller Codebase
แต่ละทีมดูแล Codebase ที่เล็กลง
#Technology Evolution
แต่ละ Domain สามารถอัปเกรด Technology ได้ตามจังหวะของตนเอง
#Organizational Scalability
เหมาะกับองค์กรที่มี Frontend Team หลายทีม
#17. ข้อจำกัดของ Micro Frontend
Micro Frontend ไม่ได้ทำให้ Complexity หายไป แต่เปลี่ยนจาก Complexity ภายใน Codebase ไปเป็น Distributed Architecture Complexity
หัวข้อที่ต้องดูแลเพิ่มขึ้น เช่น
Routing
Deployment
Versioning
Shared Libraries
Authentication
Testing
Monitoring
Performance
Security
หากออกแบบไม่ดี อาจกลายเป็น
Distributed Monolith
คือระบบดูเหมือนแบ่งเป็นหลาย Application แต่ยังต้อง Release หรือเปลี่ยนพร้อมกัน
#18. Micro Frontend ไม่เหมาะเมื่อใด
ไม่จำเป็นต้องใช้ Micro Frontend หาก
- ระบบยังมีขนาดเล็ก
- มี Developer เพียงไม่กี่คน
- มีทีมเดียว
- Business Domain ยังไม่ชัด
- Release Cycle เดียว
- Monolithic Frontend ยังดูแลได้ง่าย
ตัวอย่าง
3 Developers
1 Web Application
Small Codebase
กรณีนี้ Modular Monolith อาจเหมาะสมกว่า
#19. Micro Frontend เหมาะเมื่อใด
เหมาะกับระบบที่มีองค์ประกอบประมาณนี้
Large Application
        +
Multiple Teams
        +
Independent Domains
        +
Independent Deployment
เช่น Enterprise Portal, E-Commerce ขนาดใหญ่, Digital Banking หรือ Platform ที่มีหลาย Product Team
#20. Micro Frontend กับ Microservices
แนวคิดของทั้งสองฝั่งคล้ายกัน
ฝั่ง Backend
Microservices

User Service
Order Service
Payment Service
ฝั่ง Frontend
Micro Frontend

Product App
Cart App
Checkout App
เมื่อนำมารวมกัน
                     Browser
                        |
                 Micro Frontends
                        |
         +--------------+--------------+
         |              |              |
      Product          Cart         Checkout
         |              |              |
         v              v              v
Product Service   Cart Service   Payment Service
แต่ไม่จำเป็นต้องบังคับว่า Micro Frontend หนึ่งตัวต้องตรงกับ Microservice หนึ่งตัวเสมอไป ควรออกแบบตาม Business Boundary ที่เหมาะสม
#21. แนวทาง Migration จาก Monolith
ไม่ควรแยกระบบทั้งหมดในครั้งเดียว
ใช้แนวทาง Incremental Migration
Monolithic Frontend
        |
        v
Identify Domain Boundaries
        |
        v
Extract One Domain
        |
        v
Independent Deployment
        |
        v
Observe
        |
        v
Expand Gradually
ตัวอย่างเริ่มจากการ Extract Cart
Before

Monolith
├── Product
├── Cart
└── Checkout
หลังจากแยก
Monolith
├── Product
└── Checkout

Cart Micro Frontend
เมื่อรูปแบบนี้ทำงานได้ดี จึงค่อยแยก Domain อื่นต่อไป
#22. Best Practices
แนวทางที่ควรใช้ในการออกแบบ Micro Frontend
- แบ่ง Application ตาม Business Domain
- กำหนด Team Ownership ให้ชัดเจน
- ลด Shared State
- ใช้ Shared Design System
- กำหนด API และ Event Contract
- ลดการเข้าถึง Internal Implementation ของ Application อื่น
- Deploy แต่ละ Application อย่างอิสระ
- มี Versioning Strategy
- มี Automated Testing
- มี Observability ตั้งแต่ต้น
- ควบคุม Security ของ Runtime Integration
- เริ่มจาก Monolith ก่อน หากระบบยังไม่จำเป็นต้องกระจาย
#23. สรุป
Micro Frontend คือแนวทางการออกแบบ Frontend Architecture สำหรับระบบขนาดใหญ่ที่ต้องการให้หลายทีมสามารถพัฒนาและส่งมอบ Feature ได้อย่างอิสระมากขึ้น
ภาพรวมแนวคิดคือ
Large Frontend
      |
      v
Split by Business Domain
      |
      v
Independent Teams
      |
      v
Independent Development
      |
      v
Independent Testing
      |
      v
Independent Deployment
สิ่งสำคัญที่สุดของ Micro Frontend ไม่ใช่การใช้ Framework หลายตัว แต่คือ
- Domain Boundary ที่ชัดเจน
- Team Ownership ที่ชัดเจน
- Loose Coupling
- Independent Deployment
- Shared UX ที่สม่ำเสมอ
หากระบบยังเล็ก การใช้ Modular Monolith มักง่ายกว่า แต่เมื่อระบบมีหลาย Domain และหลายทีม Micro Frontend สามารถช่วยลด Coordination Bottleneck และเพิ่มความคล่องตัวในการพัฒนาได้อย่างมีนัยสำคัญ