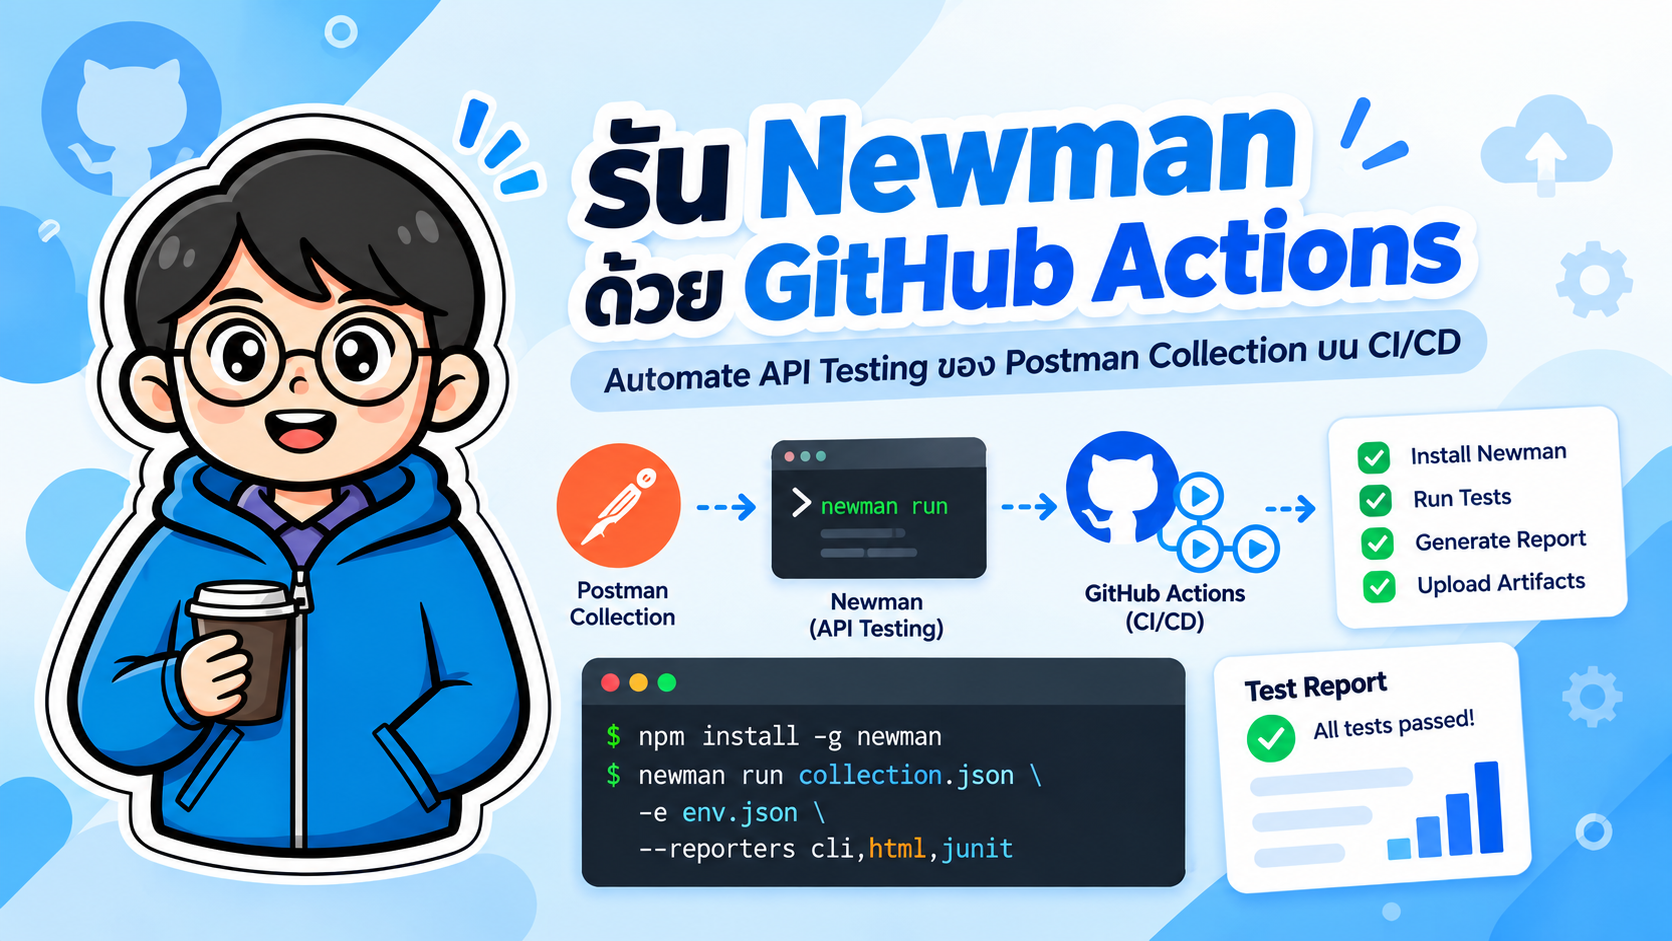
- รัน Postman API Test ด้วย Newman บน GitHub Actions
- 2. เตรียม Postman Collection
- 3. ทดลอง Newman บนเครื่อง Local
- 4. สร้าง GitHub Actions Workflow
- 5. อธิบาย Workflow
- 6. Checkout Source Code
- 7. Setup Node.js
- 8. ติดตั้ง Newman
- 9. รัน Postman Collection
- 10. สร้าง JUnit Report
- 11. ใช้ --bail
- 12. Upload Test Report เป็น Artifact
- 13. ไม่ควรเก็บ Password หรือ Token ใน Environment JSON
- 14. ส่ง GitHub Secrets เข้า Newman
- 15. Workflow ที่แนะนำสำหรับใช้งานจริง
- 16. รัน Newman หลัง Build API
- 17. ตัวอย่าง Run หลัง Docker Compose
- 18. รันตาม Schedule
- 19. รันหลาย Environment ด้วย Matrix
- 20. ติดตั้ง Newman แบบ Project Dependency
- 21. ตัวอย่าง package.json
- 22. ตัวอย่าง Test Script ใน Postman
- 23. CI/CD Flow ที่เหมาะกับ API Project
- 24. Best Practices
- 25. Newman หรือ Postman CLI
- สรุป
- เอกสารอ้างอิง
#รัน Postman API Test ด้วย Newman บน GitHub Actions
การนำ Postman Collection มารันอัตโนมัติด้วย Newman บน GitHub Actions เป็นวิธีที่ใช้งานง่ายสำหรับทำ API Testing ใน CI/CD Pipeline โดยเมื่อมีการ push หรือเปิด pull request ระบบสามารถรัน API Test ให้อัตโนมัติ และทำให้ workflow ล้มเหลวทันทีเมื่อ Test ไม่ผ่าน
แนวทางนี้เหมาะกับงาน เช่น
- Regression Test ของ REST API
- Smoke Test หลัง Build หรือ Deploy
- ตรวจสอบ API ก่อน Merge Pull Request
- รัน Postman Collection ตาม Schedule
- เก็บผล Test เป็น JUnit Report
- เชื่อมต่อ API Test เข้ากับ CI/CD Pipeline
หมายเหตุปี 2026: Newman ยังเหมาะกับ Postman Collection แบบ JSON ที่ export มาใช้งานใน CI แต่ Postman ระบุว่า Newman ไม่รองรับ Collection v3 ที่ใช้กับ Native Git workflow ของ Postman v12 ขึ้นไป หากใช้รูปแบบดังกล่าวควรพิจารณา Postman CLI แทน
#1. ภาพรวมการทำงาน
Workflow โดยรวมมีลักษณะดังนี้
Developer
   |
   | git push / pull request
   v
GitHub Repository
   |
   v
GitHub Actions
   |
   +--> Checkout Source Code
   |
   +--> Setup Node.js
   |
   +--> Install Newman
   |
   +--> Run Postman Collection
   |
   +--> Generate JUnit Report
   |
   +--> Upload Test Report
   |
   v
Pass / Fail
Newman จะคืนค่า exit code ให้ shell ดังนั้นหาก Postman Test ล้มเหลว GitHub Actions สามารถกำหนดสถานะของ job เป็น failed ได้โดยตรง
#2. เตรียม Postman Collection
สมมติว่าใน Postman มี Collection ชื่อ
My API
ให้ Export Collection เป็น JSON เช่น
MyAPI.postman_collection.json
หาก Collection ใช้ Environment ให้ Export เพิ่ม เช่น
dev.postman_environment.json
ตัวอย่างโครงสร้าง Repository
my-api-project/
├── .github/
│   └── workflows/
│       └── api-test.yml
│
├── postman/
│   ├── MyAPI.postman_collection.json
│   └── dev.postman_environment.json
│
├── src/
│
└── README.md
#3. ทดลอง Newman บนเครื่อง Local
Newman ทำงานบน Node.js
ตรวจสอบ Node.js
node --version
npm --version
ติดตั้ง Newman
npm install -g newman
ตรวจสอบเวอร์ชัน
newman --version
จากนั้นทดลองรัน Collection
newman run postman/MyAPI.postman_collection.json
หากใช้ Environment
newman run postman/MyAPI.postman_collection.json \
  -e postman/dev.postman_environment.json
ถ้า Test ใน Collection ผ่าน จะได้ exit code 0
แต่หากเกิดข้อผิดพลาดหรือ Test ล้มเหลว Newman จะคืน non-zero exit code ซึ่ง CI สามารถนำไปใช้ตัดสินว่า pipeline ผ่านหรือไม่ผ่านได้
#4. สร้าง GitHub Actions Workflow
สร้างไฟล์
.github/workflows/api-test.yml
ตัวอย่าง workflow
name: API Test - Newman

on:
  push:
    branches:
      - main

  pull_request:
    branches:
      - main

  workflow_dispatch:

permissions:
  contents: read

jobs:
  api-test:
    name: Run Newman API Tests
    runs-on: ubuntu-latest

    steps:

      - name: Checkout repository
        uses: actions/checkout@v7

      - name: Setup Node.js
        uses: actions/setup-node@v7
        with:
          node-version: 24
          package-manager-cache: false

      - name: Install Newman
        run: npm install -g newman

      - name: Create report directory
        run: mkdir -p reports

      - name: Run Postman Collection
        run: |
          newman run postman/MyAPI.postman_collection.json \
            -e postman/dev.postman_environment.json \
            --reporters cli,junit \
            --reporter-junit-export reports/newman-results.xml \
            --bail

      - name: Upload Newman Report
        if: always()
        uses: actions/upload-artifact@v7
        with:
          name: newman-report
          path: reports/
#5. อธิบาย Workflow
#Trigger
on:
  push:
    branches:
      - main
workflow จะทำงานเมื่อมีการ push เข้า branch main
#Pull Request
pull_request:
  branches:
    - main
เมื่อมี Pull Request ที่ต้องการ merge เข้า main จะรัน API Test อัตโนมัติ
เหมาะสำหรับใช้เป็น Quality Gate ก่อน merge code
#Manual Run
workflow_dispatch:
ทำให้สามารถกด
Actions
  -> API Test - Newman
  -> Run workflow
เพื่อรัน Test ด้วยตนเองได้
#6. Checkout Source Code
- name: Checkout repository
  uses: actions/checkout@v7
GitHub Actions Runner จะนำ source code และไฟล์ Postman Collection จาก repository มาไว้ใน workspace ของ job
#7. Setup Node.js
- name: Setup Node.js
  uses: actions/setup-node@v7
  with:
    node-version: 24
    package-manager-cache: false
Newman ถูกสร้างบน Node.js ดังนั้น runner ต้องมี Node.js ก่อน
การระบุ version อย่างชัดเจนช่วยลดปัญหาจาก environment ที่เปลี่ยนไปในอนาคต
#8. ติดตั้ง Newman
- name: Install Newman
  run: npm install -g newman
หลังจากติดตั้งแล้วสามารถใช้คำสั่ง
newman
ได้จากทุก directory ภายใน job
ตัวอย่าง
newman --version
#9. รัน Postman Collection
คำสั่งหลักคือ
newman run postman/MyAPI.postman_collection.json
ถ้าใช้ Environment
newman run postman/MyAPI.postman_collection.json \
  -e postman/dev.postman_environment.json
#10. สร้าง JUnit Report
Newman มี built-in reporters หลายแบบ
ตัวอย่างใช้
--reporters cli,junit
และกำหนดตำแหน่งไฟล์
--reporter-junit-export reports/newman-results.xml
คำสั่งเต็ม
newman run postman/MyAPI.postman_collection.json \
  -e postman/dev.postman_environment.json \
  --reporters cli,junit \
  --reporter-junit-export reports/newman-results.xml
ไฟล์ที่ได้
reports/
└── newman-results.xml
JUnit XML สามารถนำไปใช้กับระบบ Test Reporting อื่น ๆ ได้ต่อ
#11. ใช้ --bail
ตัวเลือก
--bail
ทำให้ Newman หยุดการทำงานเมื่อพบ failure ตามเงื่อนไขของการรัน
ตัวอย่าง
newman run postman/MyAPI.postman_collection.json \
  --bail
ใน CI/CD วิธีนี้ช่วยให้ pipeline หยุดเร็วขึ้นเมื่อพบ API Test ที่ล้มเหลว
#12. Upload Test Report เป็น Artifact
ตัวอย่าง
- name: Upload Newman Report
  if: always()
  uses: actions/upload-artifact@v7
  with:
    name: newman-report
    path: reports/
จุดสำคัญคือ
if: always()
เพราะแม้ Newman จะ Test Failed เรายังต้องการ upload report เพื่อใช้วิเคราะห์ปัญหา
หลัง workflow ทำงาน สามารถเปิด
GitHub
  -> Actions
  -> Workflow Run
  -> Artifacts
แล้วดาวน์โหลด
newman-report
ได้
#13. ไม่ควรเก็บ Password หรือ Token ใน Environment JSON
ตัวอย่างที่ไม่แนะนำ
{
  "key": "apiToken",
  "value": "my-real-secret-token"
}
หาก commit ไฟล์นี้เข้า GitHub จะทำให้ secret อยู่ใน Git history
วิธีที่เหมาะสมกว่าคือใช้ GitHub Actions Secrets
ตัวอย่าง Secrets
API_BASE_URL
API_TOKEN
ตั้งค่าที่
Repository
 -> Settings
 -> Secrets and variables
 -> Actions
#14. ส่ง GitHub Secrets เข้า Newman
Newman รองรับ environment variable ผ่าน option
--env-var
ตัวอย่าง
- name: Run Newman
  run: |
    newman run postman/MyAPI.postman_collection.json \
      --env-var "baseUrl=${{ secrets.API_BASE_URL }}" \
      --env-var "apiToken=${{ secrets.API_TOKEN }}" \
      --reporters cli,junit \
      --reporter-junit-export reports/newman-results.xml
ใน Postman สามารถเรียกตัวแปร
{{baseUrl}}
และ
{{apiToken}}
เช่น
{{baseUrl}}/api/users
Header
Authorization: Bearer {{apiToken}}
#15. Workflow ที่แนะนำสำหรับใช้งานจริง
name: API Test - Newman

on:
  push:
    branches:
      - main
      - develop

  pull_request:
    branches:
      - main

  workflow_dispatch:

permissions:
  contents: read

jobs:
  api-test:
    runs-on: ubuntu-latest
    timeout-minutes: 10

    steps:

      - name: Checkout
        uses: actions/checkout@v7

      - name: Setup Node.js
        uses: actions/setup-node@v7
        with:
          node-version: 24
          package-manager-cache: false

      - name: Install Newman
        run: npm install -g newman

      - name: Verify Newman
        run: newman --version

      - name: Create reports directory
        run: mkdir -p reports

      - name: Run API Tests
        run: |
          newman run postman/MyAPI.postman_collection.json \
            --env-var "baseUrl=${{ secrets.API_BASE_URL }}" \
            --env-var "apiToken=${{ secrets.API_TOKEN }}" \
            --reporters cli,junit \
            --reporter-junit-export reports/newman-results.xml \
            --timeout-request 10000 \
            --bail

      - name: Upload Test Report
        if: always()
        uses: actions/upload-artifact@v7
        with:
          name: newman-test-report
          path: reports/
#16. รัน Newman หลัง Build API
ในหลายระบบ API อาจต้อง start ก่อนจึงจะ Test ได้
ตัวอย่าง Node.js API
- name: Install application dependencies
  run: npm ci

- name: Start API
  run: |
    npm start &
    sleep 5

- name: Run Newman
  run: |
    newman run postman/MyAPI.postman_collection.json \
      --env-var "baseUrl=http://localhost:3000"
โครงสร้าง Pipeline จะเป็น
Checkout
   |
Setup Runtime
   |
Install Dependencies
   |
Start API
   |
Newman API Test
   |
Report
สำหรับระบบจริงควรใช้ health check แทนการพึ่ง sleep อย่างเดียว
ตัวอย่าง
for i in {1..30}; do
  if curl -fsS http://localhost:3000/health; then
    exit 0
  fi

  sleep 2
done

exit 1
#17. ตัวอย่าง Run หลัง Docker Compose
หากระบบ API รันด้วย Docker Compose สามารถใช้
- name: Start application
  run: docker compose up -d --build

- name: Wait for API
  run: |
    for i in {1..30}; do
      if curl -fsS http://localhost:8080/health; then
        exit 0
      fi

      sleep 2
    done

    docker compose logs
    exit 1

- name: Run Newman
  run: |
    newman run postman/MyAPI.postman_collection.json \
      --env-var "baseUrl=http://localhost:8080"

- name: Stop application
  if: always()
  run: docker compose down
Workflow แบบนี้เหมาะกับ Integration Test เพราะ GitHub Actions จะสร้าง application stack ขึ้นมาจริงก่อนรัน Postman Collection
#18. รันตาม Schedule
สามารถใช้ GitHub Actions Cron ได้
ตัวอย่างรันทุกวันเวลา 02:00 UTC
on:
  schedule:
    - cron: "0 2 * * *"
หากต้องการคิดเป็นเวลาไทยต้องคำนึงว่า GitHub Actions cron ใช้ UTC
#19. รันหลาย Environment ด้วย Matrix
ตัวอย่างต้องการทดสอบ
dev
staging
สามารถใช้ Matrix Strategy
jobs:
  api-test:

    runs-on: ubuntu-latest

    strategy:
      matrix:
        environment:
          - dev
          - staging

    steps:

      - uses: actions/checkout@v7

      - uses: actions/setup-node@v7
        with:
          node-version: 24
          package-manager-cache: false

      - run: npm install -g newman

      - name: Run Newman
        run: |
          newman run postman/MyAPI.postman_collection.json \
            -e postman/${{ matrix.environment }}.postman_environment.json
GitHub Actions จะสร้าง job แยกสำหรับ
dev

staging
#20. ติดตั้ง Newman แบบ Project Dependency
การใช้
npm install -g newman
สะดวกสำหรับตัวอย่างหรือ repository ที่มีเฉพาะ Postman Collection
แต่ถ้าต้องการ reproducible build มากขึ้น สามารถเก็บ Newman ใน package.json
npm install --save-dev newman
จากนั้น commit
package.json
package-lock.json
และใน GitHub Actions ใช้
- name: Install dependencies
  run: npm ci

- name: Run Newman
  run: |
    npx newman run postman/MyAPI.postman_collection.json
ข้อดีคือ version ของ Newman สามารถล็อกผ่าน package-lock.json ได้
#21. ตัวอย่าง package.json
{
  "name": "api-tests",
  "private": true,
  "scripts": {
    "test:api": "newman run postman/MyAPI.postman_collection.json"
  },
  "devDependencies": {
    "newman": "^6"
  }
}
จากนั้นรัน
npm run test:api
GitHub Actions
- name: Install dependencies
  run: npm ci

- name: Run API Tests
  run: npm run test:api
หากต้องการให้ CI ใช้ version คงที่จริง ควร commit lockfile และพิจารณากำหนด dependency version ให้เหมาะกับนโยบายของโครงการ
#22. ตัวอย่าง Test Script ใน Postman
ตัวอย่างตรวจสอบ HTTP Status
pm.test("Status code is 200", function () {
    pm.response.to.have.status(200);
});
ตรวจสอบ JSON
pm.test("Response contains user id", function () {
    const json = pm.response.json();

    pm.expect(json.id).to.exist;
});
ตรวจสอบ Response Time
pm.test("Response time is below 1000 ms", function () {
    pm.expect(pm.response.responseTime).to.be.below(1000);
});
เมื่อ Newman รัน Collection Test เหล่านี้จะถูก execute เช่นเดียวกับการกด Run Collection ใน Postman
#23. CI/CD Flow ที่เหมาะกับ API Project
ตัวอย่าง Pipeline
Developer
   |
   v
Git Push
   |
   v
GitHub Actions
   |
   +--> Checkout
   |
   +--> Build
   |
   +--> Unit Test
   |
   +--> Start Application
   |
   +--> Newman API Test
   |
   +--> Upload Report
   |
   +--> Deploy
   |
   v
Production
แนวคิดสำคัญคือให้ API Test เป็น Quality Gate
Newman Passed
      |
      v
Continue Deployment
แต่ถ้า
Newman Failed
      |
      v
Stop Pipeline
#24. Best Practices
#1. แยก Collection ตามหน้าที่
ตัวอย่าง
postman/
├── smoke/
├── regression/
└── integration/
ช่วยให้เลือกชุด Test ตาม pipeline ได้ง่ายขึ้น
#2. อย่า Commit Secret
ข้อมูลเช่น
Password
API Key
Access Token
Client Secret
ควรเก็บใน
GitHub Actions Secrets
#3. เก็บ Report ทุกครั้ง
ใช้
if: always()
เพื่อให้ report ถูก upload แม้ Test Failed
#4. ใช้ Health Check
ก่อนรัน Newman ควรตรวจสอบว่า API พร้อมรับ request จริง
ตัวอย่าง
GET /health
แล้วรอจนได้
HTTP 200
#5. Pin Runtime Version
ควรกำหนด Node.js เช่น
node-version: 24
ไม่ควรพึ่ง version ที่ติดมากับ runner โดยไม่ระบุ
#6. ใช้ Least Privilege Permissions
หาก workflow ต้องอ่าน repository อย่างเดียว
permissions:
  contents: read
ช่วยลดสิทธิ์ของ GITHUB_TOKEN
#7. พิจารณาล็อก Tool Version
สำหรับ CI ที่ต้องการ reproducibility สูง ให้ติดตั้ง Newman เป็น project dependency และ commit package-lock.json
#25. Newman หรือ Postman CLI
ปัจจุบัน Postman มีทั้ง
Newman
และ
Postman CLI
แนวทางเลือกใช้งานแบบง่ายคือ
| กรณี | เหมาะกับ |
|---|---|
| มี Collection JSON เดิม | Newman |
| ต้องการ command-line API regression test แบบง่าย | Newman |
| ต้องการใช้ Collection v3 / Native Git workflow ของ Postman v12+ | Postman CLI |
| ต้องการเชื่อม Postman Cloud และความสามารถใหม่ของ Postman | Postman CLI |
หากองค์กรมี Newman pipeline เดิมอยู่แล้ว ไม่จำเป็นต้องเปลี่ยนทันทีตราบใดที่ Collection format และ workflow ที่ใช้อยู่ยังรองรับ
แต่สำหรับโครงการใหม่ที่พึ่งพา Postman Native Git workflow ควรตรวจสอบ Postman CLI เป็นทางเลือกหลัก
#สรุป
การรัน Postman API Test ด้วย Newman บน GitHub Actions มีองค์ประกอบหลักเพียงไม่กี่ขั้นตอน
Postman Collection
       |
       v
GitHub Repository
       |
       v
GitHub Actions
       |
       +--> Setup Node.js
       |
       +--> Install Newman
       |
       +--> Run Collection
       |
       +--> Generate Report
       |
       +--> Upload Artifact
       |
       v
Pass / Fail
Workflow ขั้นพื้นฐานสามารถเริ่มได้จาก
- uses: actions/checkout@v7

- uses: actions/setup-node@v7
  with:
    node-version: 24
    package-manager-cache: false

- run: npm install -g newman

- run: |
    newman run postman/MyAPI.postman_collection.json
เมื่อใช้งานจริงควรเพิ่ม
GitHub Secrets
JUnit Report
Artifact
Health Check
Timeout
Least Privilege
เพื่อให้ API Test Pipeline มีความปลอดภัย ตรวจสอบย้อนหลังได้ และเหมาะกับ CI/CD มากขึ้น
#เอกสารอ้างอิง
-
Postman Docs — Install and run Newman
https://learning.postman.com/docs/reference/newman-cli/installing-running-newman/ -
Postman Docs — Run Postman Collections in CI using Newman
https://learning.postman.com/docs/reference/newman-cli/continuous-integration/ -
Postman Docs — Newman command-line integration
https://learning.postman.com/latest-v-12/docs/reference/newman-cli/command-line-integration-with-newman -
GitHub — actions/checkout
https://github.com/actions/checkout -
GitHub — actions/setup-node
https://github.com/actions/setup-node -
GitHub — actions/upload-artifact
https://github.com/actions/upload-artifact