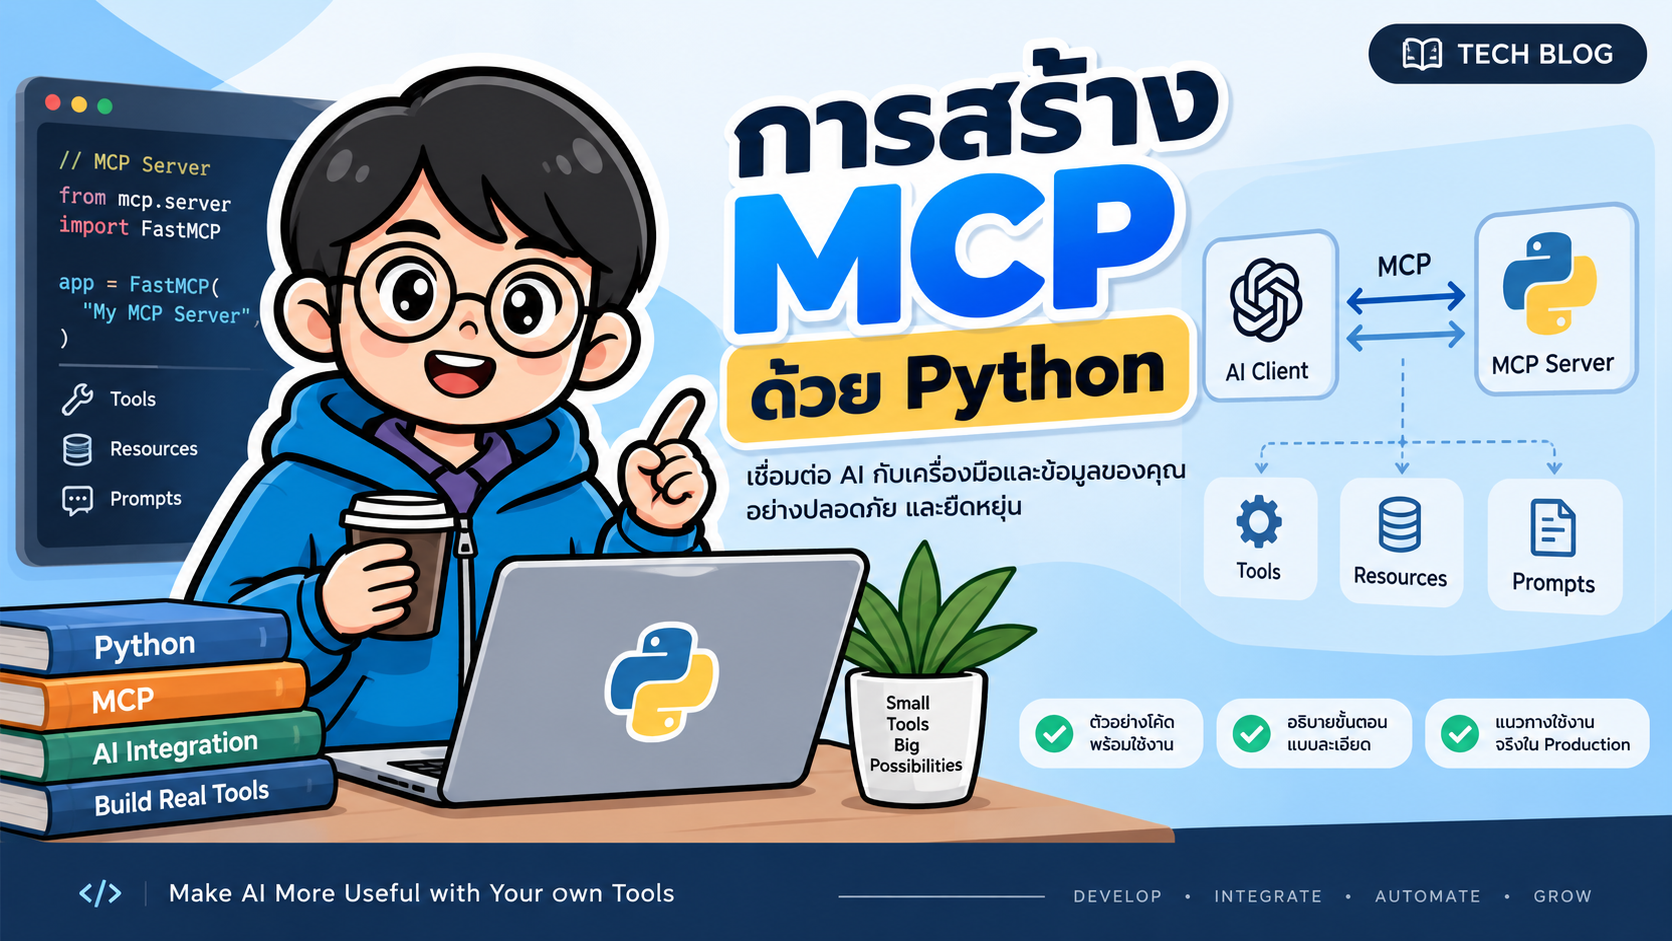
- การสร้าง MCP ด้วย Python
- 3. เตรียมเครื่องมือ
- 4. สร้าง Python Project
- 5. โครงสร้าง Project
- 6. สร้าง MCP Server ตัวแรก
- 7. ทดลองด้วย MCP Inspector
- 8. สร้าง Tool
- 9. เพิ่ม Validation
- 10. สร้าง Resource
- 11. Resource Template
- 12. สร้าง Prompt
- 13. ตัวอย่าง MCP Server แบบครบ
- 14. รัน MCP Server แบบ stdio
- 15. Streamable HTTP
- 16. สร้าง MCP Client ด้วย Python
- 17. Testing MCP Server
- 18. MCP Server เชื่อมกับ REST API
- 19. MCP Server เชื่อม Database
- 20. Tool Design ที่ดี
- 21. Tool ที่มี Side Effect
- 22. ห้ามใส่ Secret ไว้ใน Source Code
- 23. MCP กับ Function Calling ต่างกันอย่างไร
- 24. MCP ไม่ใช่ AI Agent
- 25. Architecture สำหรับ Production
- 26. Workflow ที่แนะนำ
- 27. ตัวอย่าง Use Case
- 28. สรุป
- 29. Quick Start
- References
#การสร้าง MCP ด้วย Python
Model Context Protocol หรือ MCP เป็นมาตรฐานสำหรับเชื่อมแอปพลิเคชันที่ใช้ Large Language Model (LLM) เข้ากับข้อมูลและความสามารถภายนอก เช่น API, Database, File System, Search Service หรือระบบภายในองค์กร
แนวคิดสำคัญคือ เราไม่จำเป็นต้องเขียนโค้ดเฉพาะสำหรับ LLM แต่ละตัวเพื่อให้เข้าถึงระบบของเรา เพียงสร้าง MCP Server ที่ประกาศความสามารถในรูปแบบมาตรฐาน จากนั้น MCP Host ที่รองรับก็สามารถเชื่อมต่อและเรียกใช้ความสามารถเหล่านั้นได้
บทความนี้ใช้ MCP Python SDK v2 ซึ่งเป็น stable release line ปัจจุบัน ณ เดือนกันยายน 2026 และต้องการ Python 3.10+
#1. MCP คืออะไร
MCP แบ่งองค์ประกอบหลักออกเป็น 3 ส่วน
User
  |
  v
+-----------------------+
| MCP Host              |
| LLM App / IDE / Agent |
+-----------+-----------+
            |
            | MCP Client
            v
+-----------------------+
| MCP Server            |
| - Tools               |
| - Resources           |
| - Prompts             |
+-----------+-----------+
            |
            v
+-----------------------+
| API / DB / Files      |
| Internal Services     |
+-----------------------+
#Host
Host คือแอปพลิเคชันที่ผู้ใช้กำลังใช้งาน เช่น LLM Application, IDE หรือ Agent Runtime
#Client
MCP Client ทำหน้าที่สื่อสารกับ MCP Server ตาม MCP Protocol
โดยทั่วไป Host จะสร้าง Client สำหรับแต่ละ MCP Server ที่เชื่อมต่อ
#Server
MCP Server คือส่วนที่เราพัฒนาด้วย Python เพื่อเปิดความสามารถให้ Client เรียกใช้งาน
#2. ความสามารถหลักของ MCP Server
MCP Server เปิดความสามารถหลัก 3 แบบ ได้แก่ Tools, Resources และ Prompts
| Primitive | ใครเป็นผู้เลือกใช้ | หน้าที่ |
|---|---|---|
| Tool | Model | เรียกฟังก์ชันเพื่อทำงานหรือเปลี่ยนแปลงข้อมูล |
| Resource | Application | โหลดข้อมูลเข้าสู่ Context |
| Prompt | User | เรียก Prompt Template ที่เตรียมไว้ |
อธิบายแบบใกล้เคียง Web API ได้ว่า
- Resource คล้าย
GETเพราะใช้ดึงข้อมูล - Tool คล้าย
POSTเพราะเป็นการเรียกให้ระบบทำงาน และอาจมี Side Effect - Prompt คือ Prompt Template ที่นำกลับมาใช้ซ้ำได้
#3. เตรียมเครื่องมือ
ตรวจสอบ Python
python --version
ควรเป็น Python 3.10 ขึ้นไป
แนะนำให้ใช้ uv สำหรับจัดการ Python Project และ Dependency
ตรวจสอบว่าเครื่องมี uv หรือไม่
uv --version
หากยังไม่มี uv สามารถติดตั้งตามคู่มือของโครงการ uv ได้
#4. สร้าง Python Project
สร้าง Project ใหม่
uv init python-mcp-demo
เข้าไปใน Project
cd python-mcp-demo
เพิ่ม MCP Python SDK พร้อม CLI
uv add "mcp[cli]"
MCP SDK รุ่นปัจจุบันมี CLI สำหรับงานพัฒนา เช่น
mcp dev
mcp run
mcp install
เมื่อใช้ uv ให้เรียกผ่าน
uv run mcp
#5. โครงสร้าง Project
ตัวอย่าง
python-mcp-demo/
├── pyproject.toml
├── server.py
├── client.py
└── tests/
    └── test_server.py
#6. สร้าง MCP Server ตัวแรก
สร้างไฟล์
server.py
แล้วเขียนโค้ด
from mcp.server import MCPServer


mcp = MCPServer("Python MCP Demo")


@mcp.tool()
def add(a: int, b: int) -> int:
    """Add two integer numbers."""
    return a + b
สิ่งที่น่าสนใจคือ MCP SDK ใช้ข้อมูลจาก Python Function โดยตรง ได้แก่
- Function name
- Type hints
- Docstring
ตัวอย่าง
def add(a: int, b: int) -> int:
SDK สามารถสร้าง Input Schema สำหรับ Tool ได้โดยอัตโนมัติจาก
a: int
b: int
ดังนั้นเราไม่จำเป็นต้องเขียน JSON Schema เองสำหรับกรณีทั่วไป
#7. ทดลองด้วย MCP Inspector
รัน
uv run mcp dev server.py
MCP CLI จะเปิด Development Server และแสดง URL สำหรับ MCP Inspector
ใน Inspector สามารถตรวจสอบ
Tools
Resources
Prompts
เลือก Tool
add
ใส่ค่า
a = 10
b = 20
ผลลัพธ์
30
#8. สร้าง Tool
Tool คือ Function ที่ Model สามารถเลือกเรียกใช้งานได้
เพิ่ม Tool สำหรับคำนวณราคาหลังหักส่วนลด
@mcp.tool()
def calculate_discount(
    price: float,
    discount_percent: float,
) -> dict[str, float]:
    """Calculate discounted price."""

    discount = price * discount_percent / 100
    final_price = price - discount

    return {
        "price": price,
        "discount": discount,
        "final_price": final_price,
    }
ตัวอย่าง Input
{
  "price": 1000,
  "discount_percent": 10
}
ผลลัพธ์
{
  "price": 1000,
  "discount": 100,
  "final_price": 900
}
#9. เพิ่ม Validation
Tool ที่รับข้อมูลจาก Model ควรตรวจสอบ Input เสมอ
ตัวอย่าง
@mcp.tool()
def calculate_discount(
    price: float,
    discount_percent: float,
) -> dict[str, float]:
    """Calculate discounted price."""

    if price < 0:
        raise ValueError("price must be greater than or equal to 0")

    if discount_percent < 0 or discount_percent > 100:
        raise ValueError(
            "discount_percent must be between 0 and 100"
        )

    discount = price * discount_percent / 100
    final_price = price - discount

    return {
        "price": price,
        "discount": discount,
        "final_price": final_price,
    }
อย่าเชื่อ Input จาก LLM โดยอัตโนมัติ โดยเฉพาะ Tool ที่ทำงานกับ
- Database
- File System
- Cloud Resource
- Payment
- User Account
- Production Infrastructure
#10. สร้าง Resource
Resource ใช้เปิดข้อมูลให้ Application โหลดไปเป็น Context
เพิ่มใน server.py
@mcp.resource("docs://guide")
def guide() -> str:
    """Return a short application guide."""

    return """
Python MCP Demo

Available capabilities:
- add numbers
- calculate discount
- read user greeting
"""
Client สามารถอ่าน Resource ผ่าน URI
docs://guide
#11. Resource Template
Resource สามารถมี Parameter ใน URI ได้
@mcp.resource("users://{name}/greeting")
def user_greeting(name: str) -> str:
    """Return greeting text for a user."""

    return f"Hello {name}, welcome to Python MCP Demo."
ตัวอย่าง URI
users://Alice/greeting
ผลลัพธ์
Hello Alice, welcome to Python MCP Demo.
#12. สร้าง Prompt
Prompt คือ Template ที่ผู้ใช้สามารถเรียกใช้ได้
@mcp.prompt()
def code_review(code: str) -> str:
    """Create a prompt for reviewing Python code."""

    return f"""
Review the following Python code.

Please check:
1. correctness
2. readability
3. security
4. performance
5. maintainability

Code:

{code}
"""
Client หรือ Host จะได้รับข้อความ Prompt ที่สร้างจาก Function นี้แล้วนำไปใช้กับ Model
#13. ตัวอย่าง MCP Server แบบครบ
ไฟล์ server.py
from mcp.server import MCPServer


mcp = MCPServer("Python MCP Demo")


@mcp.tool()
def add(a: int, b: int) -> int:
    """Add two integer numbers."""
    return a + b


@mcp.tool()
def calculate_discount(
    price: float,
    discount_percent: float,
) -> dict[str, float]:
    """Calculate discounted price."""

    if price < 0:
        raise ValueError(
            "price must be greater than or equal to 0"
        )

    if discount_percent < 0 or discount_percent > 100:
        raise ValueError(
            "discount_percent must be between 0 and 100"
        )

    discount = price * discount_percent / 100
    final_price = price - discount

    return {
        "price": price,
        "discount": discount,
        "final_price": final_price,
    }


@mcp.resource("docs://guide")
def guide() -> str:
    """Return application guide."""

    return """
Python MCP Demo

Tools:
- add
- calculate_discount

Resources:
- docs://guide
- users://{name}/greeting

Prompts:
- code_review
"""


@mcp.resource("users://{name}/greeting")
def user_greeting(name: str) -> str:
    """Return greeting text for a user."""
    return f"Hello {name}, welcome to Python MCP Demo."


@mcp.prompt()
def code_review(code: str) -> str:
    """Create a Python code review prompt."""

    return f"""
Review the following Python code.

Check:
- correctness
- readability
- security
- performance
- maintainability

Code:

{code}
"""


if __name__ == "__main__":
    mcp.run()
เมื่อเรียก
mcp.run()
โดยไม่ระบุ Transport ค่าเริ่มต้นคือ
stdio
เหมาะกับ MCP Server แบบ Local ที่ Host เป็นผู้เปิด Process ให้
#14. รัน MCP Server แบบ stdio
สามารถรัน Python File โดยตรง
uv run python server.py
หรือ
uv run mcp run server.py
สำหรับ Local MCP Server การใช้ stdio เป็นวิธีที่เหมาะสม เพราะ Host สามารถเปิด MCP Server เป็น Subprocess แล้วสื่อสารผ่าน Standard Input/Output
#15. Streamable HTTP
ถ้าต้องการ Deploy MCP Server ให้ Client เชื่อมผ่าน Network ควรใช้ Streamable HTTP
MCP รุ่นใหม่ใช้ Streamable HTTP เป็น Transport หลักสำหรับ HTTP Deployment ส่วน SSE เป็น Transport รุ่นเก่าสำหรับ Compatibility
สามารถรันจาก CLI ได้
uv run mcp run server.py --transport streamable-http
โดยค่าเริ่มต้น Endpoint จะมีลักษณะ
http://localhost:8000/mcp
หรือกำหนด Transport ใน Python
if __name__ == "__main__":
    mcp.run(
        transport="streamable-http",
        host="0.0.0.0",
        port=8000,
        stateless_http=True,
        json_response=True,
    )
สำหรับการ Deploy จริงควรพิจารณา
HTTPS
Authentication
Authorization
Rate Limit
Audit Log
Secret Management
Network Policy
#16. สร้าง MCP Client ด้วย Python
MCP Python SDK สามารถสร้าง Client ได้เช่นกัน
สร้าง
client.py
ตัวอย่าง
import anyio

from mcp import Client


async def main() -> None:
    async with Client(
        "http://localhost:8000/mcp"
    ) as client:

        result = await client.call_tool(
            "add",
            {
                "a": 10,
                "b": 20,
            },
        )

        print(result.structured_content)


if __name__ == "__main__":
    anyio.run(main)
เปิด Terminal แรก
uv run mcp run server.py --transport streamable-http
เปิด Terminal ที่สอง
uv run python client.py
ตัวอย่างผลลัพธ์
{'result': 30}
#17. Testing MCP Server
จุดเด่นของ MCP Python SDK คือสามารถ Test Server โดยไม่ต้องเปิด Port หรือ Subprocess
สร้างไฟล์
tests/test_server.py
ตัวอย่าง
import pytest

from mcp import Client

from server import mcp


@pytest.mark.anyio
async def test_add() -> None:

    async with Client(mcp) as client:

        result = await client.call_tool(
            "add",
            {
                "a": 1,
                "b": 2,
            },
        )

        assert result.structured_content == {
            "result": 3
        }
เพิ่ม pytest
uv add --dev pytest
รัน
uv run pytest
แนวทางนี้เหมาะกับ CI/CD เพราะ Test MCP Server ได้โดยไม่ต้องเปิด HTTP Server
#18. MCP Server เชื่อมกับ REST API
Tool สามารถทำหน้าที่เป็น Adapter ระหว่าง Model กับ Existing API ได้
ตัวอย่างแนวคิด
LLM
 |
 v
MCP Tool
 |
 v
REST API
 |
 v
Database
ตัวอย่างด้วย httpx
ติดตั้ง
uv add httpx
ตัวอย่าง
import httpx

from mcp.server import MCPServer


mcp = MCPServer("Product MCP")


@mcp.tool()
async def get_product(product_id: int) -> dict:
    """Get a product from the Product API."""

    async with httpx.AsyncClient() as client:
        response = await client.get(
            f"https://api.example.com/products/{product_id}",
            timeout=10.0,
        )

        response.raise_for_status()

        return response.json()
#19. MCP Server เชื่อม Database
MCP Tool ไม่จำเป็นต้องเปิด Database ให้ LLM เข้าถึงโดยตรง
ควรสร้าง Function ที่จำกัดขอบเขตการทำงาน เช่น
@mcp.tool()
def find_customer_by_id(customer_id: int) -> dict:
    ...
แทน Tool แบบ
@mcp.tool()
def execute_sql(sql: str):
    ...
เพราะการเปิดให้ Model ส่ง SQL Arbitrary Query มีความเสี่ยง เช่น
SQL Injection
DELETE
DROP TABLE
Data Leakage
Privilege Escalation
หลักการที่แนะนำคือ
LLM
 |
 v
MCP Tool
 |
 v
Validated Business Function
 |
 v
Repository / Service
 |
 v
Database
#20. Tool Design ที่ดี
Tool ที่ดีควรมีชื่อชัดเจน
ดี
get_customer
create_order
cancel_order
search_products
ควรหลีกเลี่ยง
do_task
run
execute
process
Docstring ควรบอกว่า Tool ทำอะไร
@mcp.tool()
def get_customer(customer_id: int) -> dict:
    """Get a customer by numeric customer ID."""
และควรใช้ Type Hint ที่ชัดเจน
customer_id: int
ดีกว่า
customer_id
เพราะ Type Hint จะถูกใช้สร้าง Schema ให้ MCP Client และ Model เข้าใจ Input
#21. Tool ที่มี Side Effect
ถ้า Tool ทำงานที่เปลี่ยน State เช่น
send_email
delete_file
create_server
restart_service
cancel_order
transfer_money
ควรเพิ่ม Guardrail
เช่น
@mcp.tool()
def delete_document(document_id: int) -> dict:
    """Delete a document by ID."""

    if document_id <= 0:
        raise ValueError("invalid document_id")

    # authorization
    # ownership validation
    # audit log
    # perform deletion

    return {
        "deleted": True,
        "document_id": document_id,
    }
ควรตรวจสอบทั้ง
Authentication
Authorization
Validation
Ownership
Audit Logging
Idempotency
Rate Limit
#22. ห้ามใส่ Secret ไว้ใน Source Code
ไม่ควรเขียน
API_KEY = "123456789"
ควรใช้ Environment Variable
import os


API_KEY = os.environ["API_KEY"]
ตัวอย่าง
export API_KEY="..."
Production อาจใช้ Secret Manager เช่น
AWS Secrets Manager
Google Secret Manager
Azure Key Vault
HashiCorp Vault
Kubernetes Secret
#23. MCP กับ Function Calling ต่างกันอย่างไร
Function Calling มักผูกกับ SDK หรือ API ของ Model Provider
Application
   |
   +--> OpenAI Tools
   +--> Gemini Function Calling
   +--> Provider-specific API
MCP เพิ่ม Protocol กลางระหว่าง LLM Application กับ External Capability
                    +--> MCP Server A
MCP Host -> Client -+--> MCP Server B
                    +--> MCP Server C
ข้อดีคือ Tool และ Data Source สามารถถูกนำไปใช้ซ้ำกับ Host ที่รองรับ MCP ได้ง่ายขึ้น
#24. MCP ไม่ใช่ AI Agent
MCP ทำหน้าที่เป็น Protocol สำหรับเปิด
Tools
Resources
Prompts
แต่ Agent จะมี Logic เพิ่ม เช่น
Planning
Reasoning
Tool Selection
Memory
Iteration
Workflow
ภาพรวมจึงอาจเป็น
User
 |
 v
AI Agent
 |
 v
MCP Client
 |
 v
MCP Server
 |
 +--> API
 +--> Database
 +--> Files
 +--> Cloud
MCP ทำให้ Agent มีช่องทางมาตรฐานในการเข้าถึงระบบภายนอก
#25. Architecture สำหรับ Production
ตัวอย่าง
                +-------------------+
                |     LLM / Agent   |
                +---------+---------+
                          |
                    MCP Client
                          |
                          v
                +-------------------+
                |    MCP Server     |
                +---------+---------+
                          |
          +---------------+----------------+
          |               |                |
          v               v                v
      REST API         Database        Internal API
          |               |                |
          +---------------+----------------+
                          |
                       Services
Production MCP Server ควรแยก Business Logic ออกจาก MCP Adapter
ตัวอย่าง
app/
├── server.py
├── tools/
│   ├── customer.py
│   ├── product.py
│   └── order.py
├── services/
│   ├── customer_service.py
│   └── order_service.py
├── repositories/
│   └── order_repository.py
└── tests/
ข้อดีคือ
MCP Layer
    ↓
Service Layer
    ↓
Repository / API Layer
ทำให้ Test และ Maintenance ง่ายขึ้น
#26. Workflow ที่แนะนำ
ขั้นตอนพัฒนาสามารถทำตามลำดับนี้
1. Define Use Case
        |
        v
2. Design Tools / Resources / Prompts
        |
        v
3. Implement MCP Server
        |
        v
4. Test with MCP Inspector
        |
        v
5. Add Automated Tests
        |
        v
6. Connect MCP Host
        |
        v
7. Add Security Controls
        |
        v
8. Deploy with Streamable HTTP
        |
        v
9. Observability + Audit
#27. ตัวอย่าง Use Case
MCP สามารถใช้กับงานหลายรูปแบบ
#Software Engineering
Git Repository
CI/CD
Issue Tracker
Code Review
SonarQube
Testing
#Data Engineering
Database
Data Warehouse
ETL Pipeline
Data Catalog
Object Storage
#DevOps
Docker
Kubernetes
Terraform
Cloud API
Prometheus
Grafana
#Enterprise Application
ERP
CRM
Document Management
HR
Inventory
Customer Service
#AI Agent
RAG
Search
Database Agent
Coding Agent
DevOps Agent
Research Agent
#28. สรุป
การสร้าง MCP Server ด้วย Python SDK สามารถเริ่มต้นได้ด้วยโค้ดเพียงไม่กี่บรรทัด
from mcp.server import MCPServer


mcp = MCPServer("Demo")


@mcp.tool()
def add(a: int, b: int) -> int:
    """Add two numbers."""
    return a + b
จากนั้นทดสอบด้วย
uv run mcp dev server.py
MCP Server สามารถเปิดความสามารถ 3 กลุ่มหลัก
Tools
Resources
Prompts
และรองรับการสื่อสารหลัก เช่น
stdio
Streamable HTTP
สำหรับ Local Integration ใช้ stdio ได้สะดวก ส่วนการ Deploy ผ่าน Network ควรใช้ Streamable HTTP
หัวใจของการนำ MCP ไปใช้งานจริงไม่ใช่แค่การทำให้ Tool เรียกได้ แต่ต้องออกแบบ Tool ให้มีขอบเขตชัดเจน ตรวจสอบ Input จำกัดสิทธิ์ และจัดการ Secret/Authentication/Audit ให้เหมาะสม โดยเฉพาะ Tool ที่มี Side Effect
#29. Quick Start
uv init python-mcp-demo

cd python-mcp-demo

uv add "mcp[cli]"
สร้าง
server.py
from mcp.server import MCPServer


mcp = MCPServer("Demo")


@mcp.tool()
def add(a: int, b: int) -> int:
    """Add two numbers."""
    return a + b


if __name__ == "__main__":
    mcp.run()
รัน
uv run mcp dev server.py
ถ้าต้องการเปิดผ่าน HTTP
uv run mcp run server.py --transport streamable-http
Endpoint โดยทั่วไป
http://localhost:8000/mcp
เพียงเท่านี้ก็ได้ MCP Server ด้วย Python สำหรับเริ่มเชื่อมต่อกับ MCP Host หรือ AI Agent แล้ว
#References
- MCP Python SDK Documentation: https://py.sdk.modelcontextprotocol.io/
- MCP Python SDK - First Steps: https://py.sdk.modelcontextprotocol.io/get-started/first-steps/
- MCP Python SDK - Running your server: https://py.sdk.modelcontextprotocol.io/run/
- Official MCP Python SDK Repository: https://github.com/modelcontextprotocol/python-sdk
- Model Context Protocol: https://modelcontextprotocol.io/