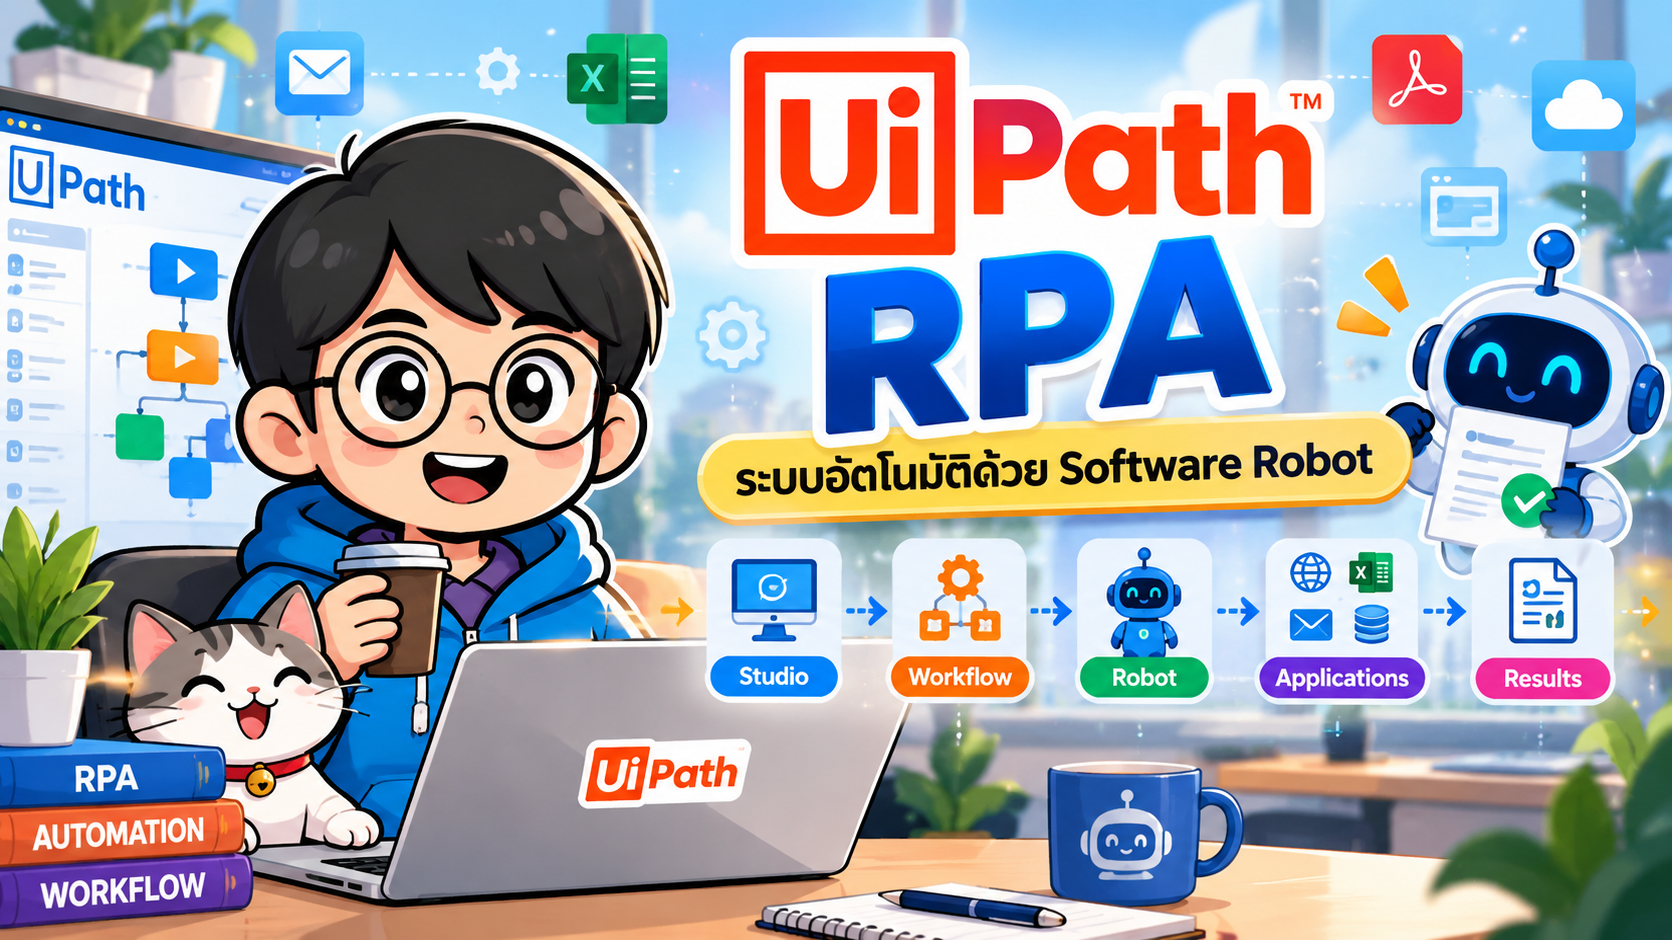
- UiPath RPA คืออะไร
- RPA เหมาะกับงานแบบใด
- องค์ประกอบสำคัญของ UiPath
- Workshop: สร้าง Robot เปิดเว็บไซต์
- Workshop: Excel → Web Form
- Selector และ UI Automation
- Attended vs Unattended
- Error Handling
- จาก RPA สู่ Agentic Automation
- แนวทางเลือกใช้ RPA, API หรือ Agent
- สรุป
- เอกสารอ้างอิง
#UiPath RPA คืออะไร
UiPath เป็นแพลตฟอร์มสำหรับ Robotic Process Automation (RPA) และ Business Automation ที่ช่วยให้เราสร้าง Software Robot เพื่อทำงานกับโปรแกรมต่าง ๆ แทนผู้ใช้งาน เช่น คลิกปุ่ม กรอกแบบฟอร์ม อ่านและเขียน Excel ย้ายข้อมูลระหว่างระบบ ดาวน์โหลดไฟล์ หรือประมวลผลเอกสาร
แนวคิดสำคัญของ RPA คือการนำงานที่มีขั้นตอนชัดเจน ทำซ้ำบ่อย และอาศัยกฎในการตัดสินใจ มาให้ Robot ทำงานแทนมนุษย์
Input → UiPath Workflow → Robot → Application/System → Output
ตัวอย่างเช่น
Excel
  ↓
UiPath Robot
  ↓
เปิด Web Application
  ↓
กรอกข้อมูล
  ↓
Submit
  ↓
บันทึกผลกลับ Excel
#RPA เหมาะกับงานแบบใด
งานที่เหมาะกับ RPA มักมีคุณสมบัติดังนี้
- ทำซ้ำเป็นประจำ
- ขั้นตอนและ Business Rule ชัดเจน
- ปริมาณงานสูง
- ข้อมูลค่อนข้างมีโครงสร้าง
- ต้องย้ายข้อมูลระหว่างหลายระบบ
- ใช้ UI ของระบบที่ไม่มี API หรือเชื่อมต่อระบบเดิม (Legacy System)
ตัวอย่าง Use Case ได้แก่ Data Entry, Invoice Processing, Employee Onboarding, Report Generation, การย้ายข้อมูลระหว่างระบบ และการทำงานกับ Excel/ERP/CRM
#องค์ประกอบสำคัญของ UiPath
#1. UiPath Studio
Development Environment สำหรับสร้าง Automation Workflow สามารถสร้างแบบ Low-code ด้วยกิจกรรมแบบ Drag-and-drop และรองรับ Coded Automation สำหรับงานที่ซับซ้อนขึ้น
ตัวอย่าง Activities:
- Use Application/Browser
- Click
- Type Into
- Get Text
- Read Range
- Write Range
- If
- For Each
- HTTP Request
#2. UiPath Robot
ทำหน้าที่ Execute Automation ที่พัฒนาจาก Studio
แนวทางการทำงานหลักแบ่งเป็น
Attended Automation --- Robot ทำงานร่วมกับผู้ใช้ เช่น ผู้ใช้กดเริ่ม Bot เพื่อช่วยประมวลผลข้อมูล
Unattended Automation --- Robot ทำงานบนเครื่องหรือ Runtime ที่กำหนดโดยไม่ต้องมีผู้ใช้ควบคุม เหมาะกับงาน Back-office และงานตาม Schedule
#3. UiPath Orchestrator
ใช้บริหาร Automation ส่วนกลาง เช่น Deployment, Scheduling, Monitoring, Logging, Robot Management และการควบคุมสิทธิ์
ภาพรวม:
UiPath Studio
     │
     │ Publish
     ▼
Orchestrator
     │
     │ Deploy / Schedule
     ▼
UiPath Robot
     │
     ▼
Applications / Web / Excel / ERP / CRM
#Workshop: สร้าง Robot เปิดเว็บไซต์
#เป้าหมาย
สร้าง Automation ที่
- เปิด Browser
- เข้าเว็บไซต์
- อ่าน Title หรือข้อมูลบนหน้าเว็บ
- แสดงผล
#ขั้นตอนที่ 1: สร้าง Project
เปิด UiPath Studio แล้วเลือก
New Project
→ Process
ตั้งชื่อ เช่น
FirstUiPathBot
#ขั้นตอนที่ 2: เพิ่ม Use Application/Browser
ค้นหา Activity:
Use Application/Browser
ระบุ URL ที่ต้องการ เช่น
https://example.com
โครงสร้าง Workflow จะมีลักษณะ
Main
└── Use Application/Browser
    ├── Get Text
    └── Log Message
#ขั้นตอนที่ 3: อ่านข้อมูล
เพิ่ม Activity Get Text แล้วเลือก Element บนหน้าเว็บที่ต้องการอ่าน
เก็บผลลงตัวแปร เช่น
pageText
#ขั้นตอนที่ 4: แสดงผล
เพิ่ม Log Message
Message = pageText
จากนั้น Run Workflow และตรวจสอบ Output
#Workshop: Excel → Web Form
กรณีที่ใช้งานจริงมากขึ้น:
customers.xlsx
      │
      ▼
Read Range
      │
      ▼
For Each Row
      │
      ├── Type Into Name
      ├── Type Into Email
      ├── Type Into Phone
      └── Click Submit
Pseudo Workflow:
Use Excel File
    Read Range
        ↓
For Each Row in DataTable
    ↓
Use Application/Browser
    ↓
Type Into → row("Name")
Type Into → row("Email")
Type Into → row("Phone")
Click → Submit
สิ่งที่ควรเพิ่มใน Production ได้แก่ Validation, Retry, Timeout, Exception Handling, Logging และ Screenshot เมื่อเกิดข้อผิดพลาด
#Selector และ UI Automation
หัวใจสำคัญของ RPA คือการระบุ UI Element ที่ Robot ต้องโต้ตอบด้วย เช่น Textbox, Button และ Menu
UiPath มีเทคนิค UI Automation หลายระดับ เช่น
Selectors
AI Computer Vision
Semantic Selectors
Semantic Activities
ScreenPlay
Selector ที่ดีควรหลีกเลี่ยงค่าที่เปลี่ยนทุกครั้ง เช่น Dynamic ID และควรทดสอบกับหลายสถานการณ์ก่อน Deploy
#Attended vs Unattended
ประเด็น Attended Unattended
ผู้ใช้ ทำงานร่วมกับ Robot ไม่ต้องควบคุมตลอด Trigger ผู้ใช้/เหตุการณ์ Schedule/Trigger งาน Desktop Assistance Back-office ตัวอย่าง ช่วยกรอกข้อมูล สร้างรายงานกลางคืน
#Error Handling
Automation ที่ใช้งานจริงไม่ควรออกแบบเฉพาะ Happy Path
ตัวอย่าง:
Try
 ├── Open Application
 ├── Enter Data
 └── Submit

Catch
 ├── Log Error
 ├── Take Screenshot
 └── Retry / Notify

Finally
 └── Close / Cleanup
ควรออกแบบให้ Robot สามารถตรวจจับ Exception และส่งงานให้มนุษย์เมื่อระบบไม่สามารถตัดสินใจได้อย่างปลอดภัย
#จาก RPA สู่ Agentic Automation
RPA เหมาะกับงานที่ deterministic และ rule-based ขณะที่ AI Agent เหมาะกับงานที่ต้องใช้บริบท การให้เหตุผล และการตัดสินใจในสถานการณ์ที่ไม่แน่นอน
Traditional RPA
Rules → Robot → Action

Agentic Automation
Goal
 ↓
AI Agent
 ↓
Reason / Decide
 ↓
Robot / API / Tool
 ↓
Action
 ↓
Human Review (เมื่อจำเป็น)
UiPath รุ่นปัจจุบันจึงวาง AI Agents, Robots, APIs และ Humans ให้ทำงานร่วมกันภายใต้ orchestration และ governance เดียวกัน
ตัวอย่างกระบวนการ Invoice:
Invoice
   ↓
Document Processing
   ↓
AI Agent
ตรวจสอบบริบท/ความผิดปกติ
   ↓
RPA Robot
บันทึกข้อมูลเข้า ERP
   ↓
Human Approval
กรณีความเสี่ยงสูง
#แนวทางเลือกใช้ RPA, API หรือ Agent
งานมีกฎแน่นอน + ต้องควบคุม UI
        → RPA

ระบบมี API ที่เหมาะสม
        → API Automation

งานต้อง Reasoning / Context
        → AI Agent

กระบวนการผสมหลายรูปแบบ
        → Agent + RPA + API + Human
การมี API ไม่ได้หมายความว่าต้องใช้ RPA เสมอไป หากระบบรองรับ API ที่เสถียร การเรียก API โดยตรงมักลดความเปราะบางจากการเปลี่ยน UI ได้ ส่วน RPA มีคุณค่ามากเมื่อจำเป็นต้องทำงานกับ UI หรือ Legacy System
#สรุป
UiPath RPA ช่วยเปลี่ยนขั้นตอนการทำงานซ้ำ ๆ ให้เป็น Automation โดยมี Studio สำหรับพัฒนา Workflow, Robot สำหรับ Execute และ Orchestrator สำหรับ Deploy/Manage/Monitor
สำหรับผู้เริ่มต้น แนะนำลำดับการเรียน:
Workflow
  ↓
Activities
  ↓
Variables / DataTable
  ↓
Excel Automation
  ↓
Web/UI Automation
  ↓
Selectors
  ↓
Exception Handling
  ↓
Orchestrator
  ↓
Attended / Unattended
  ↓
API Automation
  ↓
Agentic Automation
เมื่อเข้าใจพื้นฐาน RPA แล้ว จึงต่อยอดไปสู่การออกแบบกระบวนการที่ AI Agent ทำหน้าที่คิดและตัดสินใจ ขณะที่ Robot ทำหน้าที่ Execute งานที่ต้องการความแม่นยำและทำซ้ำได้
#เอกสารอ้างอิง
- UiPath Platform: https://www.uipath.com/
- UiPath RPA: https://www.uipath.com/platform/agentic-automation/rpa
- UiPath Studio Documentation: https://docs.uipath.com/studio/
- UiPath Agentic Automation: https://www.uipath.com/platform/agentic-automation