- 1. Flux CD คืออะไร
- 2. สิ่งที่ต้องเตรียม
- 3. สร้าง Kubernetes Cluster
- 4. ติดตั้ง Flux Controllers
- 5. สร้าง Git Repository และโครงสร้างไฟล์
- 6. เชื่อม Flux กับ GitHub
- 7. ตรวจสอบการทำงาน
- 8. ทดลอง Reconciliation และ Drift Correction
- 9. Rollback ผ่าน Git
- 10. Production Considerations
- 11. Troubleshooting
- 12. Cleanup
- 13. แบบฝึกหัด
- แหล่งศึกษาเพิ่มเติม
ระดับ: Intermediate | เวลา: 90–120 นาที | เป้าหมาย: Deploy Nginx จาก Git และทดสอบ reconciliation
#1. Flux CD คืออะไร
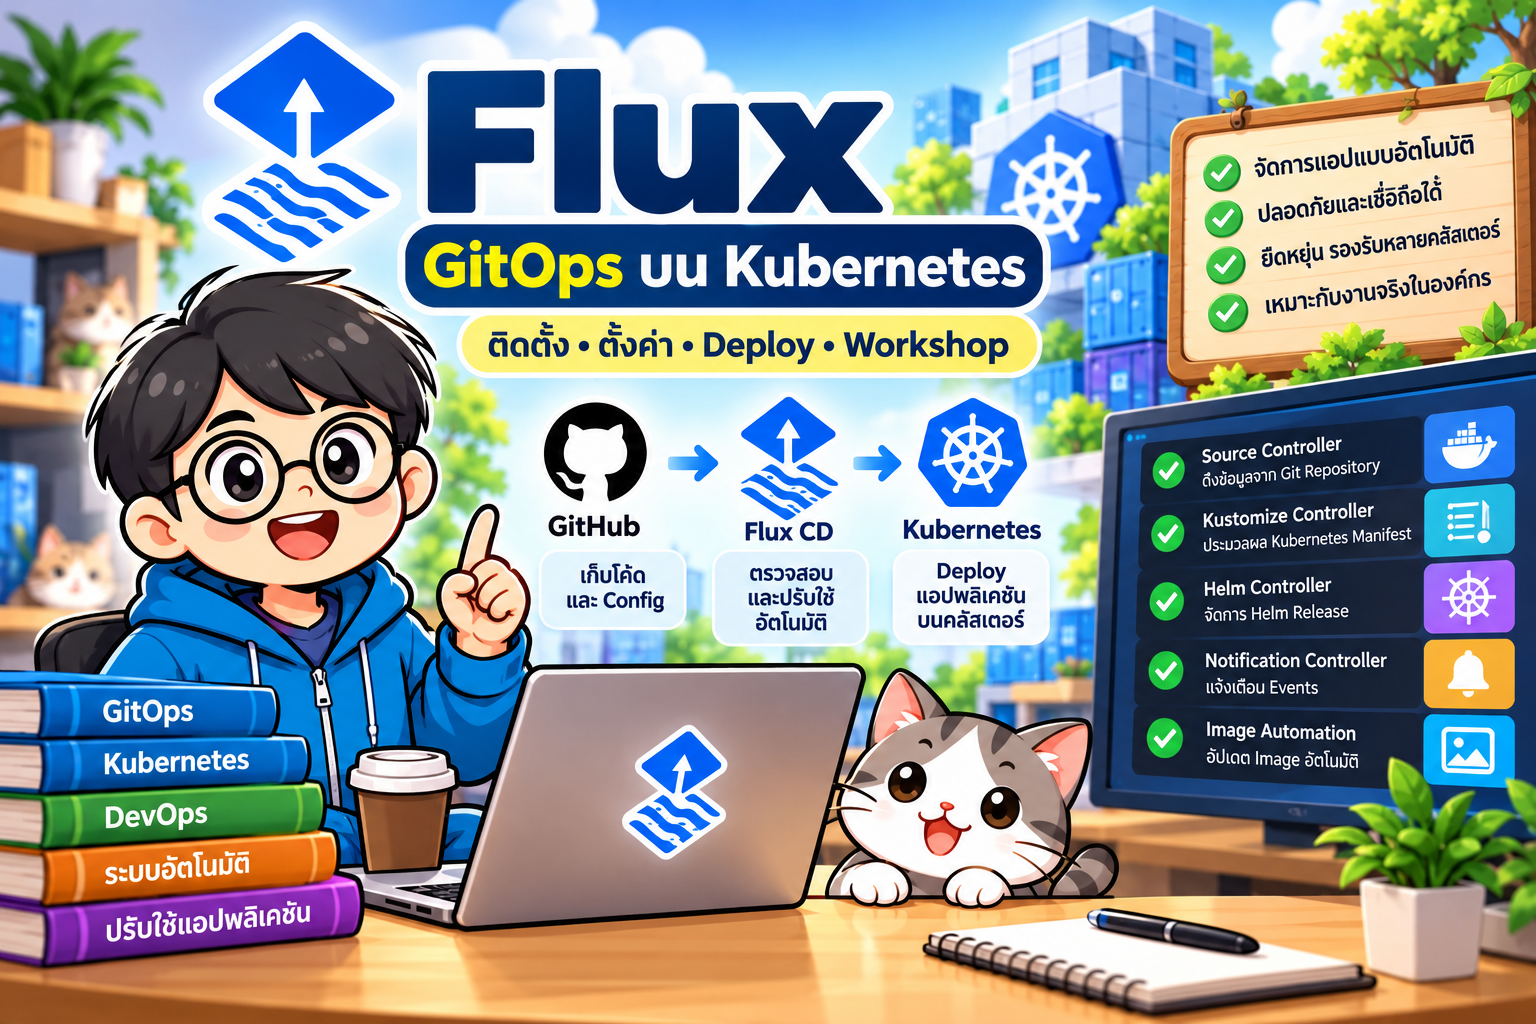
Flux CD เป็นชุด Kubernetes controllers สำหรับ GitOps ซึ่งทำให้สถานะจริงในคลัสเตอร์สอดคล้องกับสถานะที่ประกาศใน Git อย่างต่อเนื่อง (reconciliation) โดยใช้ Source Controller และ Kustomize Controller เป็นองค์ประกอบหลักในเวิร์กช็อปนี้
flowchart LR
    A[Developer] -->|git push| B[GitHub GitOps Repo]
    B -->|poll| C[Flux Source Controller]
    C --> D[Artifact]
    D --> E[Flux Kustomize Controller]
    E -->|apply/reconcile| F[Kind Kubernetes]
    F --> G[Nginx Pods]
    H[GitHub Actions: Build/Test] -->|optional image update| B
#2. สิ่งที่ต้องเตรียม
- Docker Engine หรือ Docker Desktop ทำงานได้
kubectl,kind,git,fluxCLI และบัญชี GitHub- Repository สาธารณะชื่อ
flux-gitops-demo(สำหรับแล็บ; production ควรใช้ private repo และ authentication ที่เหมาะสม) - เครื่องที่เชื่อมต่ออินเทอร์เน็ตได้
ตรวจสอบ:
docker version
kind version
kubectl version --client
flux --version
เอกสารติดตั้ง: https://fluxcd.io/flux/installation/ และ https://kind.sigs.k8s.io/docs/user/quick-start/
#3. สร้าง Kubernetes Cluster
kind create cluster --name flux-lab
kubectl cluster-info --context kind-flux-lab
kubectl get nodes
flux check --pre
หาก
flux check --preไม่ผ่าน ให้ตรวจสอบ Kubernetes version, resource และ network ตามข้อความแจ้งก่อนดำเนินการ
#4. ติดตั้ง Flux Controllers
flux install
flux check
kubectl get pods -n flux-system
คำสั่ง flux install ติดตั้ง controllers แต่ ยังไม่เชื่อม Git Repository
#5. สร้าง Git Repository และโครงสร้างไฟล์
สร้าง repository ชื่อ flux-gitops-demo ใน GitHub จากนั้น clone และจัดโครงสร้าง:
flux-gitops-demo/
├── apps/
│   └── nginx/
│       ├── deployment.yaml
│       ├── service.yaml
│       └── kustomization.yaml
└── clusters/
    └── flux-lab/
        └── nginx.yaml
ไฟล์ apps/nginx/deployment.yaml:
apiVersion: apps/v1
kind: Deployment
metadata:
  name: nginx
  namespace: default
spec:
  replicas: 2
  selector:
    matchLabels:
      app: nginx
  template:
    metadata:
      labels:
        app: nginx
    spec:
      containers:
        - name: nginx
          image: nginx:1.27
          ports:
            - containerPort: 80
          readinessProbe:
            httpGet:
              path: /
              port: 80
            initialDelaySeconds: 2
            periodSeconds: 5
ไฟล์ apps/nginx/service.yaml:
apiVersion: v1
kind: Service
metadata:
  name: nginx
  namespace: default
spec:
  selector:
    app: nginx
  ports:
    - port: 80
      targetPort: 80
  type: ClusterIP
ไฟล์ apps/nginx/kustomization.yaml (เป็น Kustomize config ไม่ใช่ Flux CRD):
apiVersion: kustomize.config.k8s.io/v1beta1
kind: Kustomization
resources:
  - deployment.yaml
  - service.yaml
ไฟล์ clusters/flux-lab/nginx.yaml (เป็น Flux Kustomization CRD):
apiVersion: kustomize.toolkit.fluxcd.io/v1
kind: Kustomization
metadata:
  name: nginx
  namespace: flux-system
spec:
  interval: 1m
  path: ./apps/nginx
  prune: true
  wait: true
  timeout: 2m
  sourceRef:
    kind: GitRepository
    name: flux-gitops-demo
Commit และ push:
git add .
git commit -m "Add nginx GitOps manifests"
git push origin main
#6. เชื่อม Flux กับ GitHub
เปลี่ยน <GITHUB_USER> เป็นชื่อบัญชีของคุณ:
flux create source git flux-gitops-demo \
  --url=https://github.com/<GITHUB_USER>/flux-gitops-demo \
  --branch=main \
  --interval=1m
สั่ง Flux ติดตั้ง Flux Kustomization ที่เก็บไว้ใน Git:
kubectl apply -f clusters/flux-lab/nginx.yaml
flux reconcile source git flux-gitops-demo
flux reconcile kustomization nginx --with-source
ข้อควรทราบ: การ kubectl apply ไฟล์ nginx.yaml ครั้งแรกเป็นขั้นตอน bootstrap แบบย่อของแล็บ ใน production ควรจัดการ Flux objects ผ่าน bootstrap/GitOps root Kustomization ด้วย เพื่อไม่ให้ configuration ของ Flux หลุดจาก Git
#7. ตรวจสอบการทำงาน
flux get sources git
flux get kustomizations
kubectl get deployments,pods,svc -n default
kubectl rollout status deployment/nginx
kubectl port-forward svc/nginx 8080:80
เปิด http://localhost:8080 เพื่อดูหน้า Nginx (หยุด port-forward ด้วย Ctrl+C)
#8. ทดลอง Reconciliation และ Drift Correction
แก้ replicas: 2 เป็น replicas: 3 ใน Git แล้ว push:
git add apps/nginx/deployment.yaml
git commit -m "Scale nginx to three replicas"
git push origin main
flux reconcile kustomization nginx --with-source
kubectl get deployment nginx
ทดสอบ drift ด้วยการแก้สถานะจริงโดยตรง:
kubectl scale deployment nginx --replicas=1
flux reconcile kustomization nginx
kubectl get deployment nginx
คาดหวัง: จำนวน replicas กลับเป็น 3 ตาม Git (เมื่อ reconcile สำเร็จ)
#9. Rollback ผ่าน Git
หาก commit ล่าสุดเปลี่ยนจำนวน replicas เป็น 3 และต้องการกลับไป 2:
git revert HEAD
git push origin main
flux reconcile kustomization nginx --with-source
kubectl get deployment nginx
git revertใช้กับ commit ที่ต้องการย้อนกลับ ตรวจสอบgit logก่อนเสมอ การ rollback ด้วย Git ไม่รับประกันว่าทุก migration หรือการเปลี่ยนฐานข้อมูลจะย้อนกลับได้
#10. Production Considerations
- ใช้ private repository พร้อม read-only deploy key หรือ workload identity ตามที่รองรับ
- Pin container images ด้วย digest เพื่อ reproducibility
- แยก environments เป็น directories หรือ repositories พร้อม review/approval
- ใช้ SOPS หรือ External Secrets; ไม่ commit plaintext secrets
- ตั้งค่า RBAC แบบ least privilege และกำหนด service account สำหรับ reconciliation
- ใช้ policy validation, image scanning และ branch protection ใน CI
- ติดตาม
flux get all -A, controller logs, alerts และ metrics - วางแผน rollback ของ schema migration แยกจาก application manifests
#11. Troubleshooting
flux get all -A
flux logs --all-namespaces --level=error
kubectl describe gitrepository flux-gitops-demo -n flux-system
kubectl describe kustomization nginx -n flux-system
kubectl get events -A --sort-by=.lastTimestamp
Source not ready: ตรวจ URL, branch, network และสิทธิ์ Git
Kustomization not ready: ตรวจ path, YAML, CRD และ resource readiness
Pod ImagePullBackOff: ตรวจ image tag, registry และ imagePullSecrets
#12. Cleanup
kind delete cluster --name flux-lab
#13. แบบฝึกหัด
- เปลี่ยน Nginx replicas จาก 2 เป็น 4 ผ่าน Git เท่านั้น
- เปลี่ยน image tag เป็นเวอร์ชันที่มีอยู่จริง แล้วตรวจ rollout
- แก้ replicas โดยตรงด้วย
kubectlและสังเกต drift correction - ทำ Git revert แล้วอธิบายผลต่างระหว่าง desired state กับ actual state
#แหล่งศึกษาเพิ่มเติม
- Flux documentation: https://fluxcd.io/flux/
- Flux installation: https://fluxcd.io/flux/installation/
- Flux GitRepository API: https://fluxcd.io/flux/components/source/gitrepositories/
- Flux Kustomization API: https://fluxcd.io/flux/components/kustomize/kustomizations/
- Kind documentation: https://kind.sigs.k8s.io/